Learning how to make an easy origami egg cup is a fun way to add a handmade touch to your table.
This simple paper fold creates a small stand that's perfect for holding eggs during Easter breakfast or spring celebrations.

Jump to:
If you're setting up a spring table or planning an Easter breakfast, small handmade details can make everything feel a little more special.
Learning how to make an easy origami egg cup is a simple paper craft that turns an ordinary square of paper into a useful little holder for eggs.
This project is beginner-friendly and only requires a few folds, making it a great introduction to origami.
The finished origami egg cup creates a small stand that keeps an egg upright, which works nicely for table settings, seasonal decorations, or even simple kitchen displays.
One of the nice things about learning how to make an easy origami egg cup is how quickly you can make several at once.
Because each cup only takes a few minutes, it's easy to create a full set in different colors for a coordinated table setting.
Soft pastel papers work beautifully for spring and Easter themes, but patterned paper can add a playful touch as well.
Whether you're decorating a brunch table, preparing Easter place settings, or just trying a quick paper craft, this easy origami egg cup is a practical and satisfying project.

Why You'll Love This Pattern
- A quick way to learn how to make an easy origami egg cup
- Beginner-friendly origami project
- Great for Easter or spring table décor
- Uses only one square sheet of paper
- Easy to make several for a matching set
- A fun handmade detail for breakfast or brunch tables
- Works well with colorful or patterned paper
Skill Level
★★☆☆☆ - Beginner
Materials Needed
1 square sheet of origami paper, e.g. 6 inches (15 cm)
Instructions
Step 1: Start with the main color you want your egg cup to be facing down.
Step 2: Fold the top edge to meet the bottom edge.
Step 3: Fold the left edge to meet the right edge.
Step 4: Unfold previous step.
Step 5: Fold both the left and right edges in to meet the middle crease.
Step 6: Unfold previous step.

Step 7: Lift the paper up along the 1st vertical crease from the left, then open out the paper as shown.
Step 8: Repeat previous step for the 1st vertical crease from the right.
Step 9: Flip your paper over from left to right.
Step 10: Fold both the left and right edges in to meet the middle crease.
Step 11: Fold both the bottom left and bottom right corners (top layer only) up on a diagonal to meet the middle.

You're almost there!
To unlock the final steps and complete your pattern, create a free account with Grow.me. below.
Make sure you tick the box to subscribe to our newsletter and stay up to date with the latest patterns, tips, and more!
Once you're signed up, you'll get instant access to finish your project and enjoy exclusive content in the future.
Already signed up? Hit the button below and select 'Switch to Log In' to pick up where you left off and finish your project!
Step 12: Fold the bottom point (top layer only) up to meet the top edge.
Step 13: Repeat previous 2 steps for the other side.
Step 14: Carefully open out your paper, pushing in the top edge as you do.
Step 15: Recrease along the edges of the paper to reinforce them. Completed egg cup.
Note: don't worry if you can't get the legs to sit completely flat on your surface. Once you put an egg in it, the weight of the egg will bring the legs down.

Tips For Success
- Start with perfectly square paper for the best results
- Press folds firmly so the egg cup holds its shape
- Slightly thicker origami paper can make the stand sturdier
- Try pastel paper for a soft spring look
- Make a few test folds before creating a full set for the table

Perfect Occasions to Use This Craft
- Easter breakfast or brunch
- Spring table settings
- Handmade place settings for guests
- Seasonal decorations
- Kids' spring craft activities
How To Use This Craft
- Place an egg in the finished easy origami egg cup for Easter breakfast
- Use different colors for each place setting
- Add them to a spring-themed table display
- Pair them with napkin folds or small paper decorations
- Use them for decorative eggs during seasonal displays
FAQ
Yes, when folded carefully with sturdy paper, it can hold a real egg upright.
Standard origami paper works well, though slightly thicker paper can create a sturdier cup.
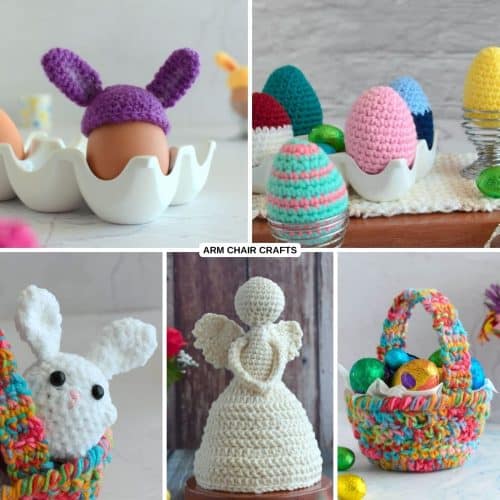
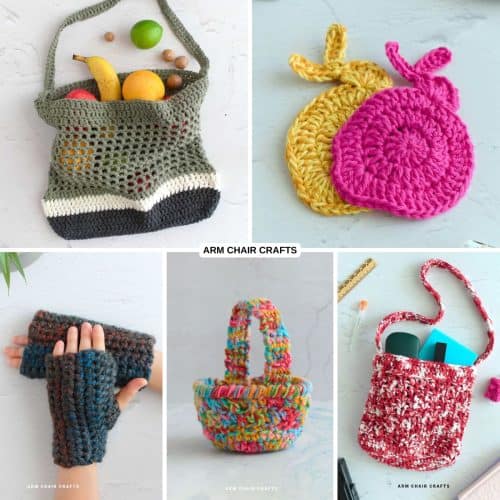
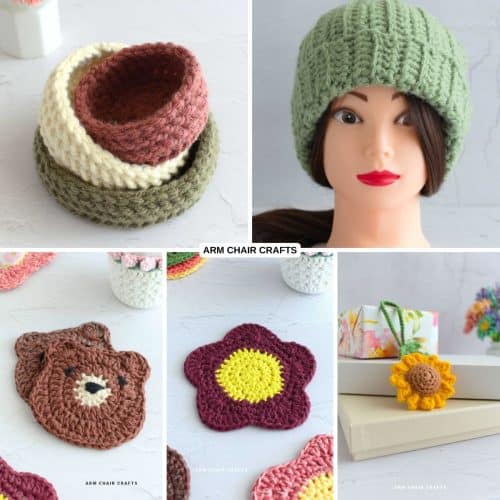
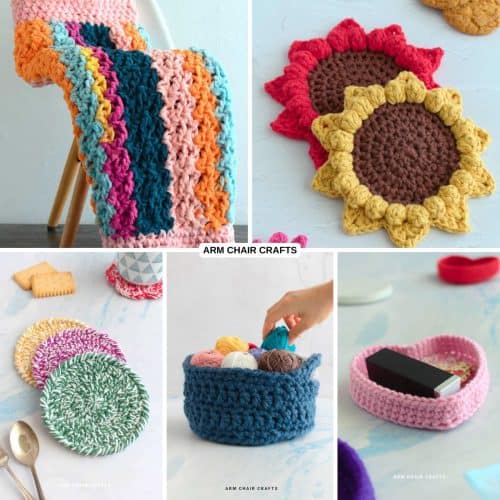
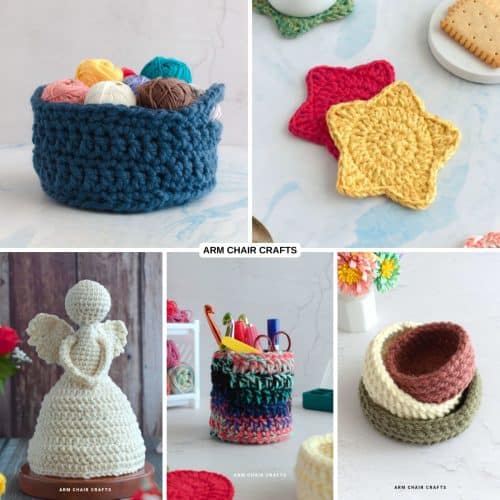
Other Easy Crafts You Might Like To Try:
Stay Connected
Made this pattern? Let us know how it went in the comments below!
Pin this post - Pin now to take your paper crafting skills to the next level.
Share on Instagram or Facebook - Capture the beauty of your finished paper craft project and share it on Instagram or Facebook! Tag us @armchaircrafts so we can see your work!