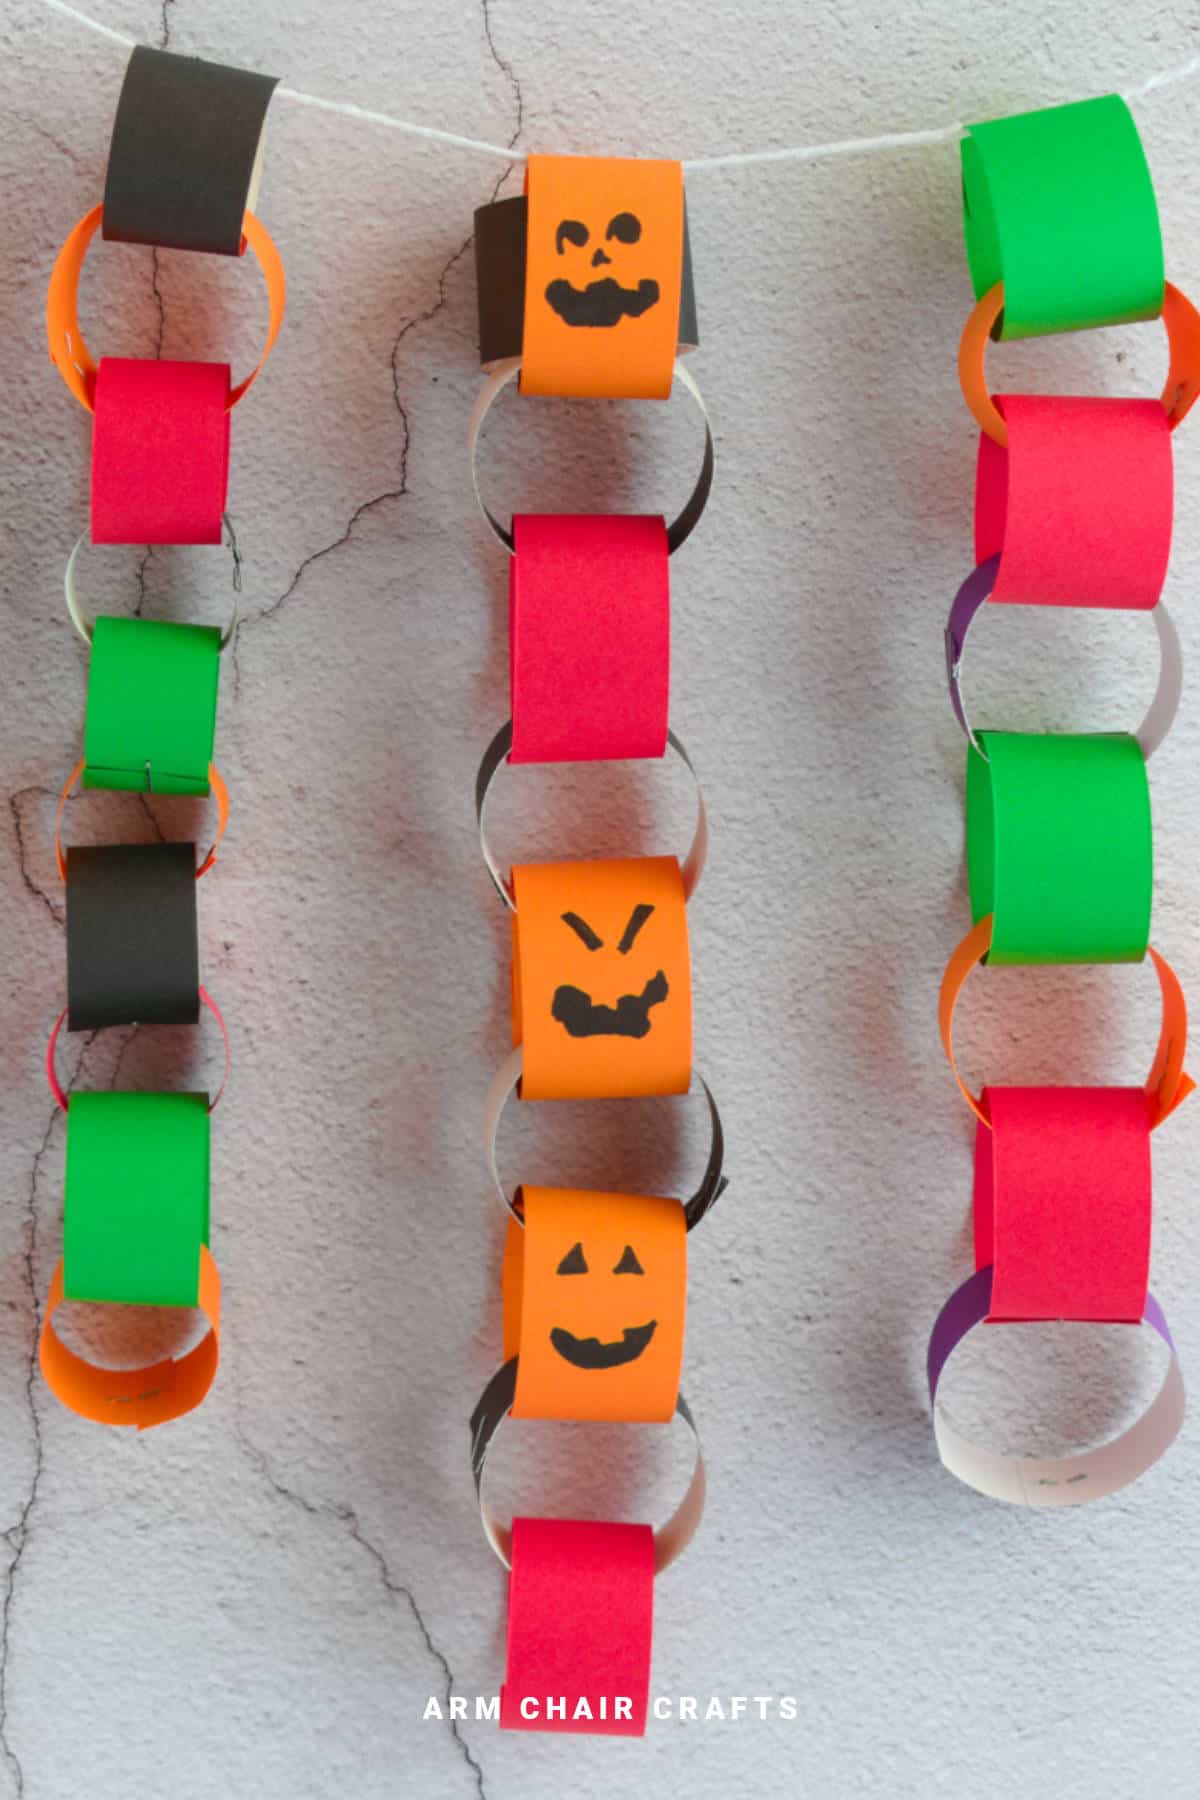
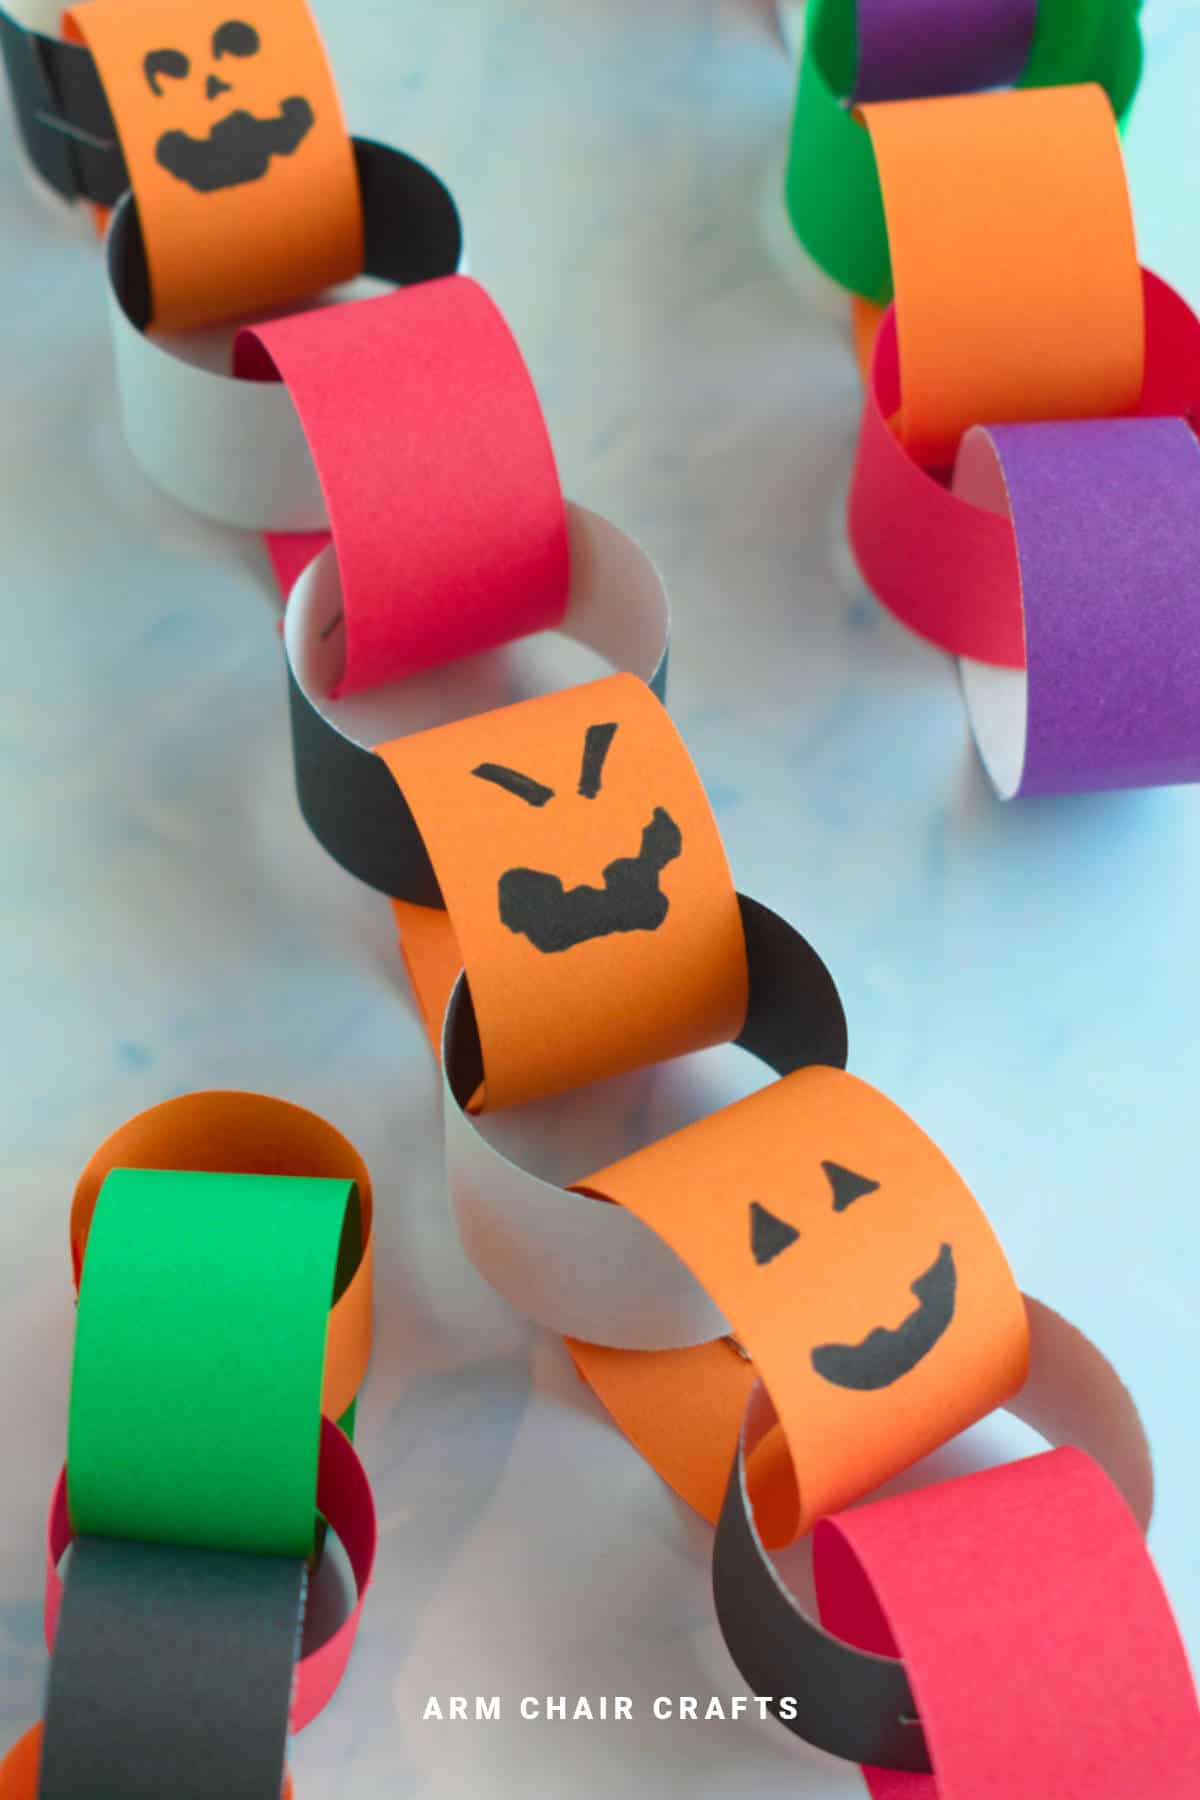
A DIY Halloween paper chain is one of the easiest and most charming ways to decorate for spooky season.
With just paper strips, a stapler, and a bit of imagination, you can create festive chains that stretch across mantels, doorways, or party tables - all while adding your own playful touches like pumpkin faces.
Jump to:
Sometimes the simplest decorations are the ones that bring back the best memories.
A DIY Halloween paper chain is one of those classic crafts that never goes out of style.
It's quick, inexpensive, and completely customizable - and chances are, you already have the supplies at home.
By cutting strips of paper, looping them together, and fastening them with a stapler, you'll have a colorful chain ready to hang in no time.
What makes this project extra fun is the opportunity to get creative.
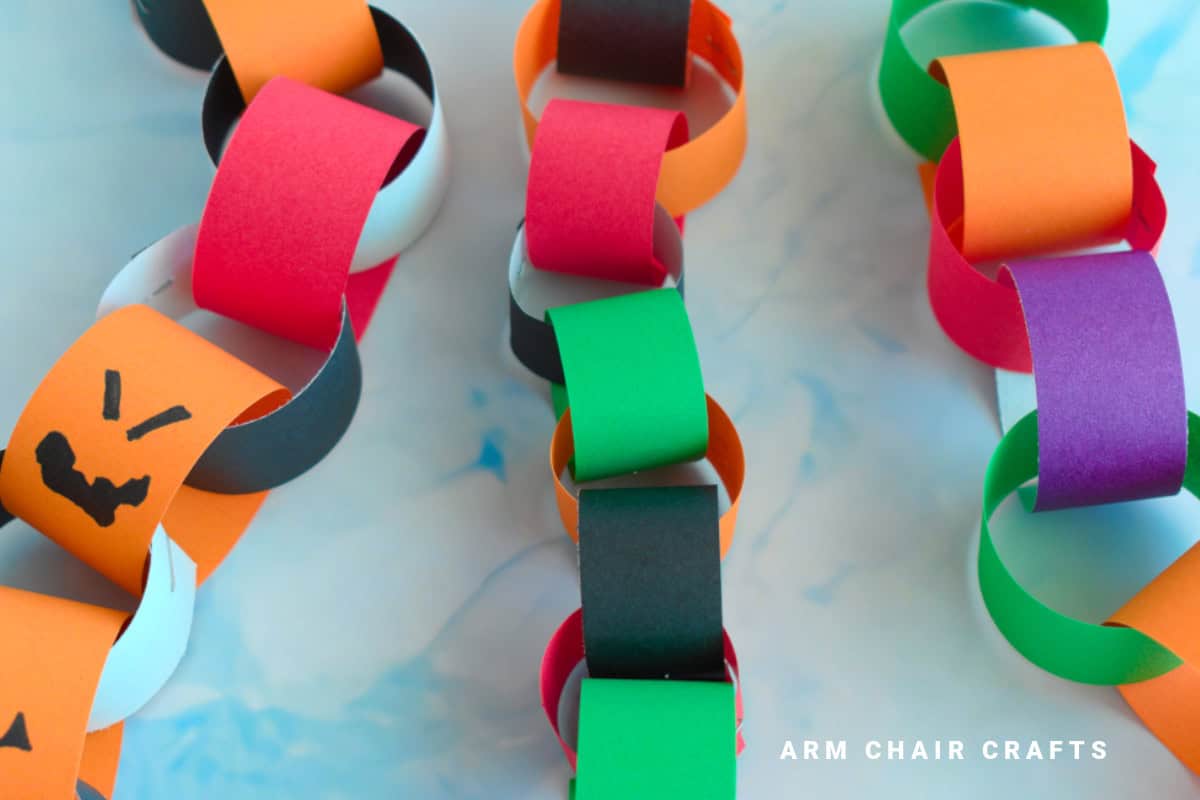
You can vary the width of each chain link for dimension, mix and match traditional Halloween colors, or even draw little pumpkin faces on the links for a personal touch.
A DIY Halloween paper chain is the kind of decoration that works anywhere - strung along a banister, framing a window, or stretched across a classroom wall.
Whether you're preparing for trick-or-treaters, decorating for a party, or crafting with kids, this project brings instant Halloween spirit with very little effort.
Why You'll Love This Pattern
- Requires only paper strips and a stapler - simple and affordable
- Beginner-friendly craft you can finish in under an hour
- Drawing pumpkin faces or spooky doodles adds personality
- Varying link widths creates texture and makes the chain look more polished
- A DIY Halloween paper chain is versatile enough to decorate doors, walls, mantels, and more
Materials Needed
- Strips of paper (orange, black, purple, or green work best)
- Stapler (or tape/glue if preferred)
- Scissors
- Pencil or markers for drawing pumpkin faces or other designs
Instructions
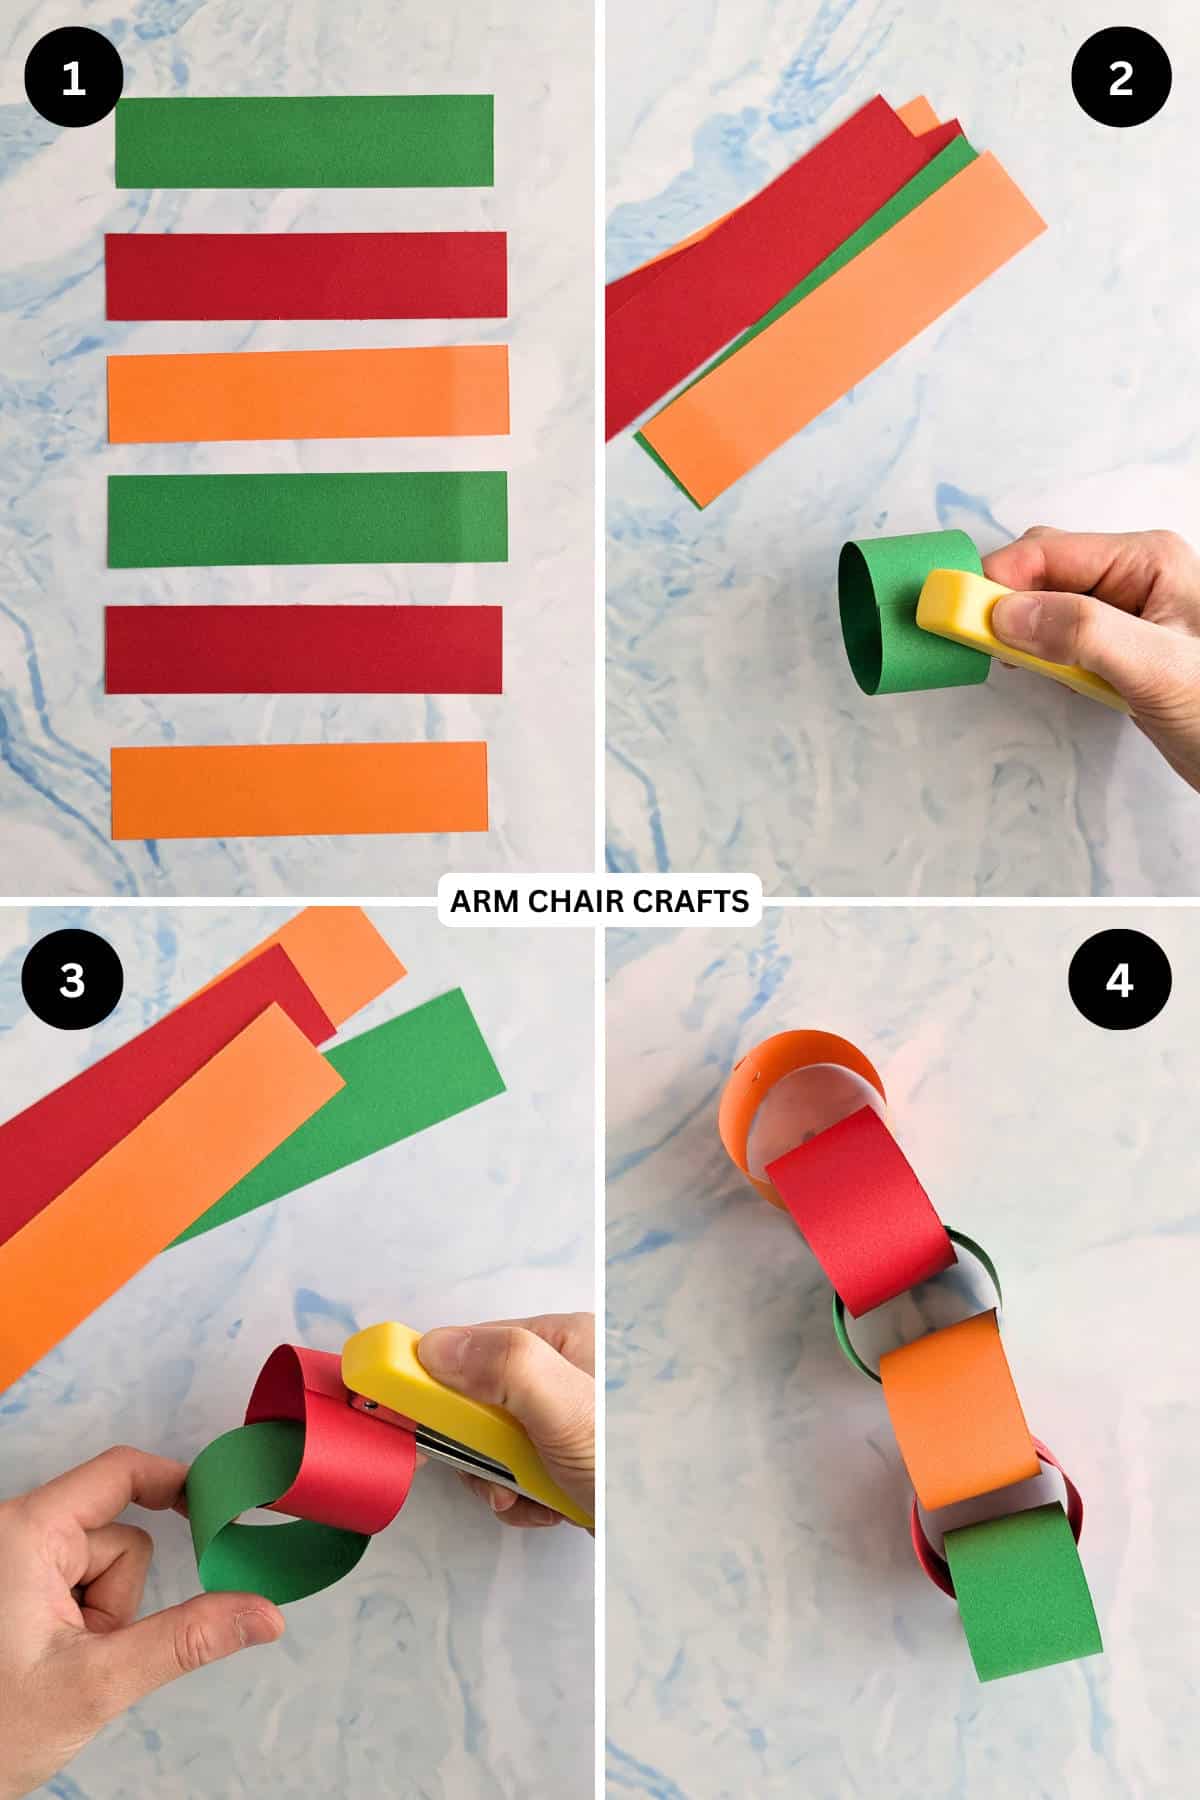
Step 1: Let's start by cutting out your paper strips. The number of strips you need depends on the length of the paper strips you cut and how long you want your chain to be.
For example, you might like to make strips that are 1 inch x 6 inches (2.5 cm x 15 cm) long. About 8 strips of paper at that length will make a chain that is 11 inches (30 cm) long.
Cut out as many strips as you think you might need, then arrange them in the order you would like to hang them. This way you can mix and match the arrangement easily.
Step 2: Next, let's start to make the chain. Taking your first strip, staple or glue the ends together to form a ring. If you are using glue, hold the ends together until the glue dries.
Step 3: Take your next strip and place it through the ring you just made. Then on that strip, glue or use a stapler to hold the ends together to form a ring.
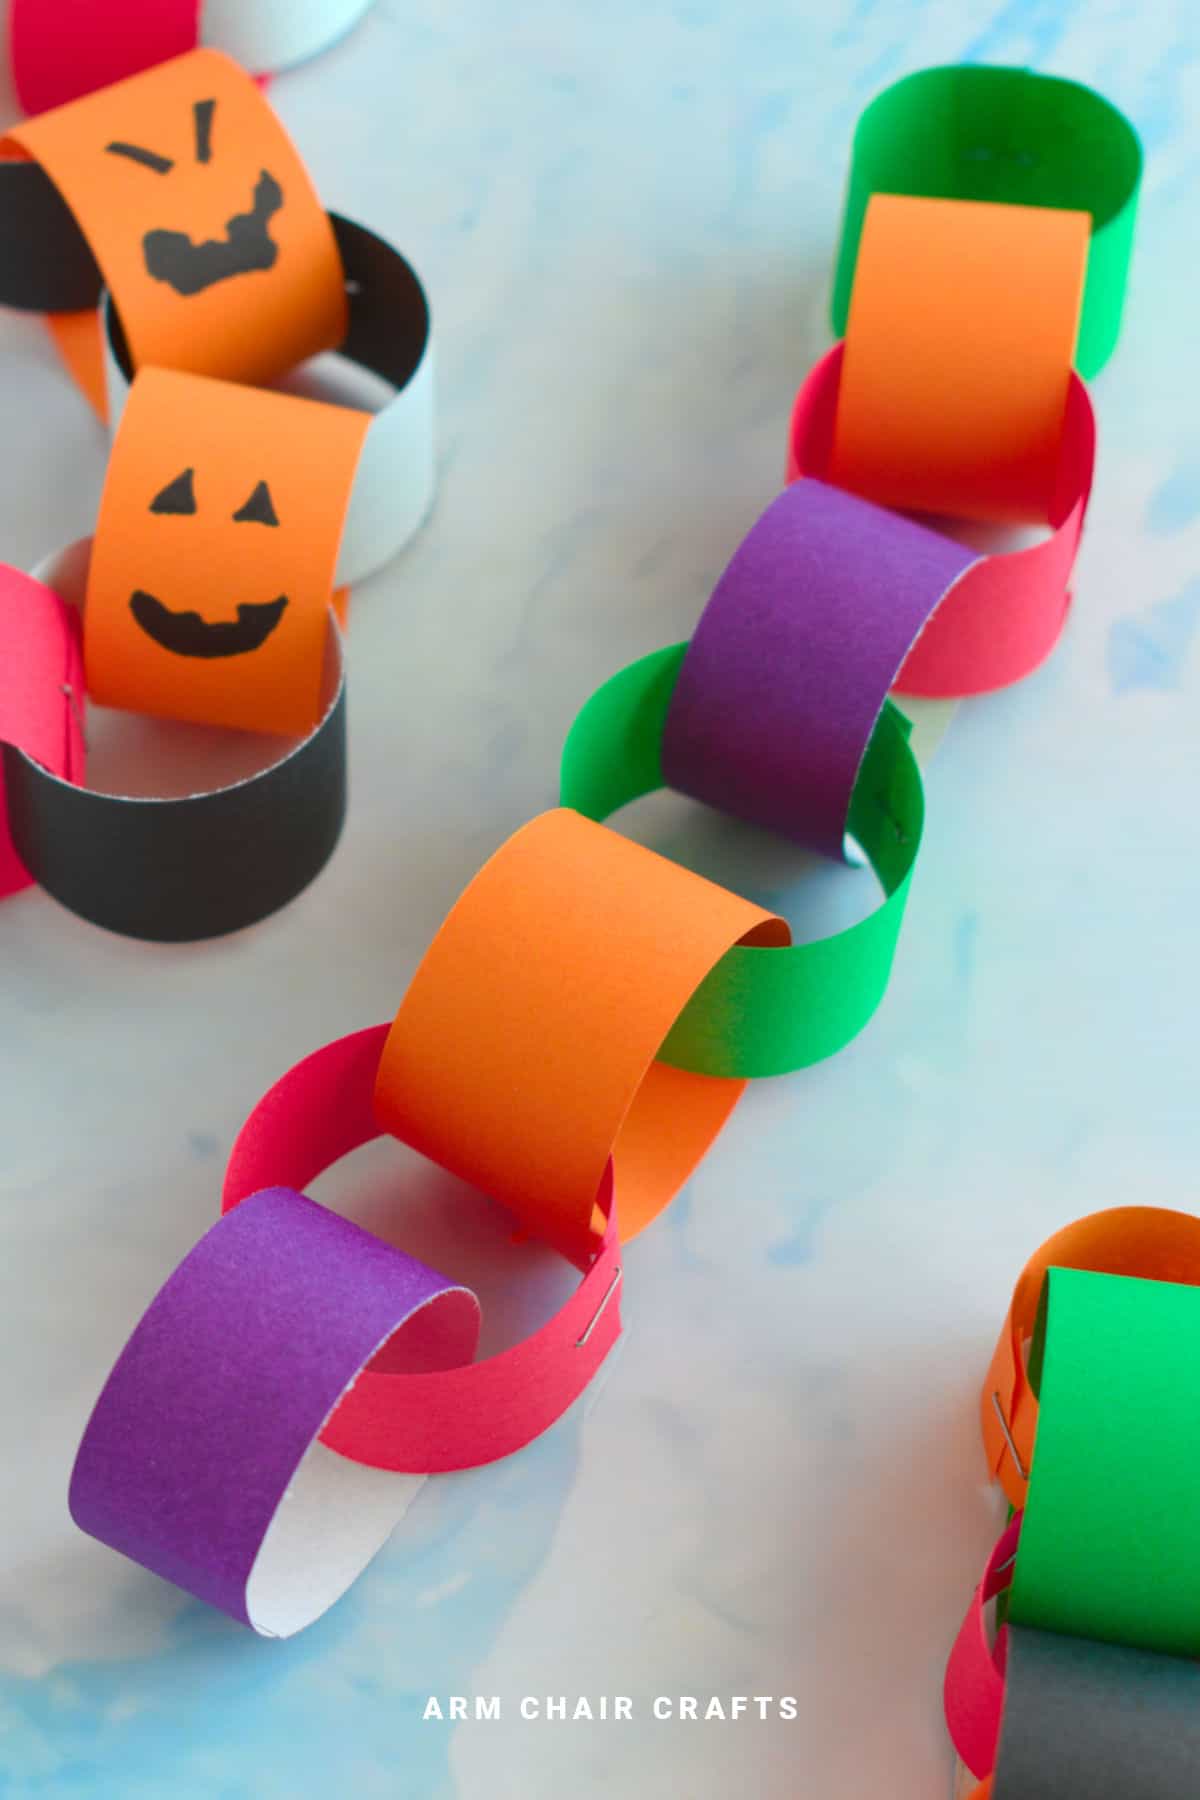
Step 4: Repeat previous step for as many links as you like.Completed Halloween paper chain.
If you want to make it easier to hang your paper chain, or you have run out of paper, you can add some string to either end to make it easier to hang.
Tips For Success
- Cut strips evenly so your chain looks neat - about 1 inch wide is a good standard size.
- Mix narrow and wide strips for extra dimension in your chain.
- Use double-sided colored paper if you want both the inside and outside of the links to be colorful.
- Let kids draw faces or patterns on the strips before stapling - it's easier than decorating afterward.
Color, Paper Ideas, and Variations
- Classic Halloween: Alternate black and orange strips for a traditional chain.
- Pumpkin patch: Use all orange strips and draw little jack-o'-lantern faces.
- Monster mix: Add green and purple strips for a playful, modern twist.
- Glowing effect: Use neon or metallic paper for chains that stand out in party lighting.
- Spooky doodles: Let each family member decorate strips with bats, ghosts, or spiders before linking them.
FAQ
A stapler is easiest, but tape or glue will work too. Just allow glue to dry before adding the next link.
You can make a chain of 20-30 links in about 30 minutes. Longer chains take more time but are easy to scale up.
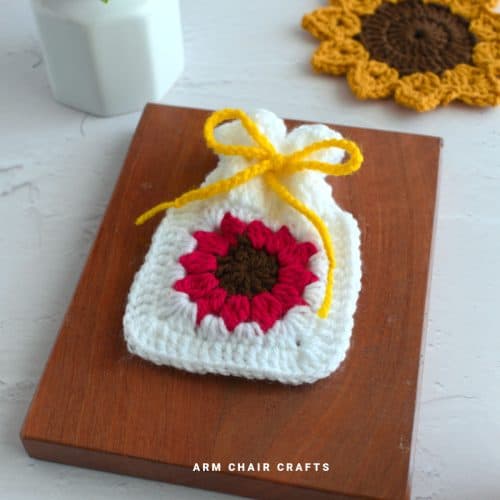
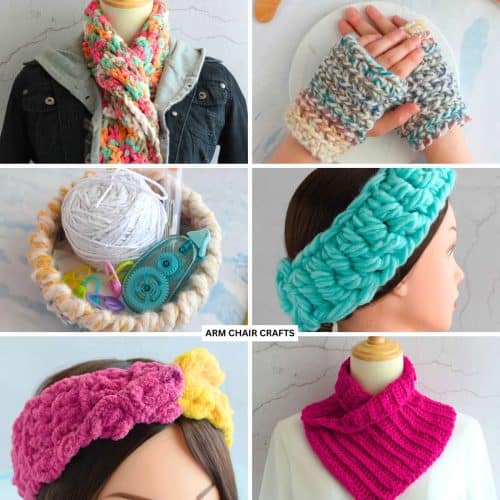
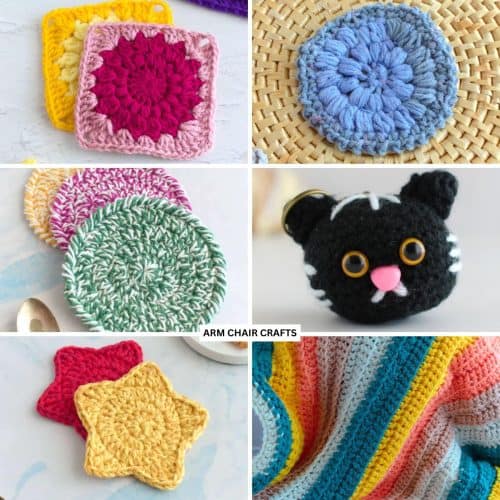
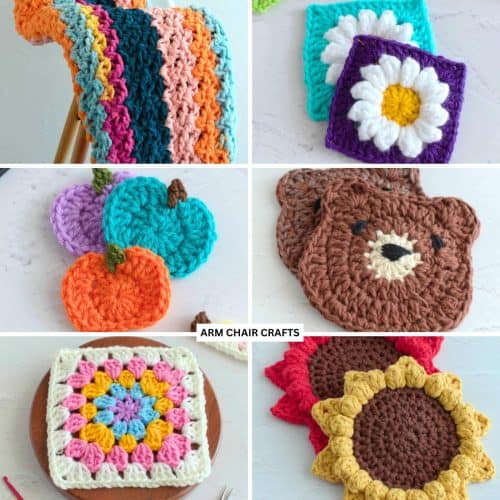
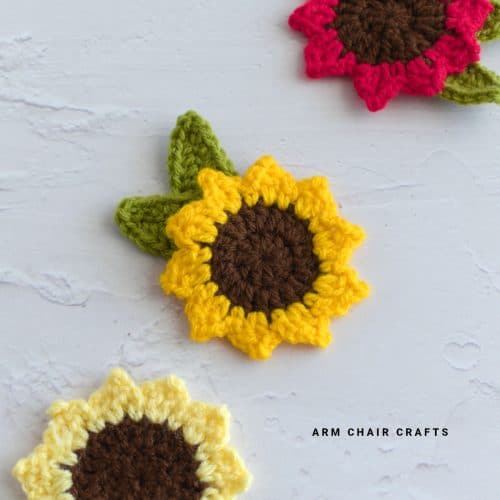
Other Easy Crafts You Might Like To Try:
Stay Connected
Made this pattern? Let us know how it went in the comments below!
Pin this post - Pin now to take your paper crafting skills to the next level.
Share on Instagram or Facebook - Capture the beauty of your finished project and share it on Instagram or Facebook! Tag us @armchaircrafts so we can see your work!