An easy paper spiderweb is the perfect last-minute Halloween decoration.
With just a square sheet of paper and a pair of scissors, you can create delicate webs to hang in windows, on doors, or across party tables for a spooky handmade touch.
Jump to:
Few Halloween crafts are as quick, effective, and satisfying as cutting out an easy paper spiderweb.
Starting with nothing more than a square piece of paper, you'll fold it down, snip a few careful shapes, and then unfold it to reveal a lace-like web that looks far more complicated than it really is.
This is one of those projects that's not only fun to make but also endlessly useful for decorating: tape them to your windows, layer them over black paper for contrast, or scatter them across a party table for instant atmosphere.
What makes an easy paper spiderweb so appealing is its simplicity. You don't need glue, tape, or fancy supplies - just paper and scissors. You could even use parchment paper! Just cut it into a square first.
And because each web is unique, you can make several in different sizes and styles to layer together.
Whether you're crafting with kids, decorating a classroom, or adding last-minute flair to your Halloween party, this project brings a handmade charm that feels festive and personal.
Why You'll Love This Pattern
- Only needs paper, a pencil, and scissors - nothing else required
- Beginner-friendly, quick to make, and fun for all ages
- Each easy paper spiderweb turns out unique, so no two are the same
- Perfect for decorating windows, walls, tables, or party spaces
- Easy to scale up - make several in different sizes for layered effects
Materials Needed
- Square sheet of paper (white for a classic look, or black/orange for Halloween style)
- Scissors
- Pencil/pen
Instructions
Step 1: Start with the color you want your spiderweb to be facing up. Arrange your paper to sit like a diamond shape.
Step 2: Fold the bottom point up to meet the top point..
Step 3: Next, fold the right point to meet the left point.
Step 4: Fold the right edge down on a diagonal to meet the bottom edge.
Step 5: Once again, fold the right edge to meet the bottom edge.
Step 6: Cut the paper along the line shown.

You're almost there!
To unlock the final steps and complete your pattern, create a free account with Grow.me. below.
Make sure you tick the box to subscribe to our newsletter and stay up to date with the latest patterns, tips, and more!
Once you're signed up, you'll get instant access to finish your project and enjoy exclusive content in the future.
Already signed up? Hit the button below and select 'Switch to Log In' to pick up where you left off and finish your project!
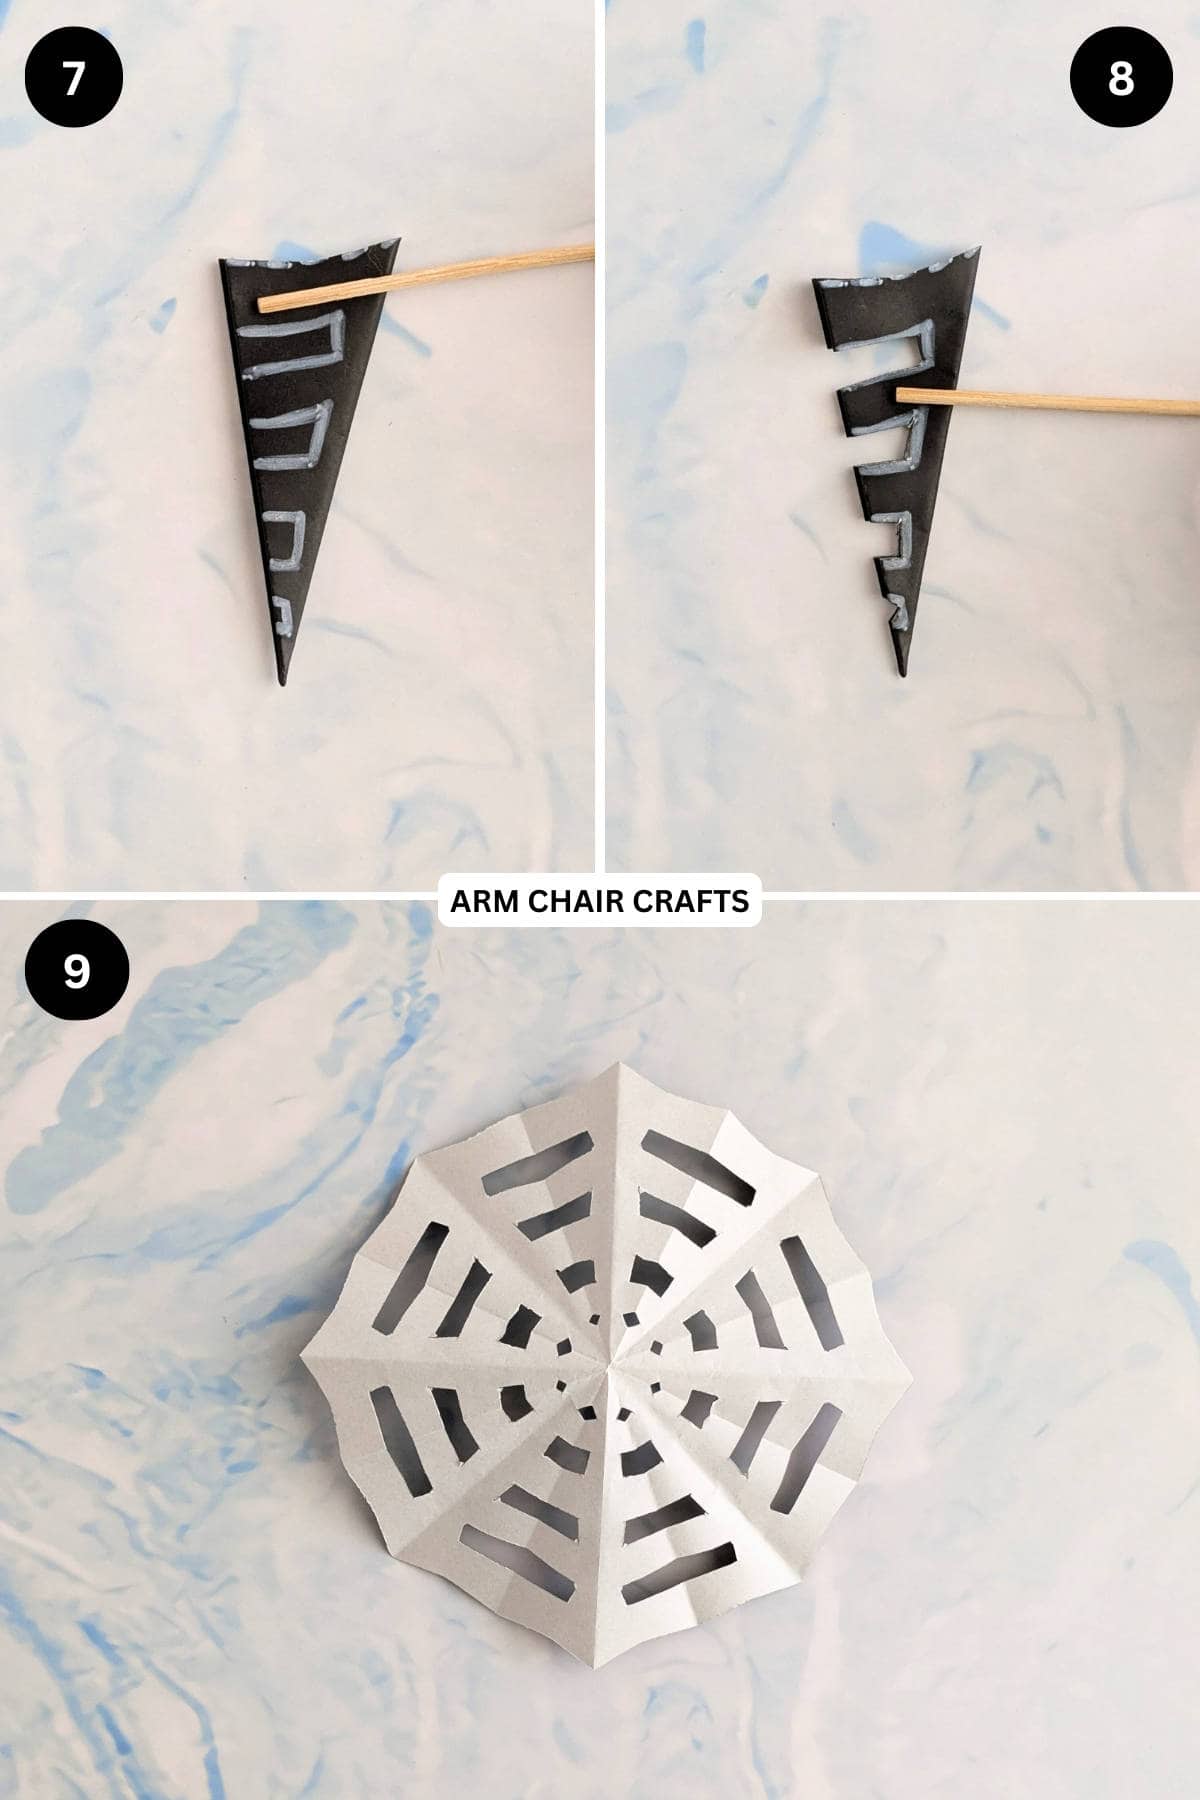
Step 7: Then, draw a pattern on your paper as shown. Just remember, once you open your paper spiderweb, any gaps near the folded edge will double, so try to keep the lines near the folded edge.
Step 8: Cut out the shapes carefully. Try not to cut all the way through, you still need one folded side in tack. Unfortunately, if you have accidentally cut all the way through, there is no going back. You will have to start again.
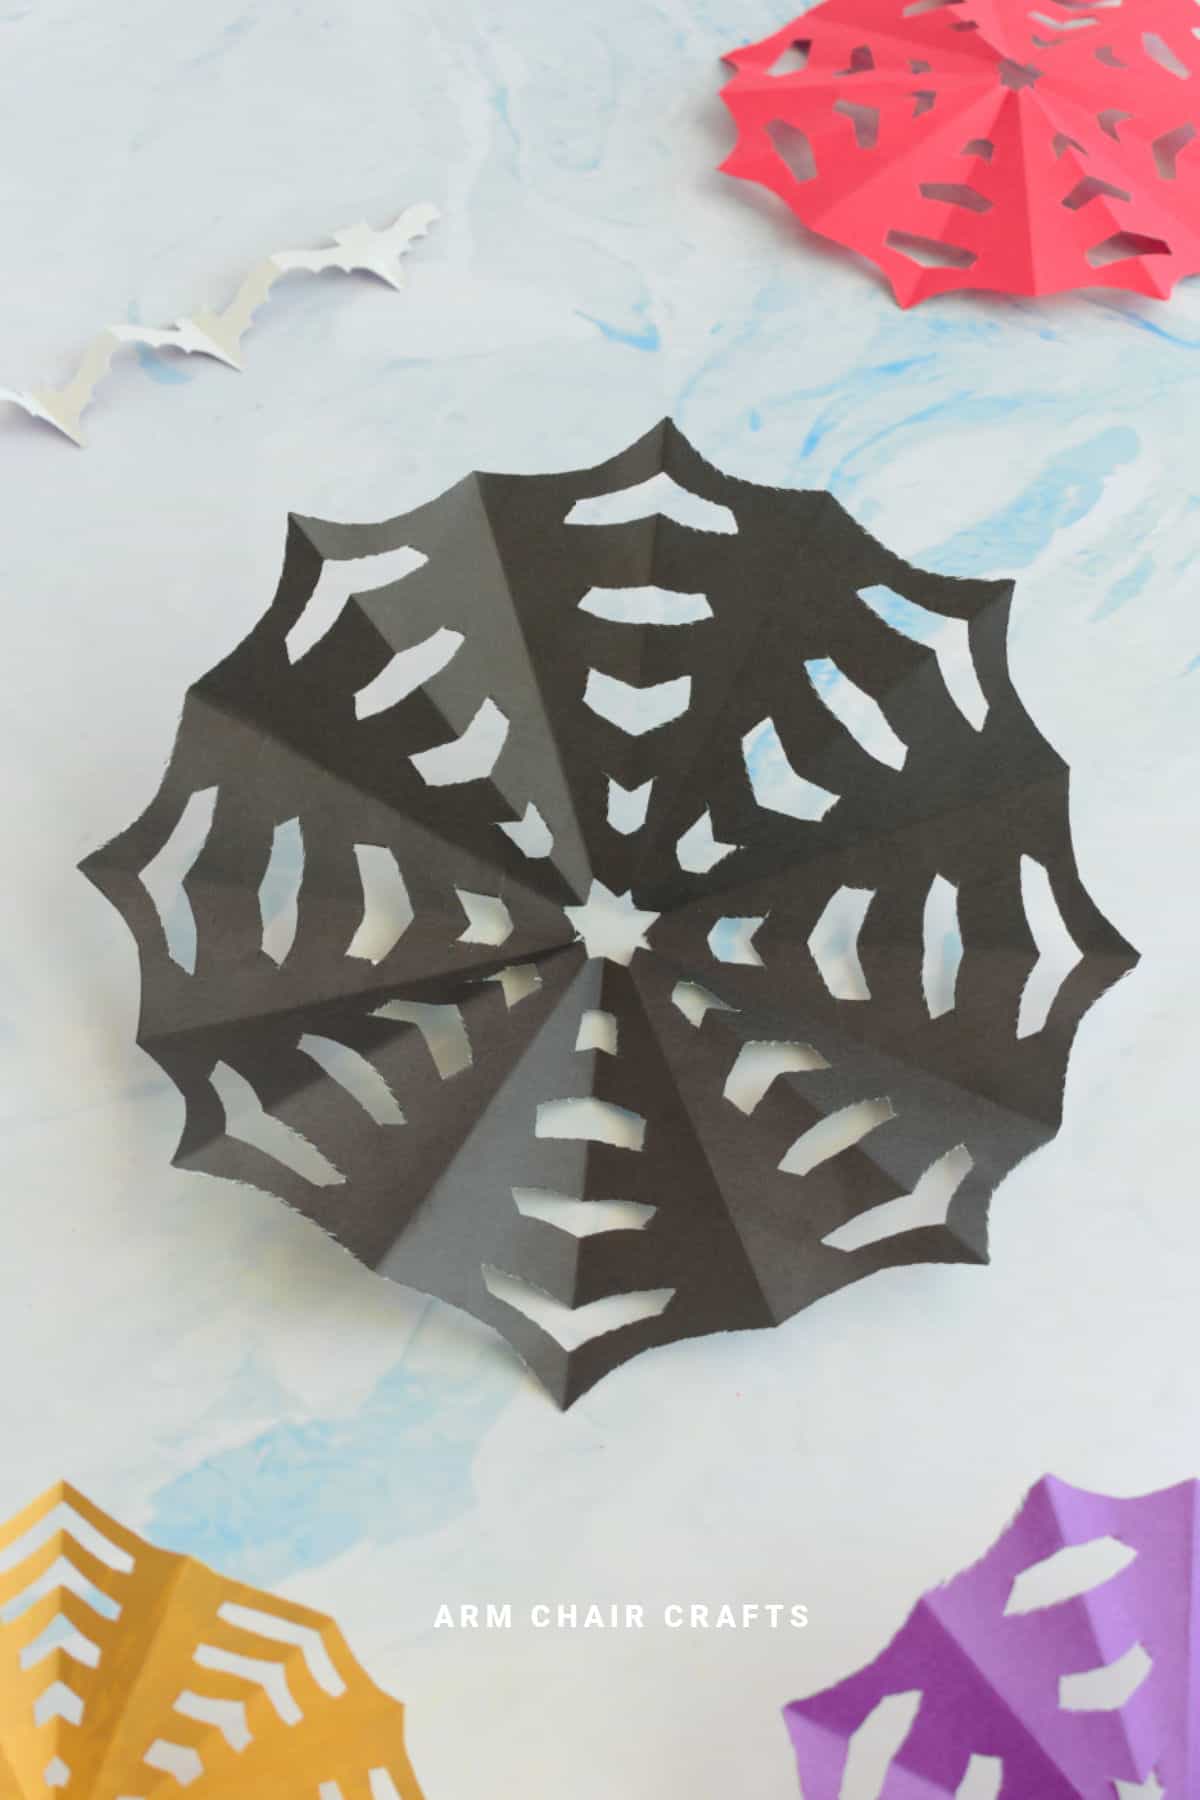
Step 9: Carefully open out your spiderweb and flatten. Completed paper spider web.
Tips For Success
- Use thinner paper - it folds and cuts more easily than heavy cardstock.
- Fold as neatly as possible so your cuts are symmetrical when opened.
- Start with larger, simpler cuts until you're comfortable, then add smaller cutouts for detail.
- Try layering your easy paper spiderweb over dark paper for extra contrast.

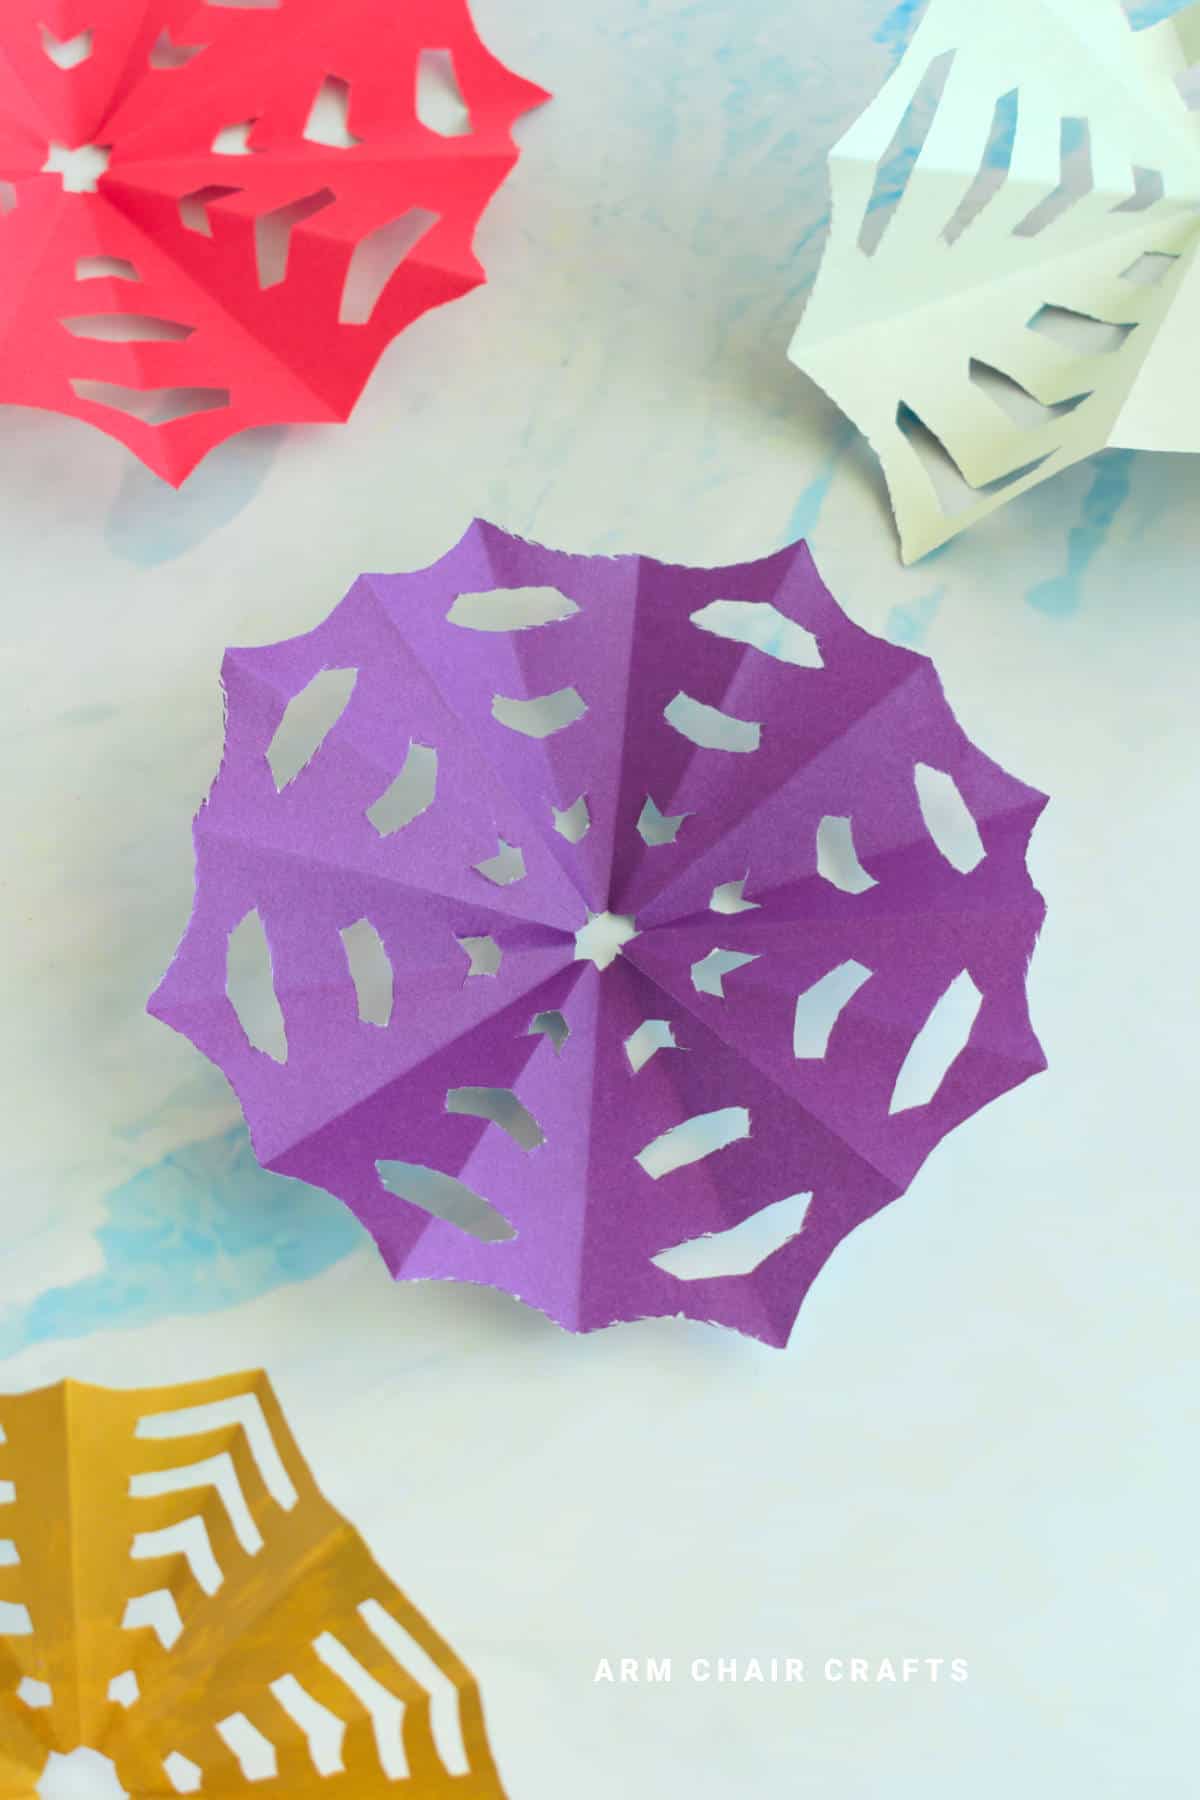
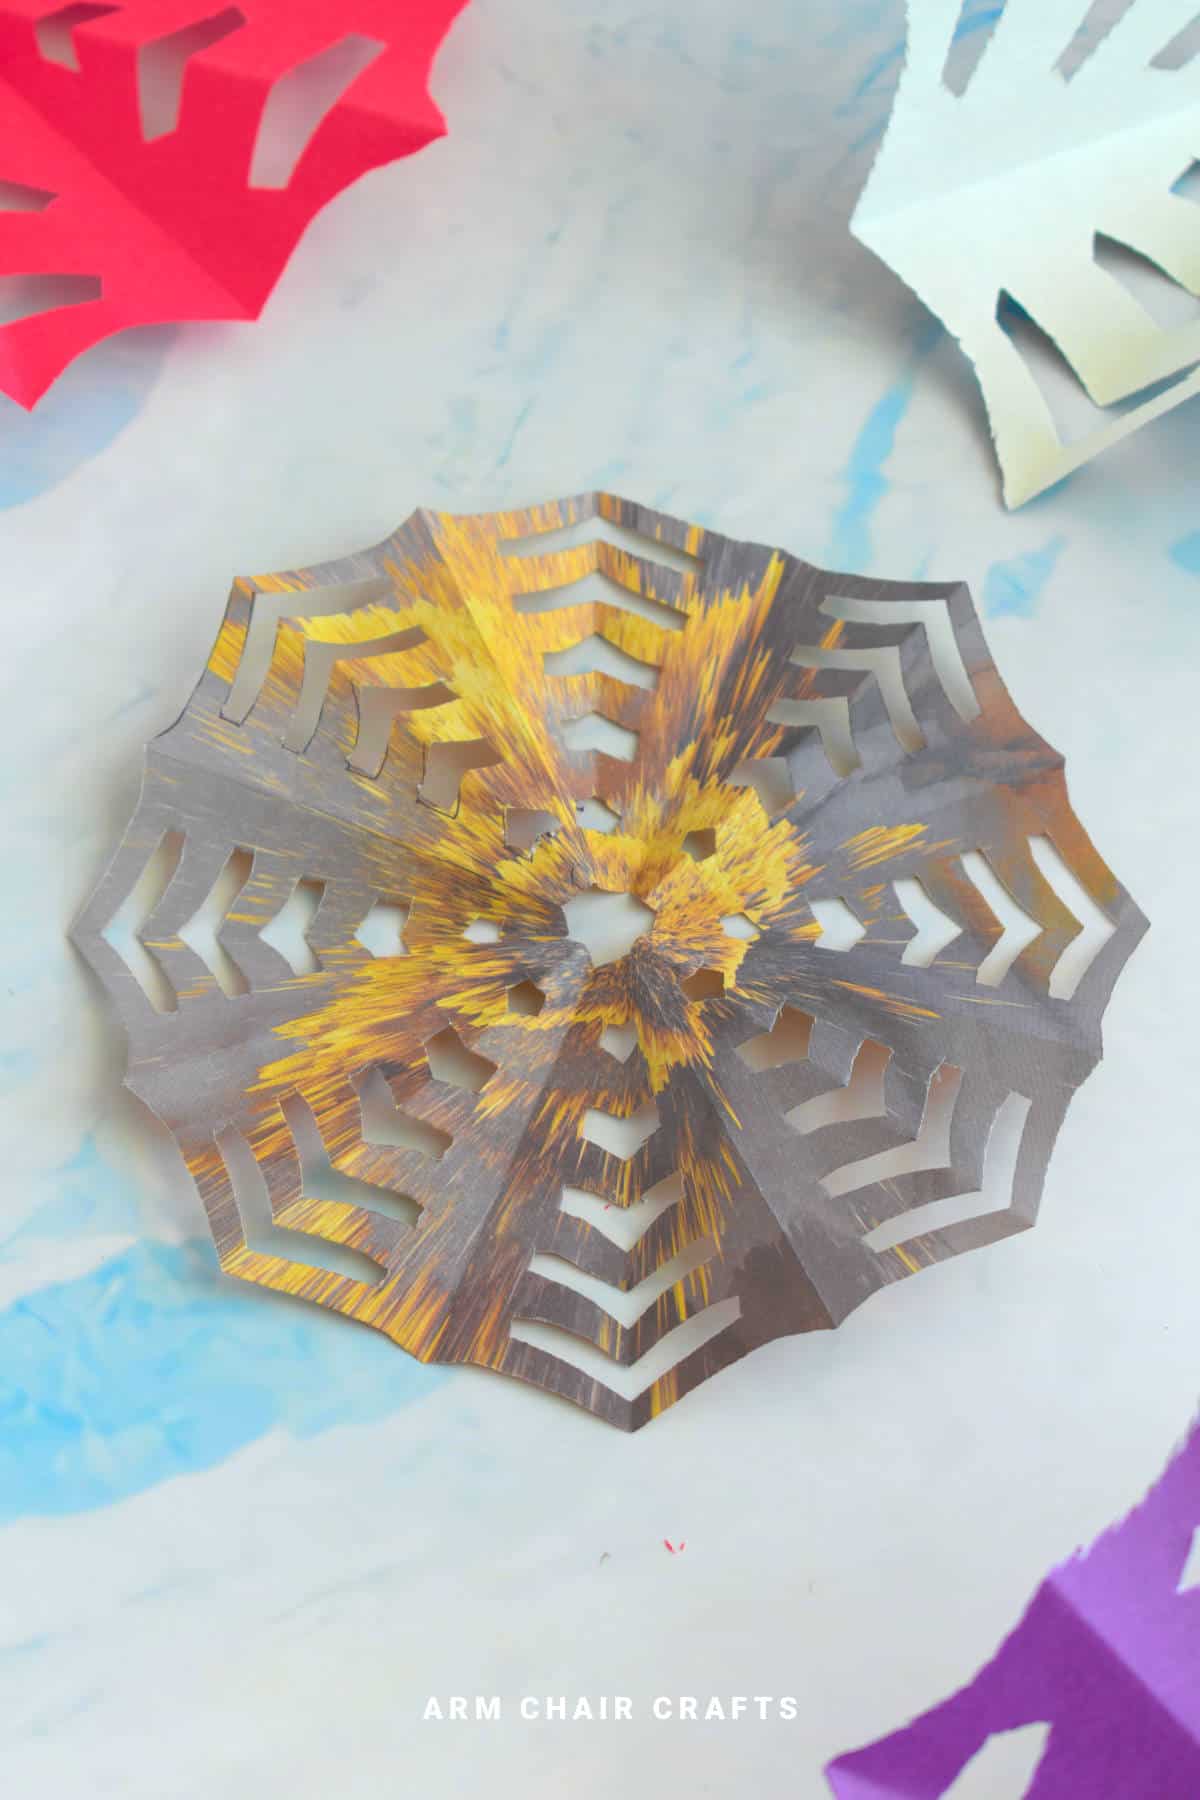
Color, Paper Ideas, and Variations
- Classic white: Tape white webs against dark windows for a ghostly look.
- Halloween colors: Use orange, purple, or black paper for a bolder style.
- Glitter webs: Cut from glitter or metallic paper for a party-ready decoration.
- Mini webs: Use smaller squares to make little spiderwebs for table settings or party favors.
- Layered webs: Overlap several webs of different sizes on a wall for a dramatic backdrop.
FAQ
No - any square paper works. You can cut standard printer paper into a square to make your easy paper spiderweb.
But it is easier if you use lightweight paper.
You could even use parchment paper if you want.
Just 5-10 minutes, making this a perfect quick Halloween craft.
Yes! With supervision when using scissors, kids can fold and cut spiderwebs easily.
Other Easy Crafts You Might Like To Try:
Stay Connected
Made this pattern? Let us know how it went in the comments below!
Pin this post - Pin now to take your paper crafting skills to the next level.
Share on Instagram or Facebook - Capture the beauty of your finished project and share it on Instagram or Facebook! Tag us @armchaircrafts so we can see your work!