Loose yarn ends can quickly take away from an otherwise polished crochet piece. Even when stitches are even and tension is consistent, unfinished ends make projects look messy or unfinished.
If you're learning how to weave in ends neatly in crochet projects, the goal isn't just to hide yarn, it's to secure it in a way that keeps the fabric stable over time.
Table of Contents
Weaving in ends is one of those finishing steps that can completely change how a crochet project looks and holds up.
Even well-made stitches can appear unfinished if yarn tails are visible or start working their way loose after a few uses.
This becomes especially noticeable when working on crochet projects where small finishing details often get overlooked in favour of learning stitches and patterns.
However, the way you secure your ends plays a big role in whether your project stays intact or slowly unravels over time.
When focusing on how to weave in ends neatly in crochet projects, it's not just about hiding yarn inside stitches, it's about locking it into the structure of the fabric so it becomes part of the piece rather than an afterthought.
Different stitch types, yarn textures, and project styles all affect how ends behave, which is why a single method doesn't always work for every situation.
Why weaving in ends properly matters
Loose ends in crochet aren't just a finishing detail, they behave like weak points in the fabric structure.
If they aren't secured correctly, they slowly respond to movement, washing, and tension changes in the rest of the project.
That's why a piece can look finished at first, but later start to show yarn tails creeping out or small areas loosening around where ends were hidden.
The issue becomes more noticeable in pieces that are handled often, like wearable items or functional projects, because the fabric is constantly flexing.
Even if the stitches themselves are strong, an unsecured end creates a separate movement point inside the fabric that doesn't behave like the rest of the work.
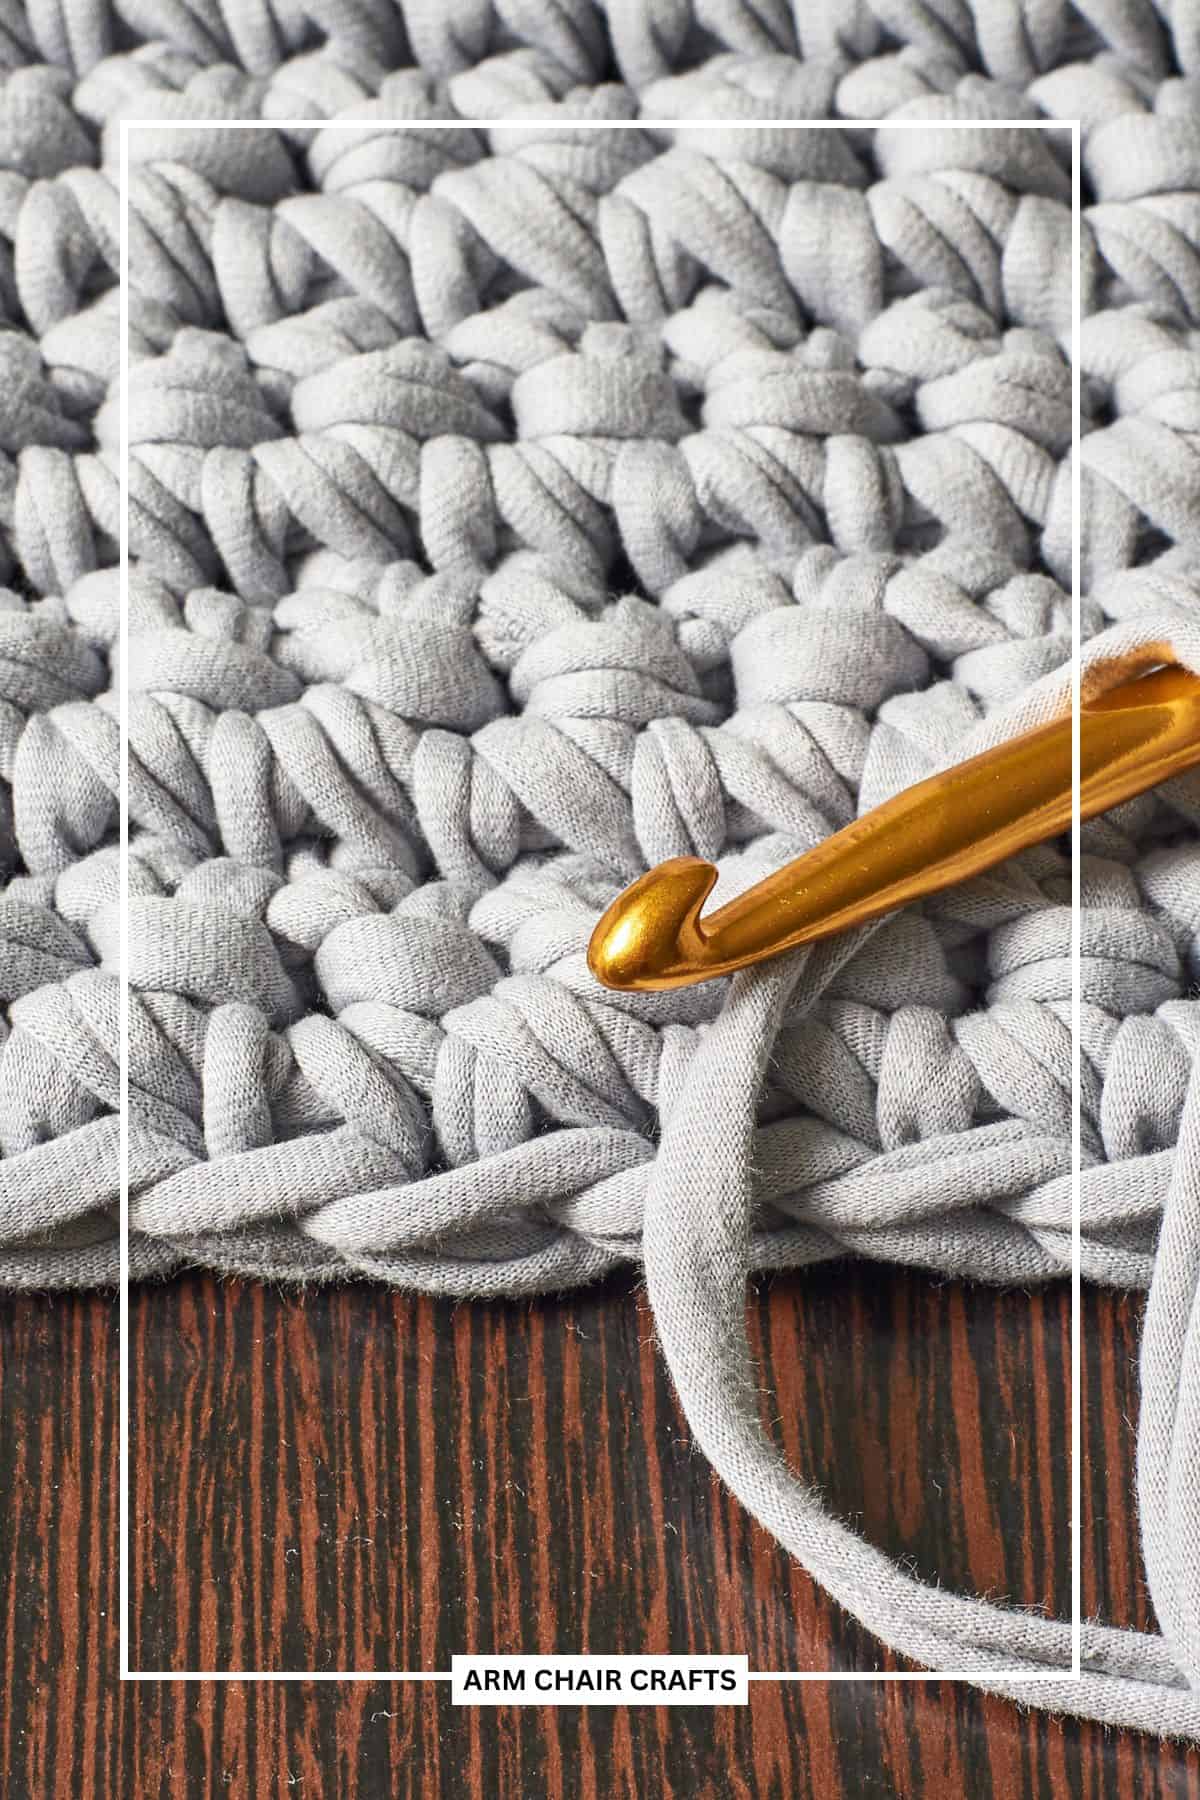
How to weave in ends so they actually stay secure
Work the yarn into the structure, not just the space
A common mistake is threading the yarn through open gaps between stitches rather than into the stitch structure itself.
This makes the end look hidden, but it isn't actually locked in. Over time, those smooth paths offer very little resistance, which allows the yarn to slide back out.
Instead, the goal is to pass the yarn through the body of the stitches, where multiple strands intersect, so it has to physically navigate through friction points rather than empty space.
Use direction changes to create natural "locking points"
If the yarn travels in only one direction, it behaves like a straight line under tension, which is easier to pull free. The strength comes from changing direction. When you weave forward, then slightly back, then shift sideways, you're creating multiple resistance points inside the fabric.
These changes don't need to be dramatic, even small directional shifts are enough to stop the yarn from behaving like a straight pull-through line.
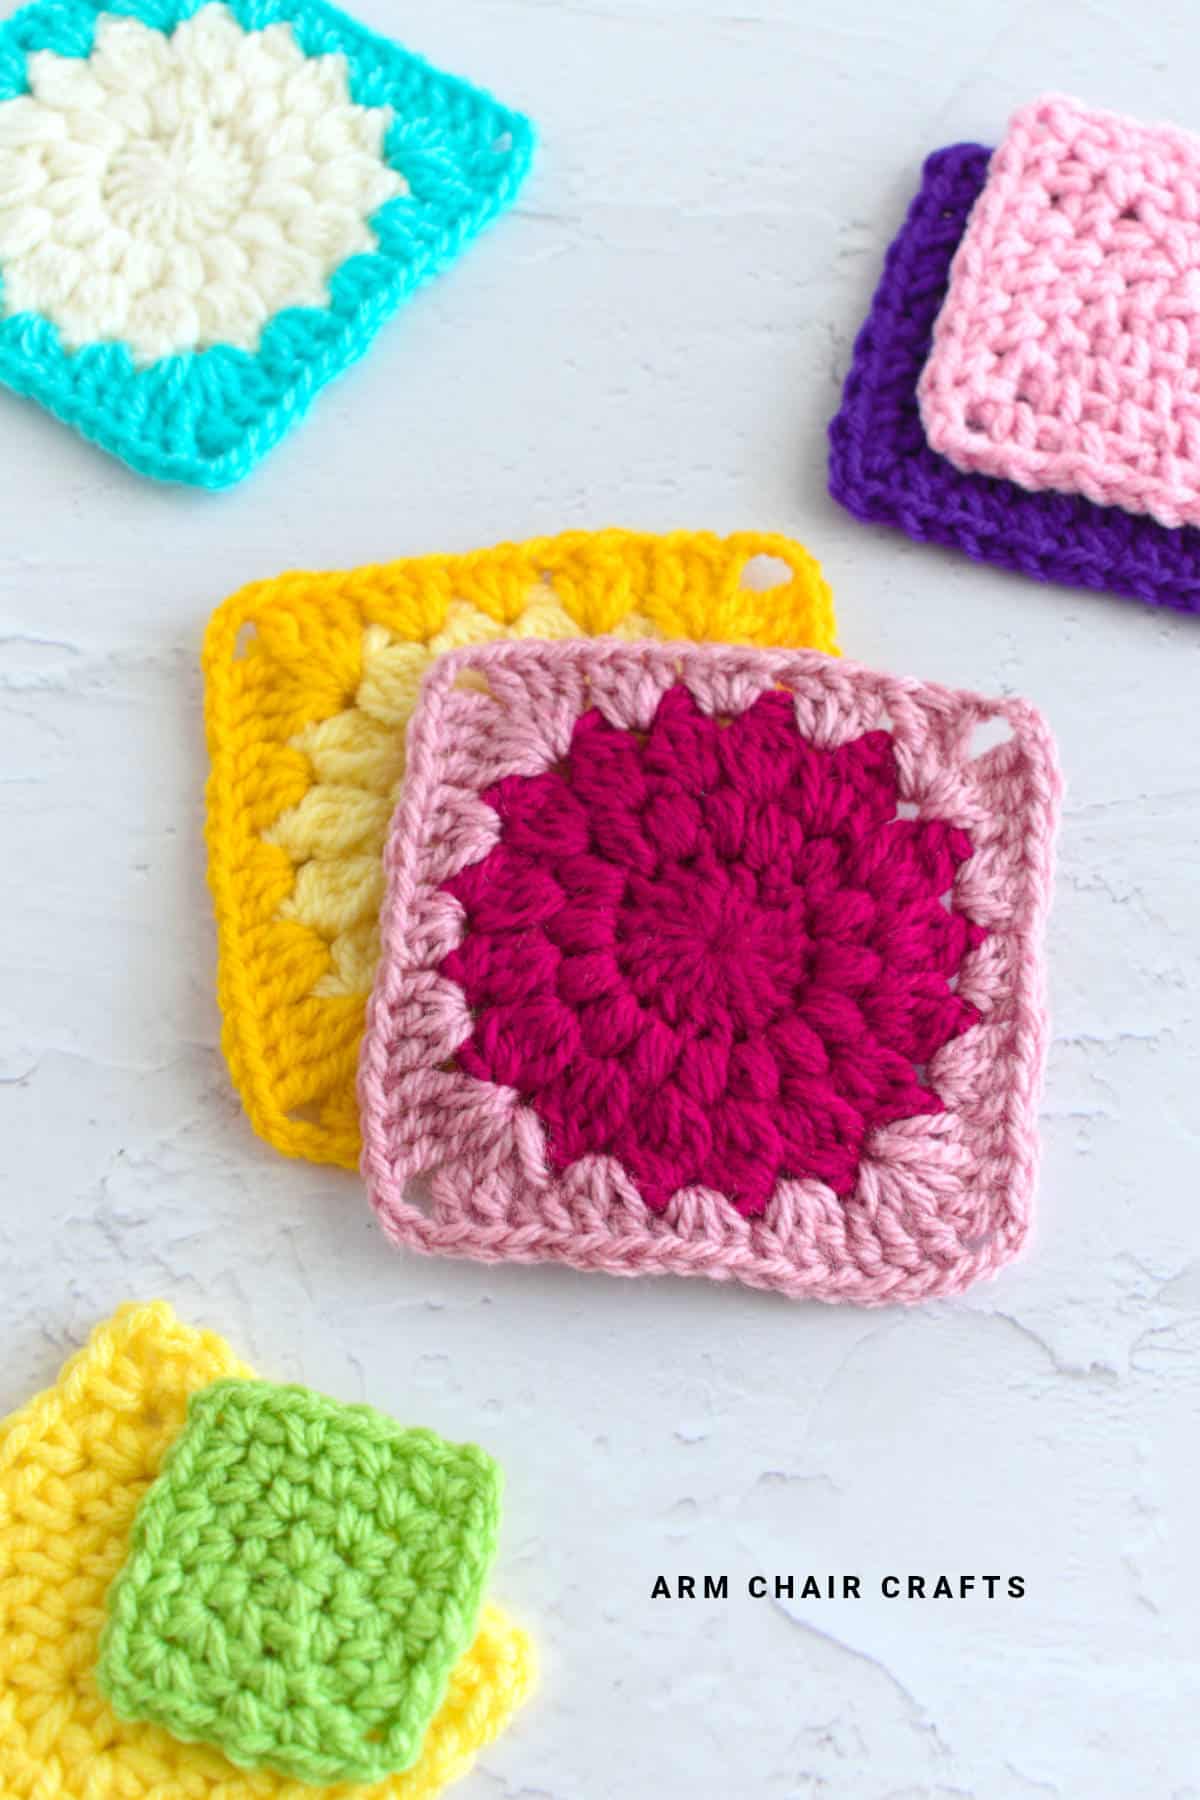
Anchor ends into different layers of the fabric
Crochet fabric isn't a single flat surface - it has depth. One of the most important differences between a secure finish and a weak one is whether the yarn is woven through multiple layers or just one row.
When the end is distributed through different depths of the stitch structure, it becomes part of the internal fabric rather than sitting in a single weak channel. This is what prevents ends from slowly working themselves loose over time.
Avoid over-tightening the woven path
A lot of people instinctively pull ends tight to "secure" them, but this can actually distort the surrounding stitches. Instead of locking the yarn in place, it compresses the fabric and creates tension imbalance, which can make the area more visible and sometimes even push the end back out.
The better approach is to let the yarn sit snugly within the structure without pulling surrounding stitches out of shape.
Cut only after the yarn has fully settled into the fabric
One of the most common causes of ends coming loose is cutting too early or too close. Even if the weaving path is correct, cutting before the yarn has been properly tensioned into place removes the final bit of resistance that keeps it anchored.
Leaving a small extra length of yarn before cutting, and gently letting the fabric relax afterwards, helps the end settle into the stitches so it stays more securely in place over time.

Common mistakes when weaving in ends
Treating weaving as a surface-level hiding step
If the yarn is only threaded through visible gaps, it may look tidy initially but won't hold under movement or washing. The problem isn't visibility - it's lack of structural engagement.
Using a straight-line weave pattern
A single forward pass creates a predictable path that can be reversed under tension. This is why ends sometimes slowly creep out even when they looked secure at first.
Ignoring fabric direction
Weaving against the natural direction of the stitches can cause slight distortion or visible bumps, especially in tighter fabrics. Aligning with stitch flow helps the yarn integrate more smoothly.
Overworking a single area
Focusing all weaving in one small section can create bulk and tension imbalance. Spreading the end across multiple points distributes pressure more evenly through the fabric.
FAQ
To weave in your crochet ends, thread the loose yarn through nearby stitches a few times, changing direction each time.
Going back and forth through 3-5 sections of stitches helps keep the end secure so it won't unravel.
Knotting alone isn't recommended because knots can come undone or create visible lumps in the fabric.
This usually happens when the yarn isn't anchored in multiple directions or hasn't been woven through enough structural resistance points.
Yes, especially wearable or functional items. Decorative pieces may sometimes be less strict, but secure finishing is still recommended.
Stay Connected
Made this pattern? Let us know how it went in the comments below!
Pin this post - Pin now to take your paper crafting skills to the next level.
Share on Instagram or Facebook - Capture the beauty of your finished project and share it on Instagram or Facebook! Tag us @armchaircrafts so we can see your work!
Exclusive PDF Patterns in the Recline and Unwind Club
Access ad-free, downloadable PDFs, the exclusive Arm Chair Craft's shop, and our growing community by joining the Recline and Unwind Club!