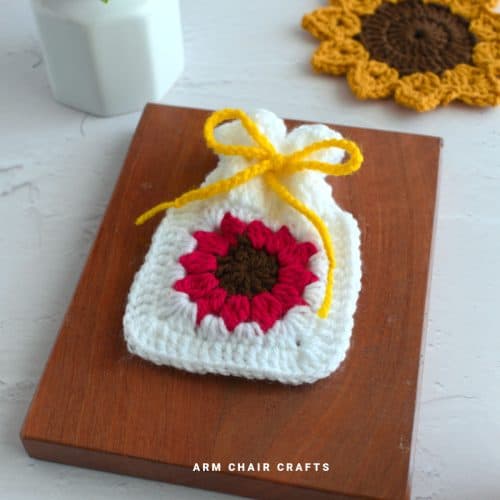
This crochet star trinket box is a functional and decorative project that's perfect for storing small items.
It's beginner-friendly, customizable, and works well as a gift or home accessory.
Exclusive PDF Patterns in the Recline and Unwind Club
Access ad-free, downloadable PDFs, the exclusive Arm Chair Craft's shop, and our growing community by joining the Recline and Unwind Club!
Jump to:
- Why You'll Love This Pattern
- Project Snapshot
- Materials Needed
- Yarn and Hook Information
- Stitches and Abbreviations - US Terms
- Special Stitches
- Gauge
- Emily's Notes
- Finished Size
- ⭐ Want more crochet projects like this? ⭐
- Instructions
- Crochet Tips, Yarn Choices, and Color Inspiration
- Perfect Occasions to Use This Craft
- How To Use This Craft
- FAQ
- More Crafts You Might Like To Try
- More Easy Patterns For You To Try
- Stay Connected
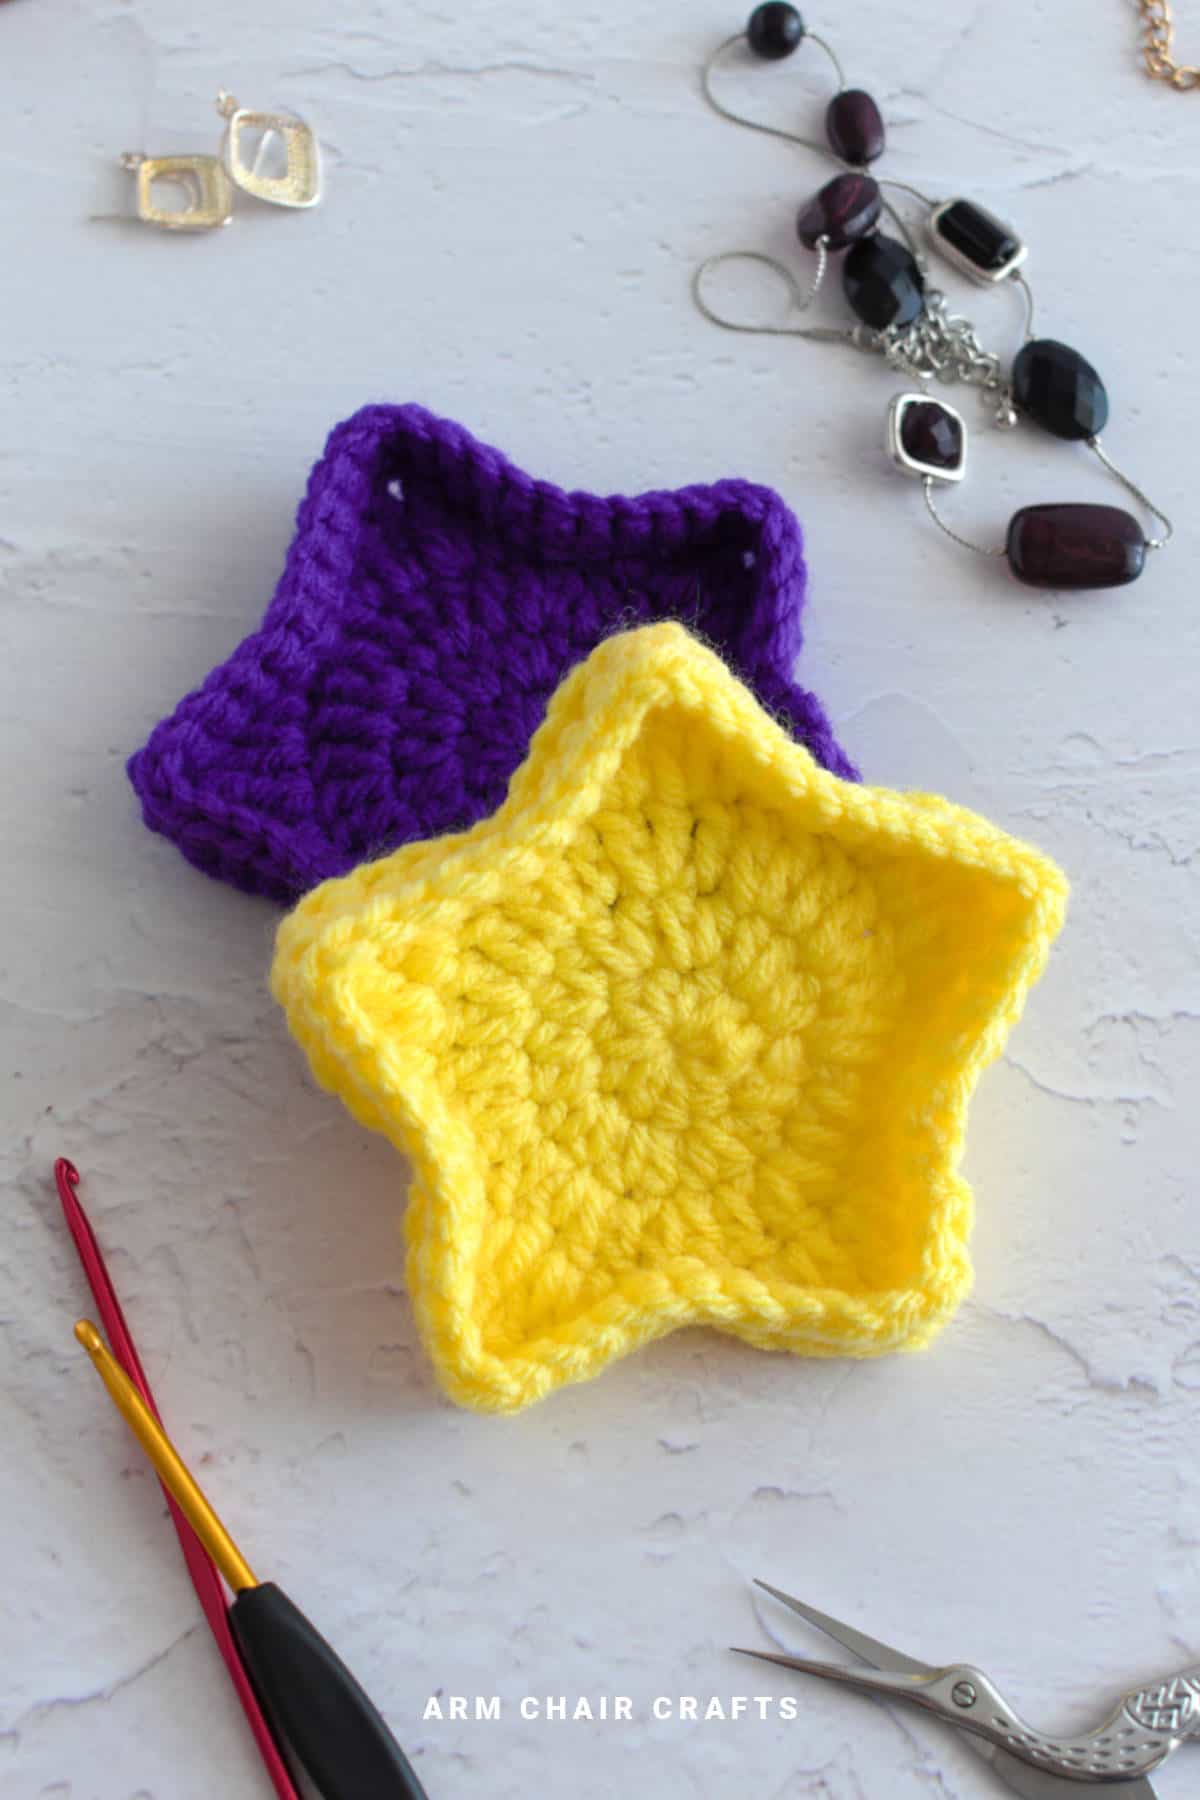
A crochet star trinket box is a small decorative storage container shaped like a star, designed to hold small items such as jewellery, keepsakes, or tiny accessories.
It combines shaping and structure to create a functional yet decorative piece.
The star shape adds structure and visual interest, turning a simple storage piece into something that stands out on a shelf, desk, or bedside table.
It's still practical, perfect for holding rings, earrings, hair ties, or small everyday items, but has that extra detail that makes it feel more intentional and styled.
This crochet star trinket box is especially useful if you want to make something functional without committing to a large project.
It works up quickly and gives you a finished piece that you'll actually use, rather than something that just sits in a drawer.
Make a smaller version for jewellery or travel storage, or go slightly larger to hold craft supplies or accessories.
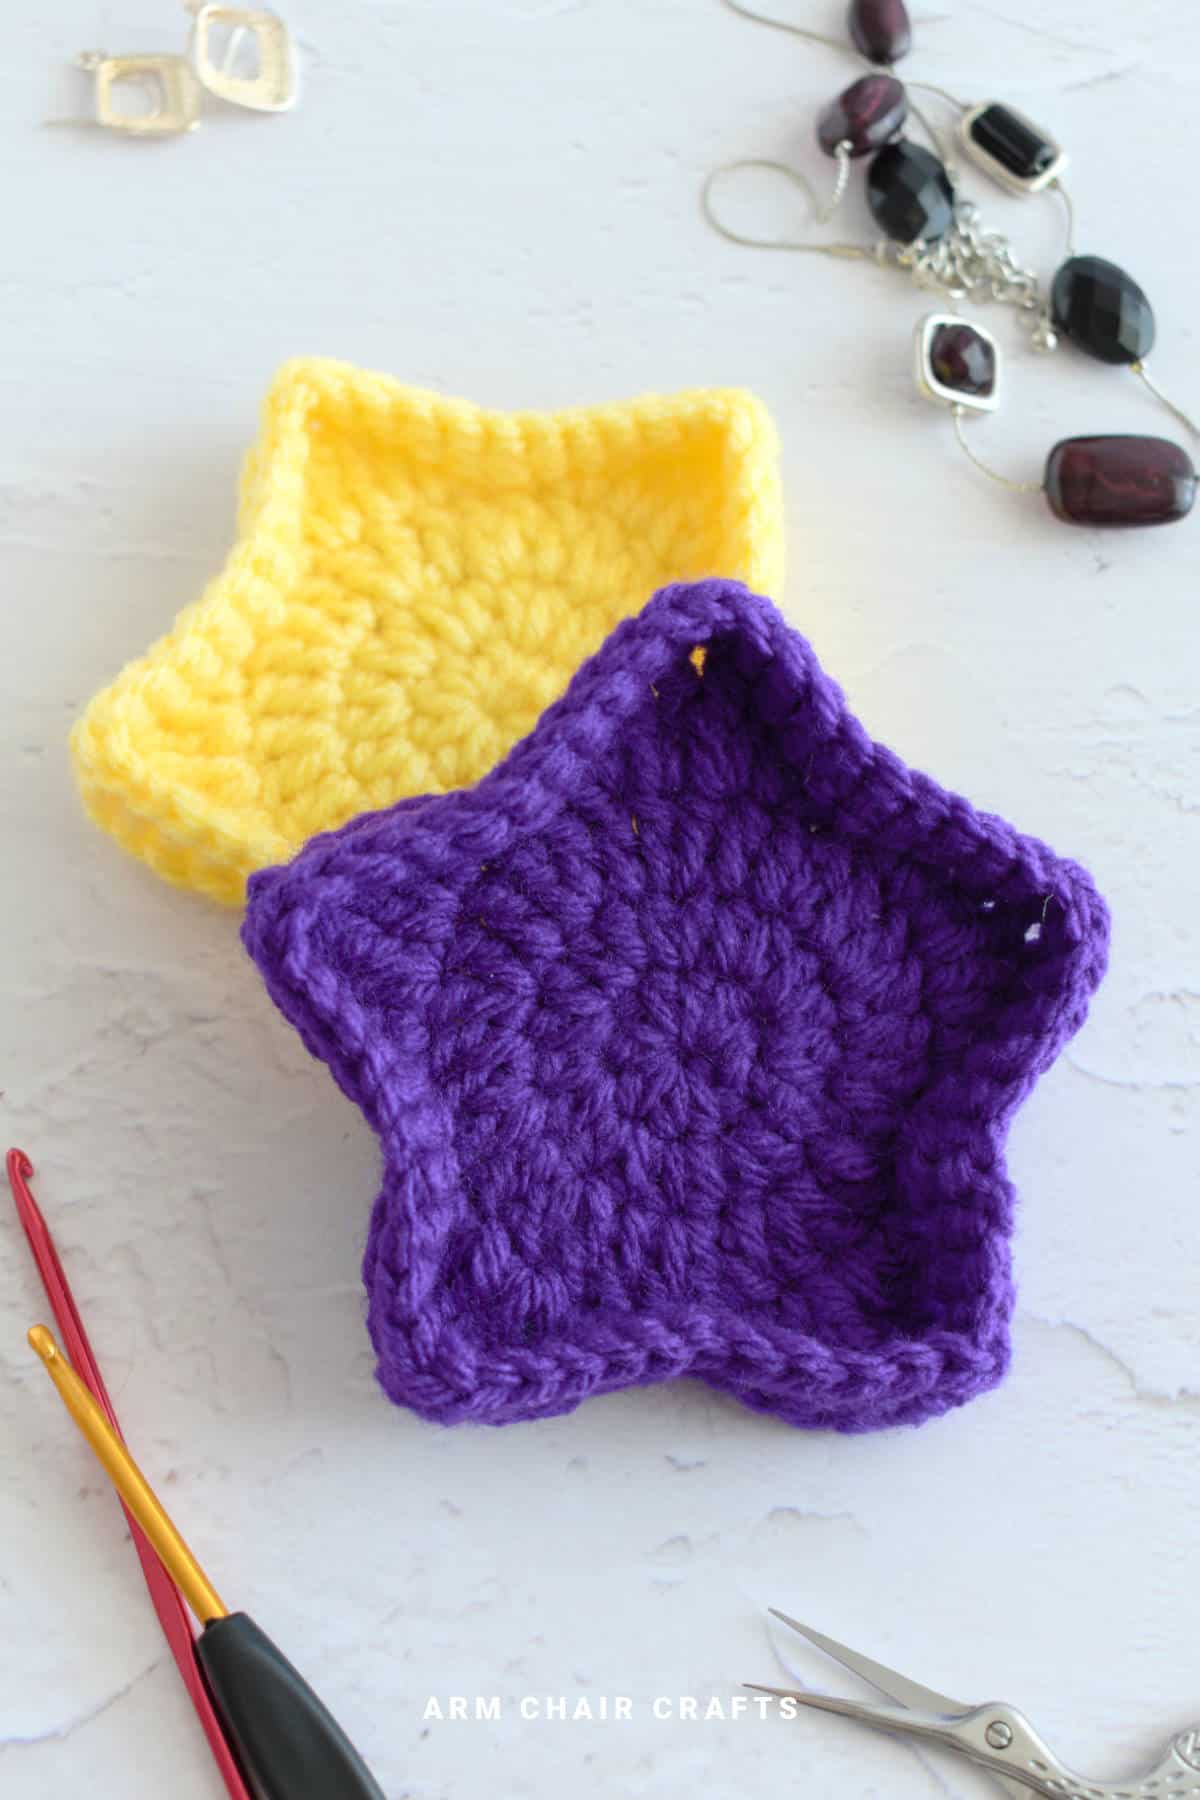
Color choices can completely change the look too-soft neutrals for everyday use, bright tones for a playful feel, or metallic shades if you're making it as a gift.
Whether you're creating something practical for yourself, love making crochet stars, or a handmade piece for someone else, this crochet star trinket box balances creativity with everyday usefulness.
Why You'll Love This Pattern
- Unique star shape that stands out from standard trinket boxes
- Functional storage for small everyday items
- Beginner-friendly with a slightly more advanced twist
- Customizable size, depth, and color combinations
- Great for gifts or decorative home pieces
- Works with a variety of yarn types for different finishes
- Combines creativity with practical use
Project Snapshot
Skill Level: Beginner
Time Needed: It took me under 30 minutes per trinket box.
Construction: Worked in rounds
Best For: Gifts, storage, keepsake boxes
Materials Needed
Yarn
- #4 medium acrylic yarn (also known as worsted, Afgan, Aran, or 10 ply) with 11 WPI*
- You will need about 17.50 yards / 0.35 ounces [16 meters / 10 grams] of yarn.
Hook
- 4 mm (G / 6) hook
Other
- Scissors
- Yarn needle for weaving in ends
*Wraps per inch (WPI) - this is a measure of yarn thickness. To measure WPI, count how many times the yarn wraps around a ruler in one inch. There are more wraps for thinner yarn and fewer wraps for thicker yarn.
Yarn and Hook Information
Cotton yarn or acrylic blends work well for this.
Stitches and Abbreviations - US Terms
- Ch - Chain
- St/s - Stitch/es
- Hdc - Half Double Crochet
- Sl st - Slip Stitch
- Dc - Double Crochet
- Sc - Single Crochet
- Tr - Treble Crochet (see special stitches below)
- Blo - Back loop only
- FO - Fasten Off
- [ ] at the end of each row indicates how many stitches are needed in that row.
Special Stitches
Treble Crochet
- Yarn over twice, insert hook into stitch and pull up a loop (4 loops on hook).
- Next, yarn over and pull through two loops (3 loops on hook).
- Then, yarn over and pull through two loops (2 loops on hook).
- Yarn over and pull through remaining loops (1 loop on hook).
Gauge
Gauge is not too important.
Emily's Notes
This is the kind of project where everything starts to feel more deliberate, you're thinking about structure as much as stitching.
Once it comes together, it feels more like a crafted object than a simple make.
Finished Size
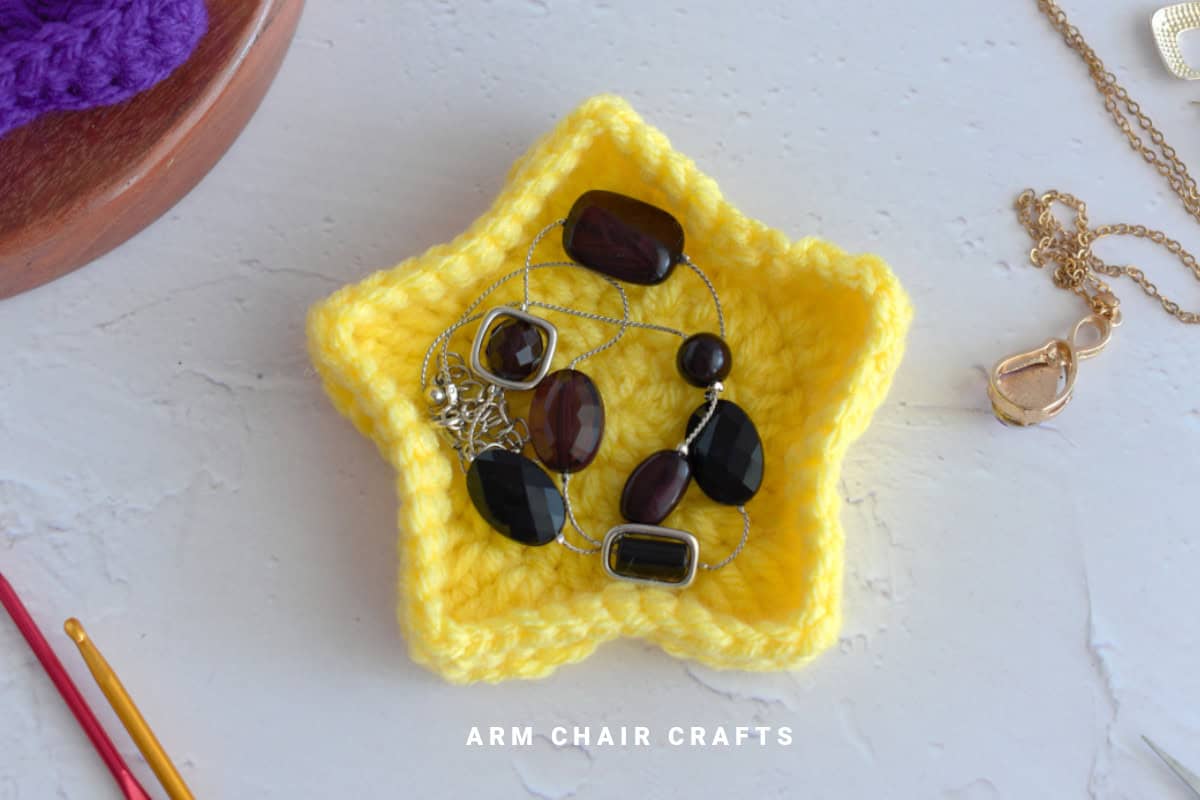
This crochet star trinket box is about 4 inches (10 cm) wide.
⭐ Want more crochet projects like this? ⭐
Join the Recline and Unwind Club to access ad-free crochet patterns, helpful tips, and more - your next favorite project could be waiting there!
Copyright Notice
This pattern and its contents are protected by copyright law. It may not be copied, altered, redistributed, resold, translated, or used to produce photo or video tutorials in any format, either in whole or in part.
You are permitted to sell finished items made using this pattern. However, the written pattern itself may not be sold, shared, or distributed in any form. When marketing or displaying your finished items, please photograph your own work and refrain from using any of my original images.
Sharing Guidelines For Roundups - Bloggers you are welcome to include this pattern in roundup posts as a link, as long as you use one photo and link directly (with a do follow link) back to the original post. For full details, please refer to my Terms of Use page.
Instructions
Round 1: Make a magic ring, ch1 (doesn't count as a stitch), 10 hdc into ring. Sl st into 1st hdc to join. [10 hdc].
Round 2: Ch1, 2 hdc in each st around, sl st into 1st hdc to join. [20 hdc].
Round 3: Ch1, 2 dc in next st, 1 dc in next st, *2 dc in next st, 1 dc in next st,* repeat from * around until you reach the end. Sl st into 1st dc to join. [30 dc].
You're almost there!
To unlock the final steps and complete your pattern, create a free account with Grow.me. below.
Make sure you tick the box to subscribe to our newsletter and stay up to date with the latest patterns, tips, and more!
Once you're signed up, you'll get instant access to finish your project and enjoy exclusive content in the future.
Already signed up? Hit the button below and select 'Switch to Log In' to pick up where you left off and finish your project!
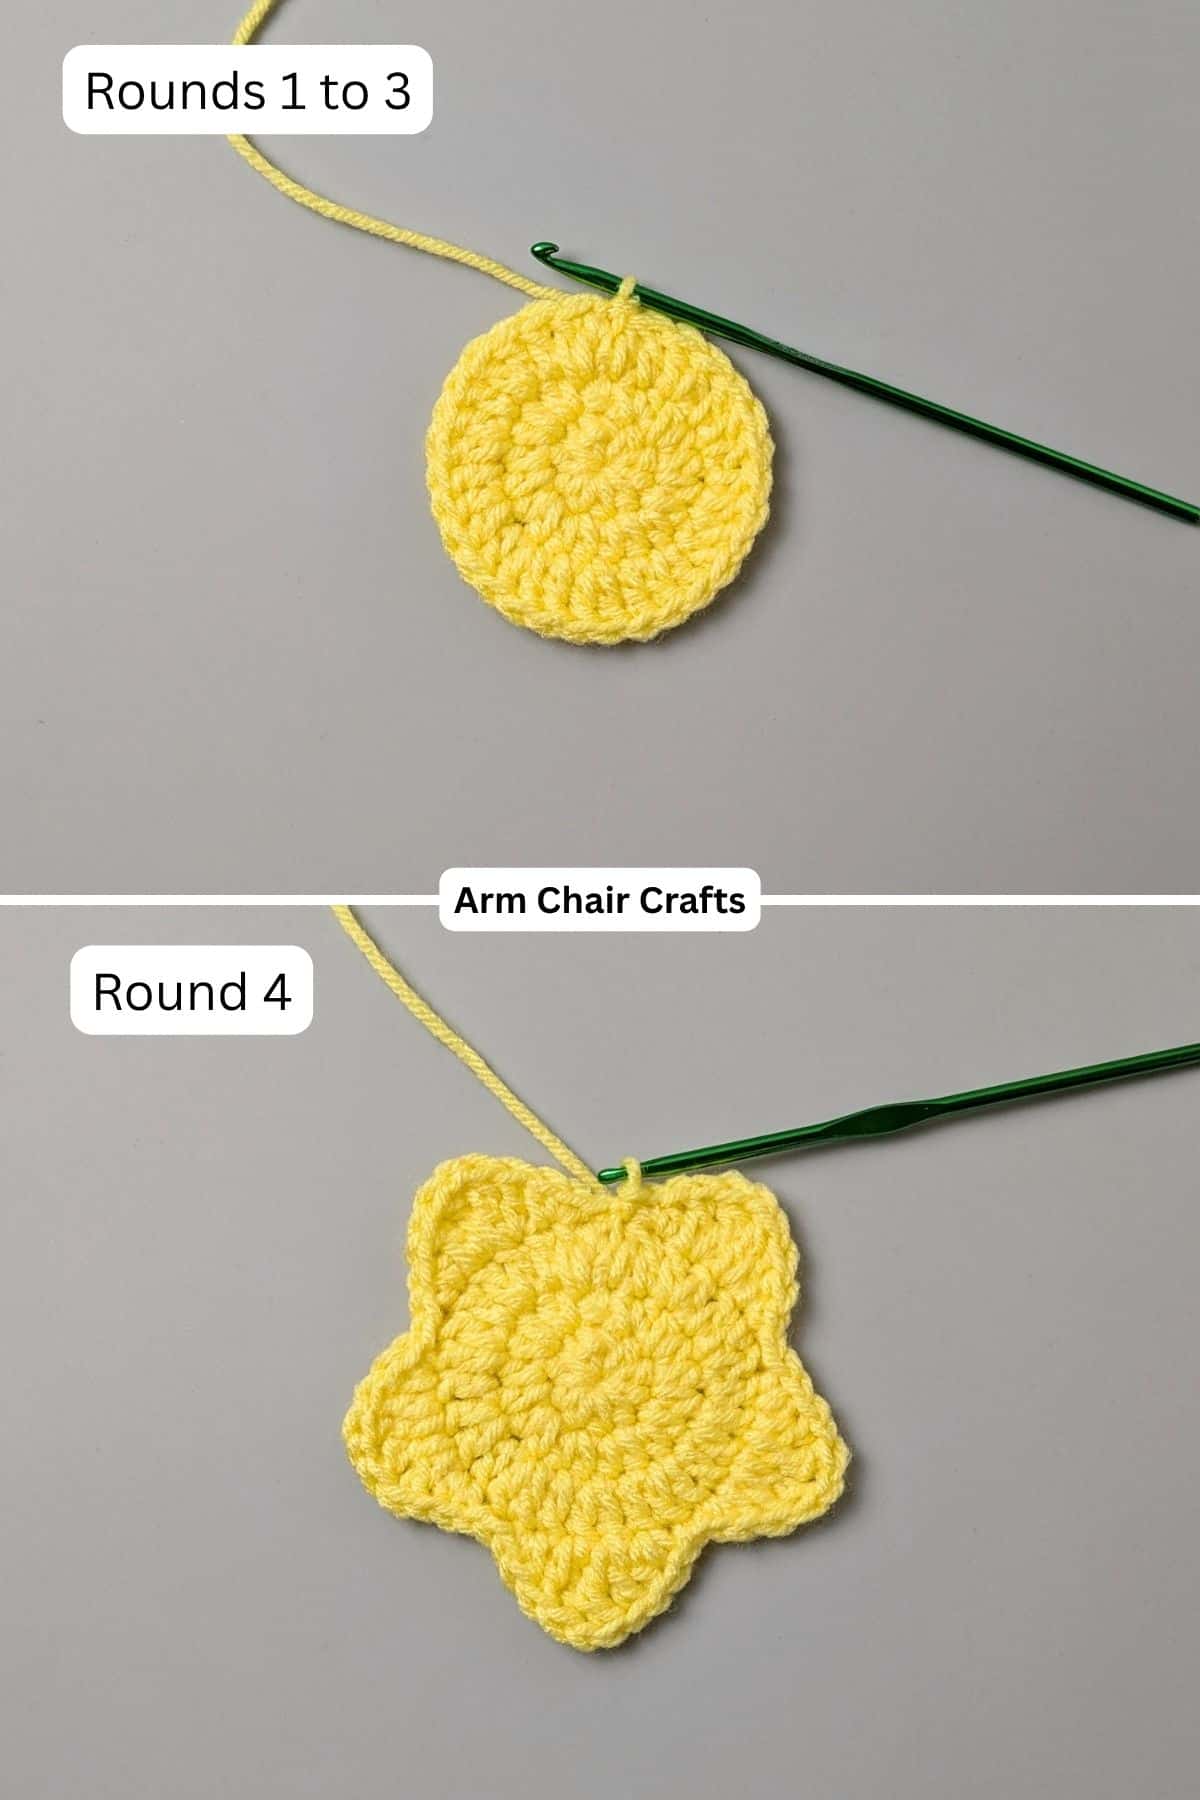
Round 4: *sl st into next st, (sc, hdc) in next st, (dc, tr) in next st, ch1, (tr, dc) in next st, (hdc, sc) in next st, sl st into next st,* finished star point cluster, repeat from * around 4 more times Note: there should be 2 sl st between each star point cluster [55 sts].
Round 5: Ch1, turn, 1 sc blo in each st around, sl st into 1st sc to join [55 sts].
Round 6: Ch1, 1 sc in each st around, sl st into 1st sc to join. FO and weave in any ends. [55 sts].
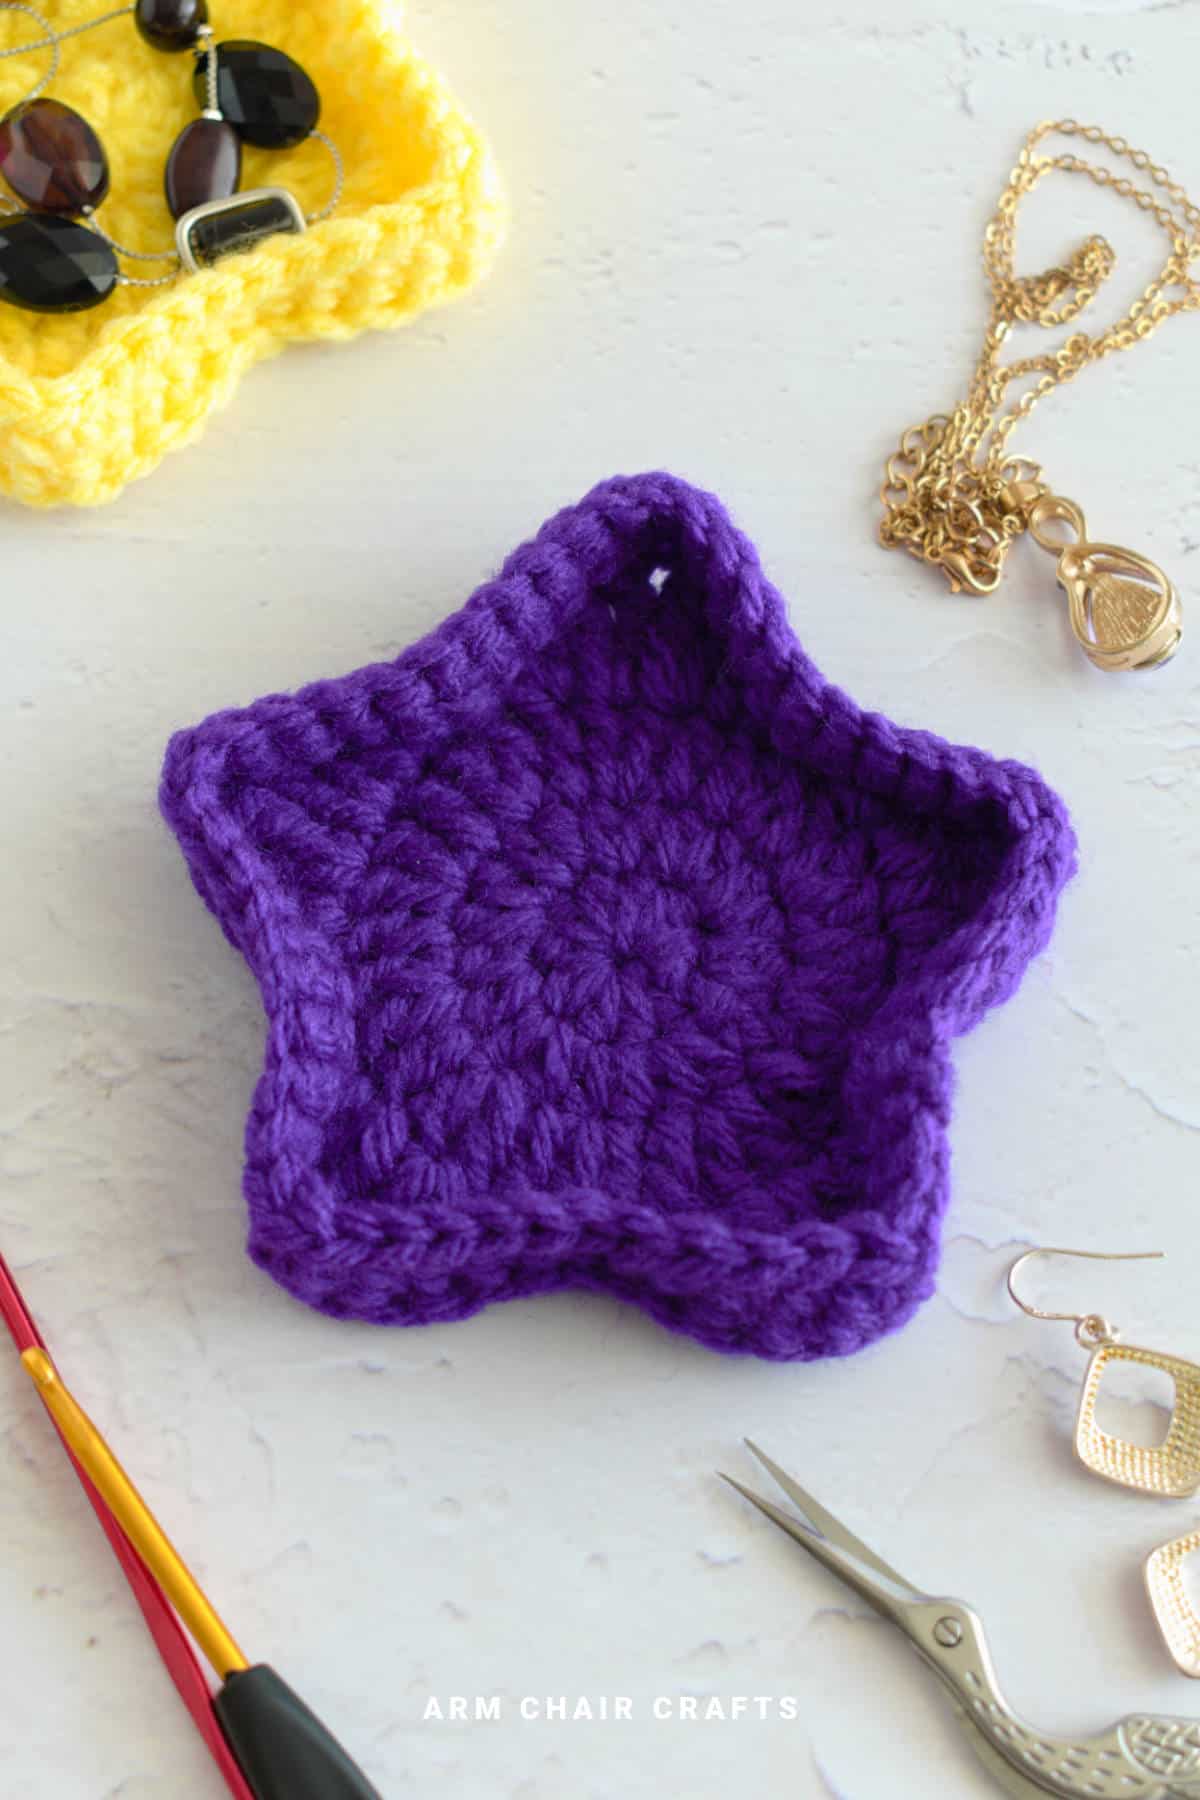
Use your fingers to shape the points to give them more definition. You might like to block the trinket box.
Looking for your next crochet project?
Explore the Recline and Unwind Club for exclusive ad-free crochet patterns, tips, and shop.
Crochet Tips, Yarn Choices, and Color Inspiration
- Go down a hook size to create tighter stitches and a firmer finish
- Highlight the star points with a contrasting color or subtle edging
- Keep stitch tension consistent to maintain even shaping
- Add a slightly thicker base if you want extra stability
- Try tonal color palettes (e.g. shades of blue or beige) for a more cohesive look
- Use metallic or shimmer yarn for a decorative, gift-ready finish
Perfect Occasions to Use This Craft
- Storing jewellery, rings, and small keepsakes
- Decorative storage for desks or bedside tables
- Handmade gifts for birthdays, holidays, or special occasions
- Organising small craft supplies like stitch markers or buttons
- Creating themed décor (stars for festive or nursery settings)
- Adding variety to handmade product ranges for markets
How To Use This Craft
- Keep on a bedside table for jewellery or daily essentials
- Use on a desk for clips, pins, or small accessories
- Gift as a functional handmade item
- Pair with other crochet pieces for a coordinated set
- Use as a decorative container even when empty
- Store small seasonal items or keepsakes
FAQ
It's beginner-friendly with some shaping involved, making it a good step up from basic projects.
Yes, it's a practical handmade item that feels thoughtful and can be customized with colors to suit the recipient.
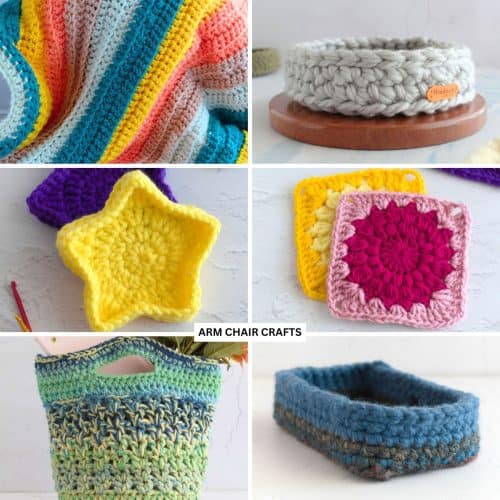
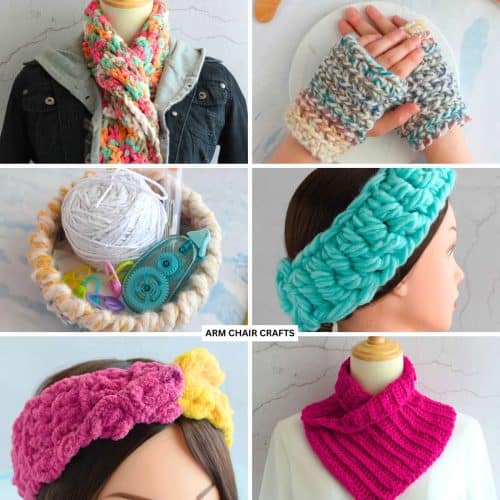
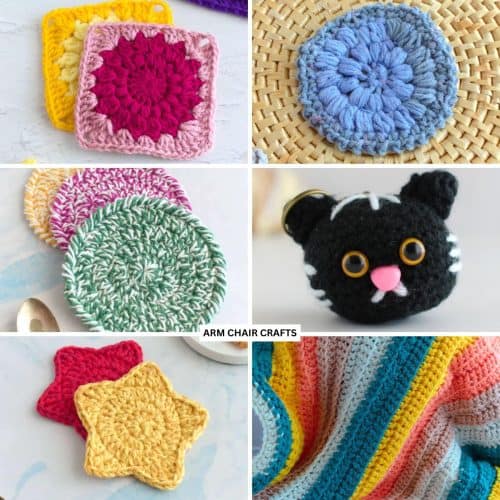
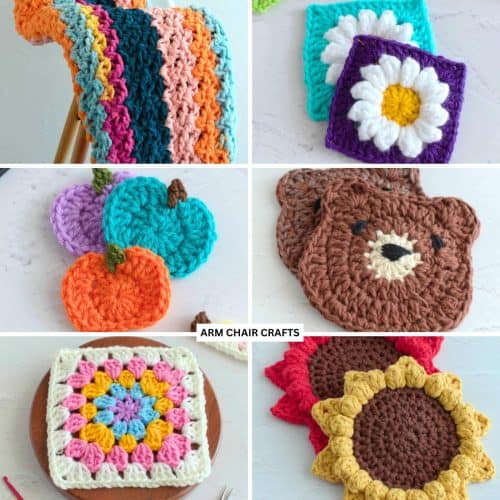
More Crafts You Might Like To Try
More Easy Patterns For You To Try
Looking for more patterns like this? Why not try one of these:


Stay Connected
Made this pattern? Let us know how it went in the comments below!
Pin this post - Pin now to take your paper crafting skills to the next level.
Share on Instagram or Facebook - Capture the beauty of your finished project and share it on Instagram or Facebook! Tag us @armchaircrafts so we can see your work!