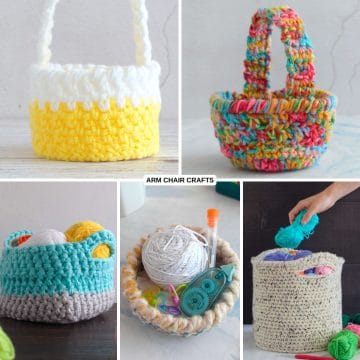
If you're looking for a fast, functional project, this chunky crochet basket with handles is the perfect match.
Made with jumbo yarn and simple stitches, it works up in under a day, even for beginners.
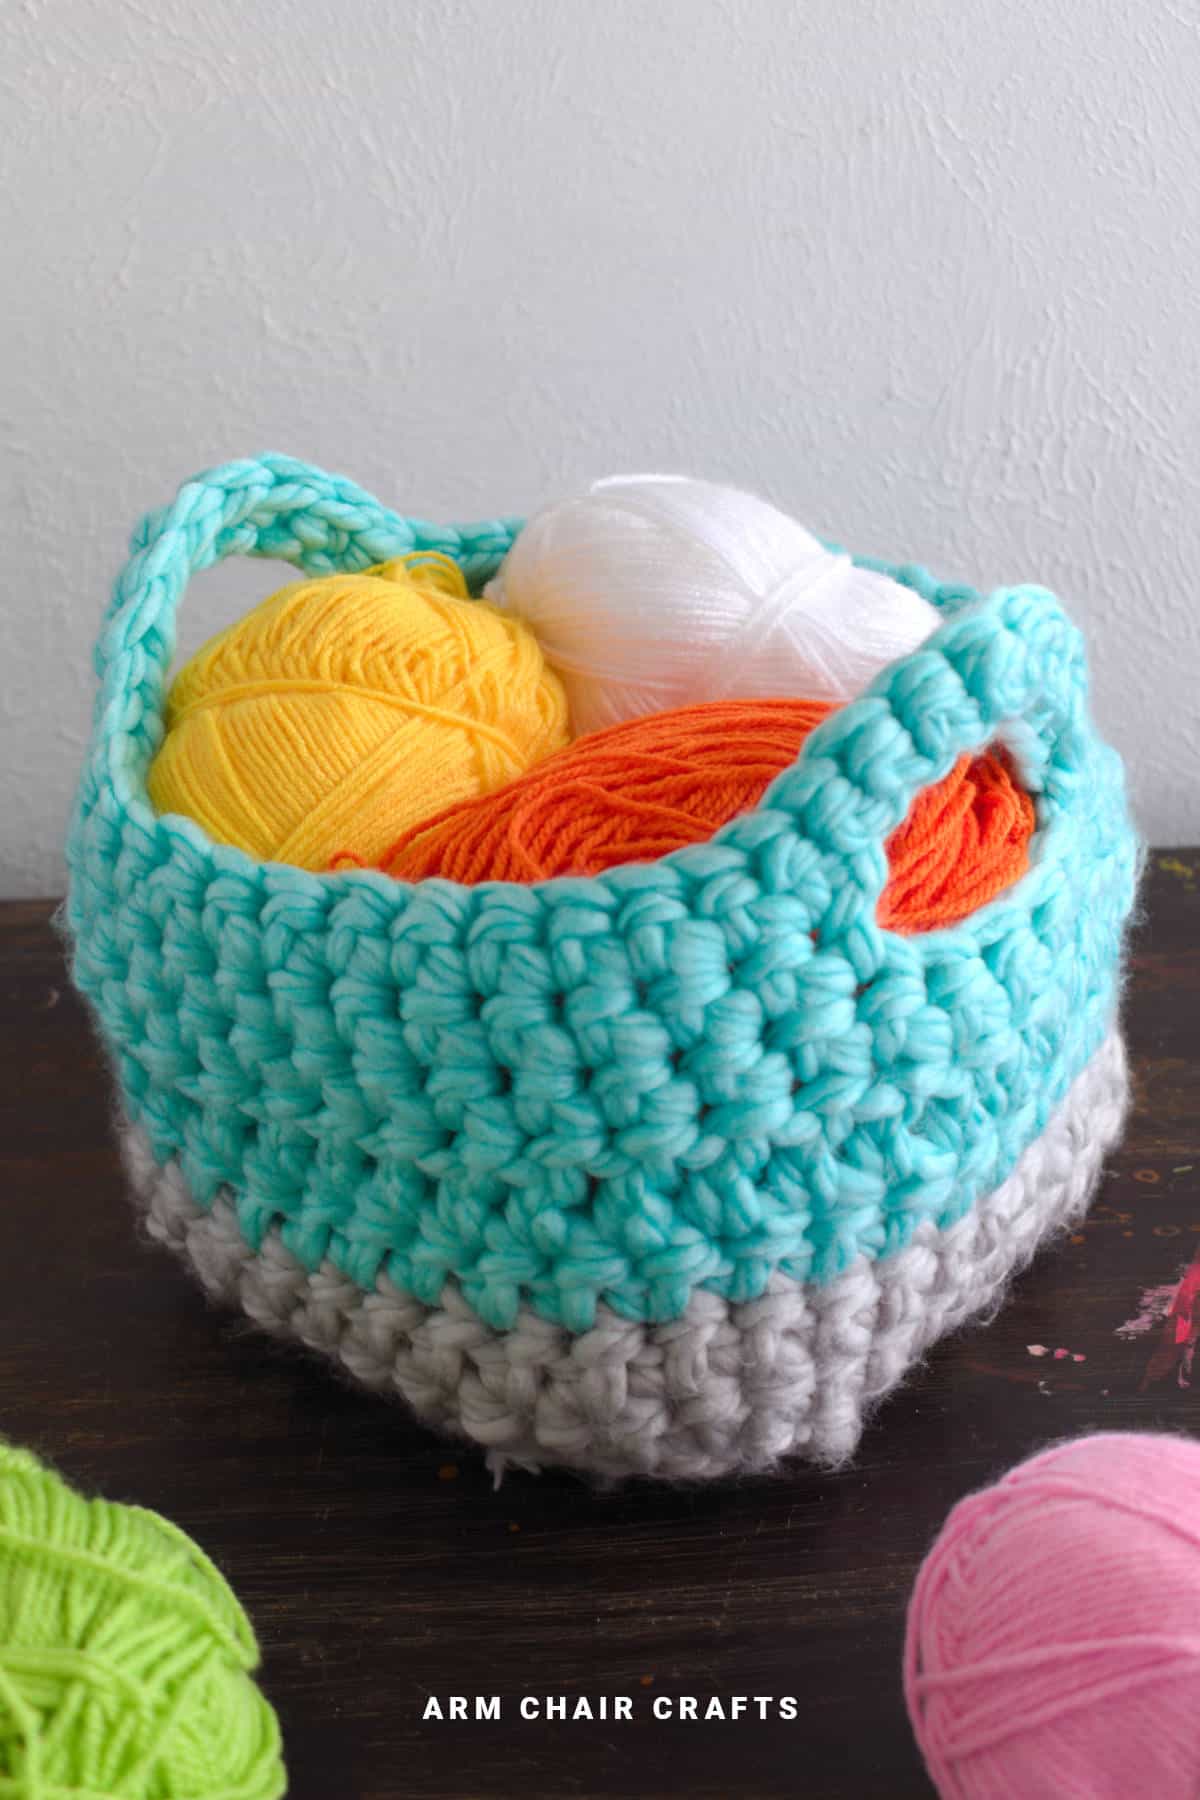
The two-tone design gives it a modern, cozy look while keeping it sturdy enough for everyday use.
Whether you need home décor, desk organization, or a quick crochet gift idea, this chunky crochet basket with handles is a satisfying, practical make.
Jump to:
There's something especially rewarding about crochet projects that look impressive but require very little time to complete, and this chunky crochet basket with handles checks every single box.
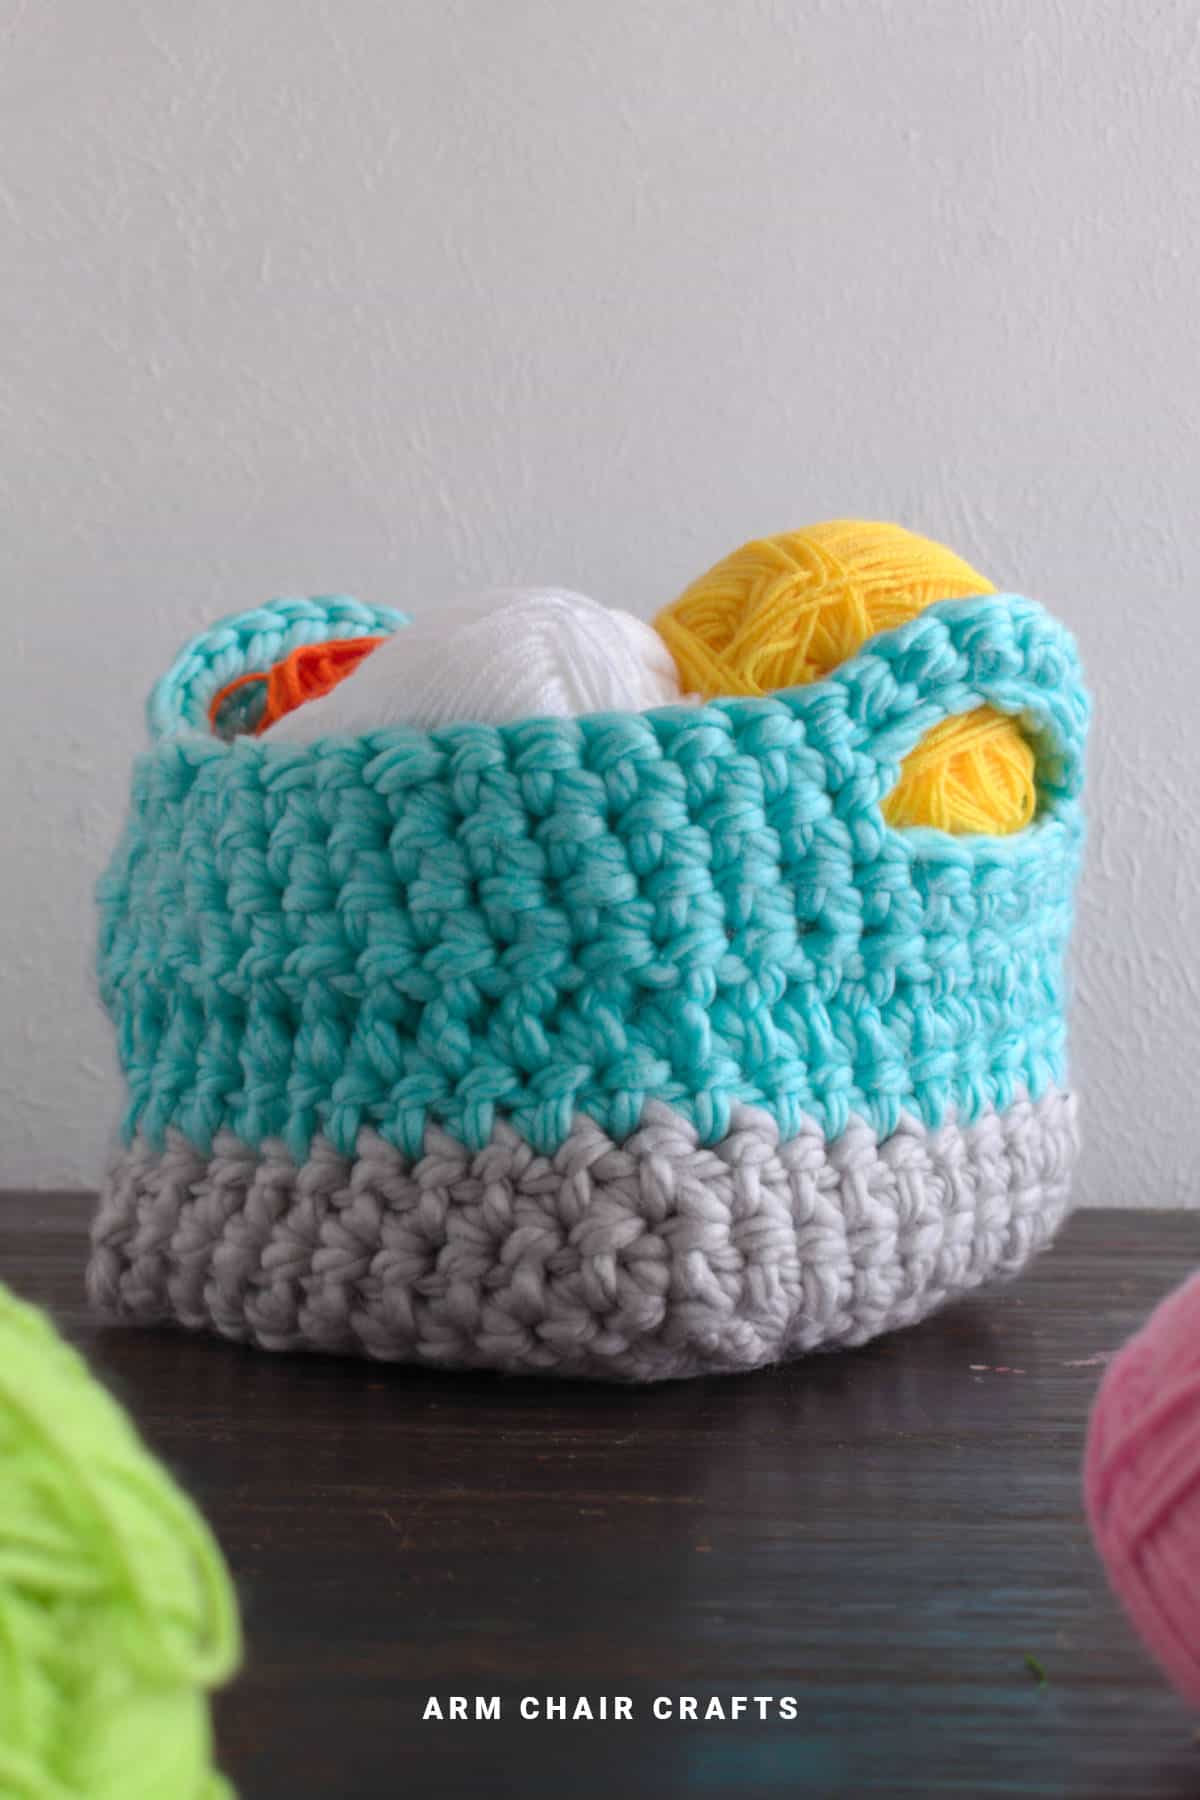
Using super thick jumbo or roving yarn, the basket grows quickly in your hands, building sturdy walls and bold texture with minimal effort.
It's an ideal project for beginners because the yarn does most of the work-its thickness adds structure without needing complex stitches or advanced techniques.
This chunky crochet basket with handles also shines in terms of versatility. Make one for your desk to hold hooks, pens, or small supplies.
Create a pair for your bathroom to store cotton pads or rolled washcloths. Or use it in a living room for remote controls, coasters, or small trinkets.
This crochet basket is an affordable crochet idea that works beautifully as a handmade gift.
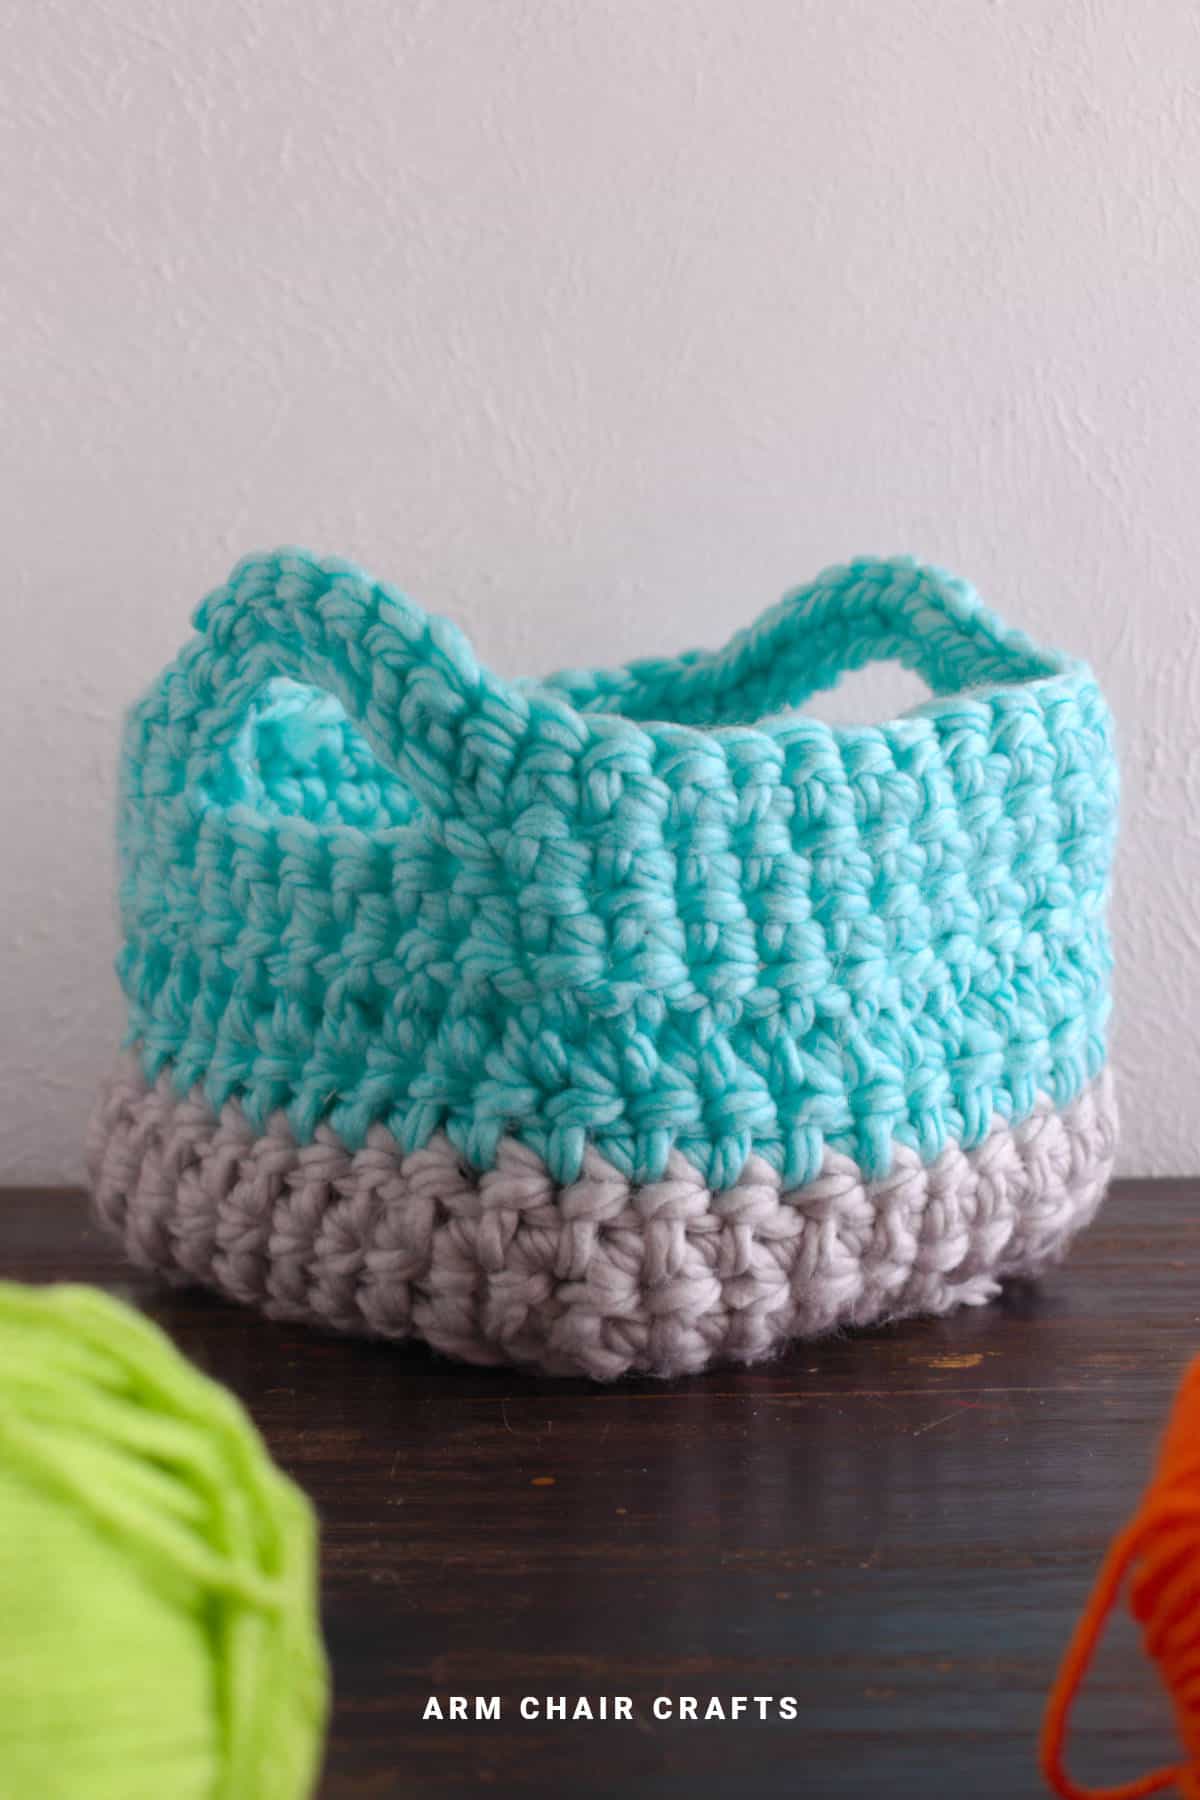
The two-tone color style adds a clean, modern touch, allowing you to match your basket to any décor theme.
Soft neutrals for farmhouse vibes, bold contrasts for a contemporary look, or warm seasonal tones-every version looks polished.
So whether you're making it for your home, gifting it, or simply enjoying a quick and useful crochet pattern, this chunky crochet basket with handles will instantly become one of your go-to makes.
Why You'll Love This Pattern
- This chunky crochet basket with handles works up incredibly fast thanks to jumbo yarn.
- The two-tone design gives the finished basket a stylish, modern look.
- It's an easy and approachable project, perfect for beginners.
- The built-in handles make it practical for everyday storage and organization.
Materials Needed
Yarn
- Acrylic Yarn (Jumbo, Roving) with 3 Wraps Per Inch (WPI)*
- You will need two colors for this basket. Of course, if you want to make this basket in one color, you can do that too.
- You will need about 9.70 ounces (275 grams).
Hook
- 12 mm hook (P/16)
Other
- Scissors
- Yarn needle
*Wraps per inch (WPI) - this is a measure of yarn thickness. To measure WPI, count how many times the yarn wraps around a ruler in one inch. There are more wraps for thinner yarn and fewer wraps for thicker yarn.
Stitches and Abbreviations - US Terms
- Ch - Chain
- St/s - Stitch/es
- Dc - Double Crochet
- Col - Color
- Sc - Single Crochet
- HHDC - Herringbone Half Double Crochet (see special stitches below)
- Sl st - Slip stitch
- Sk - Skip
- FO - Fasten off
- [ ] at the end of each row indicates how many stitches are needed in that row.
Special Stitches
Herringbone Half Double Crochet (HHDC)
Herringbone half double crochet is a unique crochet stitch that creates a diagonal, textured pattern reminiscent of herringbone fabric.
This stitch adds a beautiful texture to your projects and is excellent for scarves, shawls, and blankets.
Steps to Create Herringbone Half Double Crochet
- Yarn over and insert the hook into the stitch.
- Yarn over and pull up a loop; you now have three loops on your hook.
- Pull the first loop on your hook through the second loop on your hook.
- Yarn over and pull through the remaining 2 loops on your hook.
Gauge
4 inches x 4 inches (10 cm x 10 cm) = 4 rows x 5 stitches
Finished Size
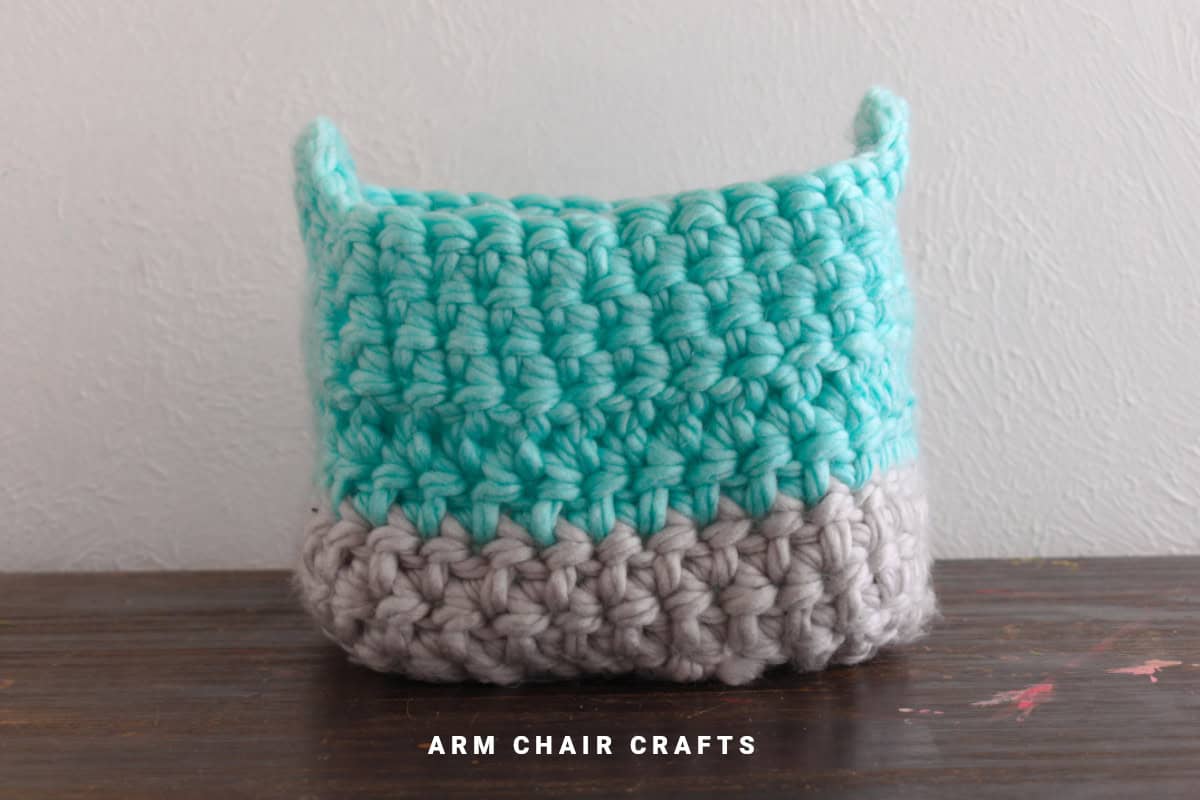
The finished crochet basket size is about 9 inches (23 cm) wide x 7 inches (18 cm) tall.
Copyright Notice
This pattern and its contents are protected by copyright law. It may not be copied, altered, redistributed, resold, translated, or used to produce photo or video tutorials in any format, either in whole or in part.
You are permitted to sell finished items made using this pattern. However, the written pattern itself may not be sold, shared, or distributed in any form. When marketing or displaying your finished items, please photograph your own work and refrain from using any of my original images.
Sharing Guidelines For Roundups - Bloggers you are welcome to include this pattern in roundup posts, as long as you use one photo and link directly (with a do follow link) back to the original post. For full details, please refer to my Terms of Use page.
Instructions
Col A - Base Color
Col B - Top Color
Making the Base
Foundation: Col A, Ch 13
Row 1: 1 dc into 4th ch from hook (skipped 3 chs count as dc), dc in each ch across. Turn. [11 dc].
Row 2-6: Ch2, dc in each st across. Don't fasten off after row 6. Your basket base should be about 8 inches x 8 inches (20 cm x 20 cm).
We are now switching to rounds to make the sides of the basket.
You're almost there!
To unlock the final steps and complete your pattern, create a free account with Grow.me. below.
Make sure you tick the box to subscribe to our newsletter and stay up to date with the latest patterns, tips, and more!
Once you're signed up, you'll get instant access to finish your project and enjoy exclusive content in the future.
Already signed up? Hit the button below and select 'Switch to Log In' to pick up where you left off and finish your project!
Crochet Tips, Yarn Choices, and Color Inspiration
- Jumbo yarn works best for sturdy sides-choose roving or lightly twisted fibers for a clean shape.
- For two-tone designs, pair a dark base with a light top for a bold contrast, or keep both colors neutral for soft, cozy home décor.
- Want a farmhouse feel? Try cream + oatmeal.
- Want modern? Use black + beige or charcoal + rust.
FAQ
Yes! Add more rows to the base for width or more rounds to the sides for height.
Yes, they can!
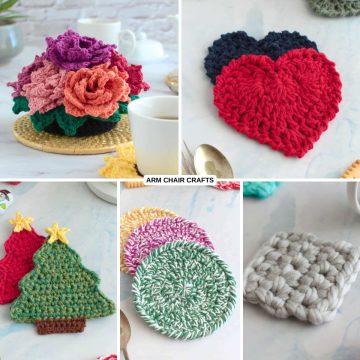
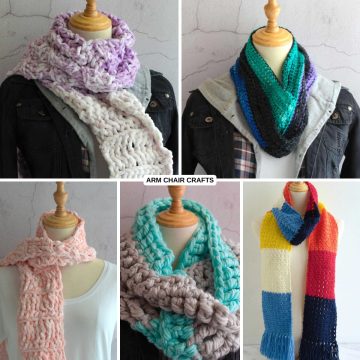
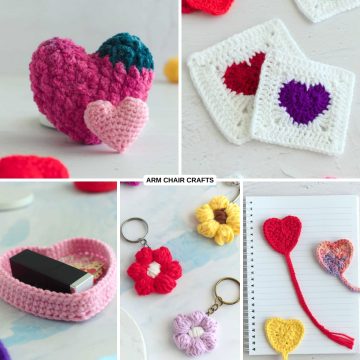
More Easy Patterns For You To Try
Looking for more patterns like this? Why not try one of these:


Stay Connected
Made this pattern? Let us know how it went in the comments below!
Pin this post - Pin now to take your paper crafting skills to the next level.
Share on Instagram or Facebook - Capture the beauty of your finished paper craft project and share it on Instagram or Facebook! Tag us @armchaircrafts so we can see your work!