Dress up your holiday table with this easy Christmas tree napkin fold.
Using just two paper napkins, you can create a flat, two-tone Christmas tree that looks charming on plates, trays, or buffet settings.

Jump to:
If you're looking for a simple yet eye-catching way to elevate your festive table settings, this easy Christmas tree napkin fold is a wonderful place to start.
With only two paper napkins, you can create a flat, layered Christmas tree design that instantly feels cheerful, tidy, and full of holiday spirit.
The best part? This easy Christmas tree napkin fold takes only a few minutes, and once you've learned the steps, you'll be folding a whole set without even thinking.
This project is perfect for Christmas dinner, brunch gatherings, potlucks, kids' tables, or even Christmas Eve dessert spreads.
Because this easy Christmas tree napkin fold uses paper napkins, cleanup is simple, but the result still feels polished and thoughtful - almost like you spent hours planning your table décor.
You can even choose napkins in different colors or patterns to create a lovely two-tone effect.
What makes this easy Christmas tree napkin fold so fun is how customizable it is.
Use green napkins for a classic tree, metallic napkins for a glamorous look, or patterned napkins for something different.
If you want to add even more charm, draw tiny ornaments with markers, slip a small candy cane underneath, or tuck your napkin trees into each place setting.
However you choose to use it, this easy Christmas tree napkin fold brings a warm, festive touch to your holiday table - and it's so simple that anyone can learn it.

Why You'll Love This Pattern
- Uses only two paper napkins - no special tools needed
- Fast, beginner-friendly fold perfect for holiday gatherings
- Creates a clean, flat, two-tone Christmas tree for plates or table settings
- Easy to customize with colors, patterns, or tiny decorations
- A charming way to add a special touch to Christmas meals without extra cost
- Great for last minute Christmas decorations.
- Can be made in advance!
- Budget friendly.
Materials Needed
2 x Standard square paper napkins.
A medium-weight napkin (around 60-80 GSM) works best for this project, as it holds folds well but is still easy to handle.
Instructions
Step 1: Open out both your paper napkins. Then, place them on top of each other, making sure both right sides are facing out (e.g. you have color on both the back and front once they are on top of each other), lining up the edges.
The color on the bottom will become the tip of your tree when folded.
Step 2: Fold the bottom edge up to meet the top edge.
Step 3: Fold the right edge to meet the left edge.
Step 4: Rotate your folded napkins anti-clockwise, until it sits like a diamond shape. You want the bottom left and bottom right edges to be open and the folded edges to be on the top left and top right. This is important.
Step 5: Fold the bottom edge up (top 2 layers only) to sit just below the top point.
Step 6: Once again, fold the bottom edge up (top 2 layers only), to sit just below the point you folded up in the previous step.

You're almost there!
To unlock the final steps and complete your pattern, create a free account with Grow.me. below.
Make sure you tick the box to subscribe to our newsletter and stay up to date with the latest patterns, tips, and more!
Once you're signed up, you'll get instant access to finish your project and enjoy exclusive content in the future.
Already signed up? Hit the button below and select 'Switch to Log In' to pick up where you left off and finish your project!
Step 7: Repeat previous step for the next 2 layers.
Step 8: One more time, fold the bottom point up (with the remaining layers) to sit just below the point you folded up in the previous step.
Step 9: Flip your napkin over from left to right.
Step 10: Fold the right point in to meet the point shown.
Step 11: Fold the left point in to meet the point shown.

Step 12: Flip your napkin over from top to bottom.
Step 13: Working in 2 layers at a time, and from top to bottom, fold each of the points up, tucking them in to the previous points (note, the top point will not tuck into anything).
Step 14: Completed Christmas tree napkin fold.

Tips For Success
- Choose napkins with different colors for the two layers to get a clearer two-tone effect.
- Thicker napkins hold shape better and look neater on the table.
- Press each fold sharply so your Christmas tree stays flat.
- Add a small star sticker or tiny bow to the top for a festive touch.
- Fold napkins ahead of time and stack them so you're not rushing before guests arrive.

Color, Paper Ideas, and Variations
- Traditional look: Layer dark green and light green napkins.
- Winter wonderland: White napkins with silver or gold accents drawn on with markers.
- Festive fun: Patterned Christmas napkins on top with a solid color underneath.
- Kids' table: Use bright colors like red, lime green, or blue and let kids add their own decorations.
- Elegant style: Black or navy napkins with metallic silver or gold details.
FAQ
Yes - fold them in advance and stack them carefully so they stay neat.
Yes, you can. However, you may need to iron the cloth napkins between steps to help them hold their shape better.
Stay Connected
Made this pattern? Let us know how it went in the comments below!
Pin this post - Pin now to take your paper crafting skills to the next level.
Share on Instagram or Facebook - Capture the beauty of your finished paper craft project and share it on Instagram or Facebook! Tag us @armchaircrafts so we can see your work!

Other Patterns You Might Like To Try:
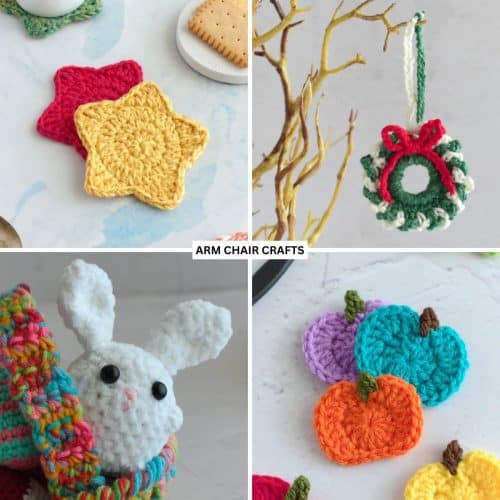
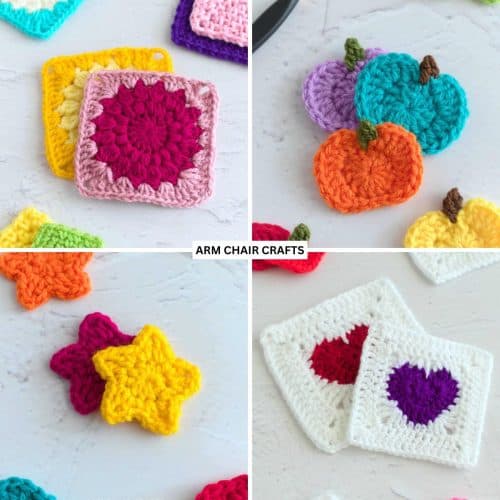
- Seasonal Crochet Ideas (Christmas, Easter, Halloween And More)
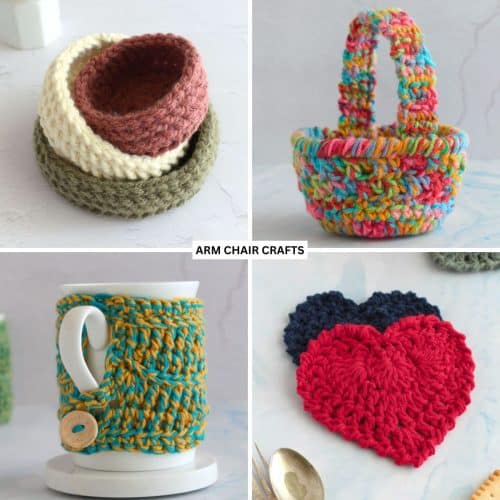
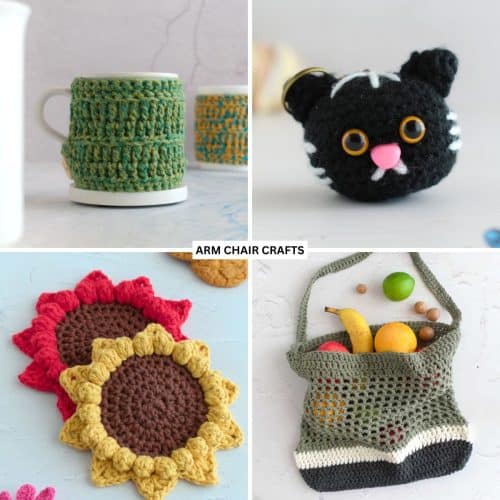
- Small Functional Crochet Items (Everyday Useful And Giftable Makes)
- Easy Crochet Projects for Beginners (Ultimate Guide)
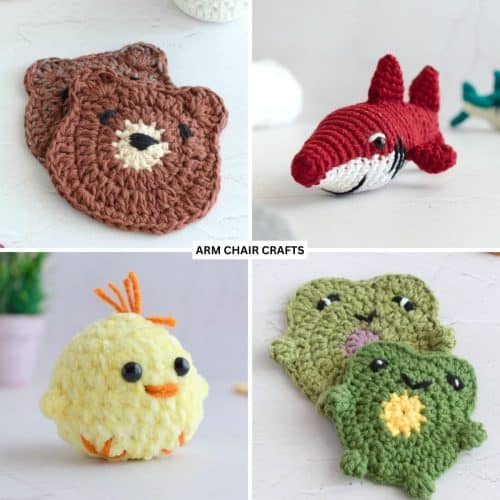
- Cute Crochet Animals And Amigurumi Projects
- Crochet Wearables (Scarves, Hats, Gloves And Headbands)
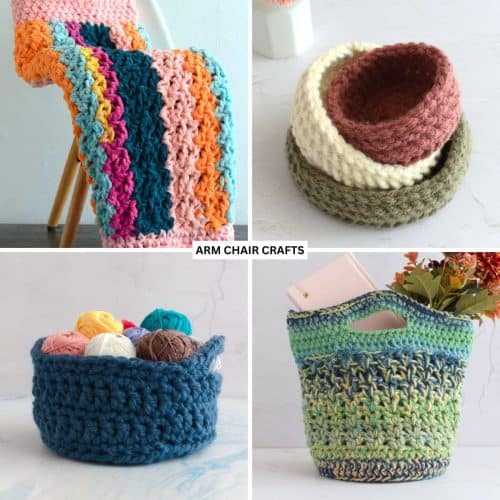
- Crochet Home Decor Ideas (Blankets, Baskets And Room Decor)
- Crochet Motifs And Granny Square Patterns
- Crochet Gift Ideas