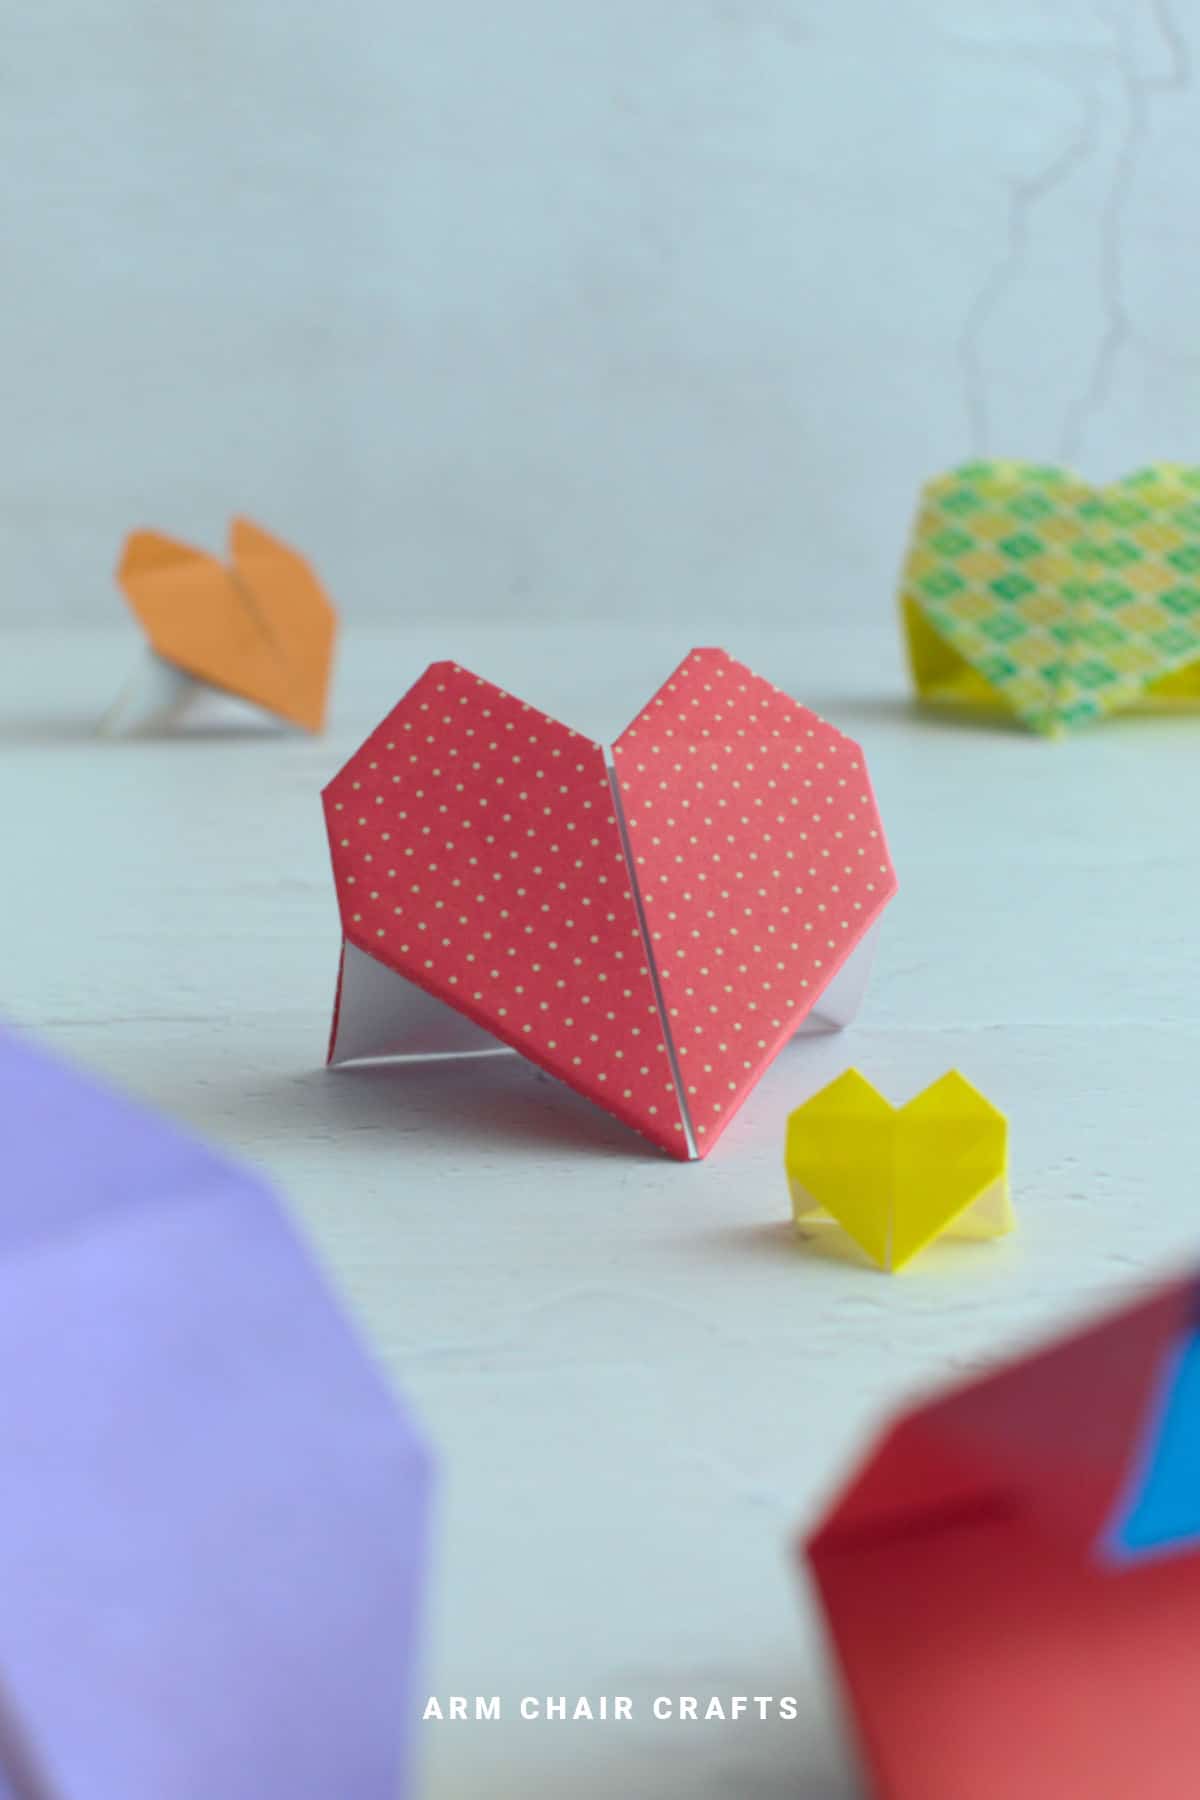
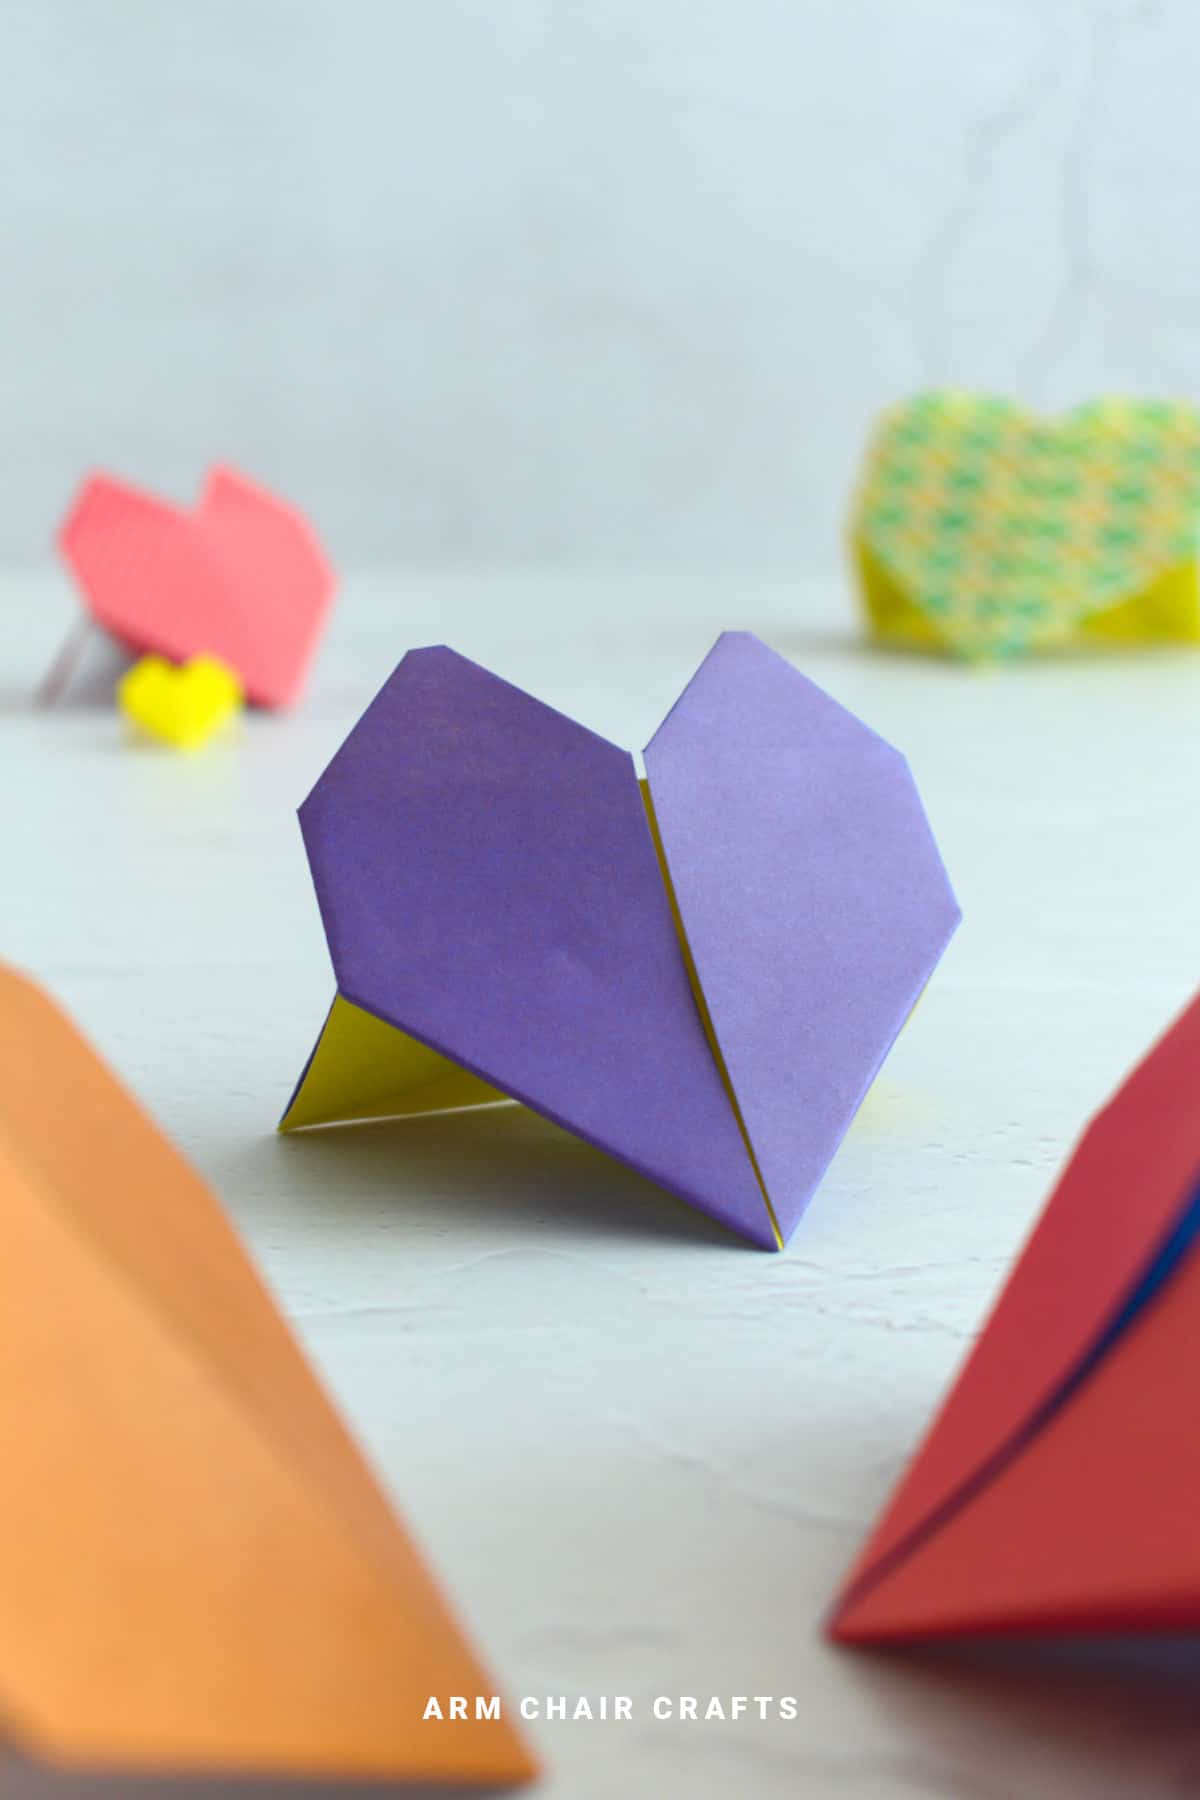
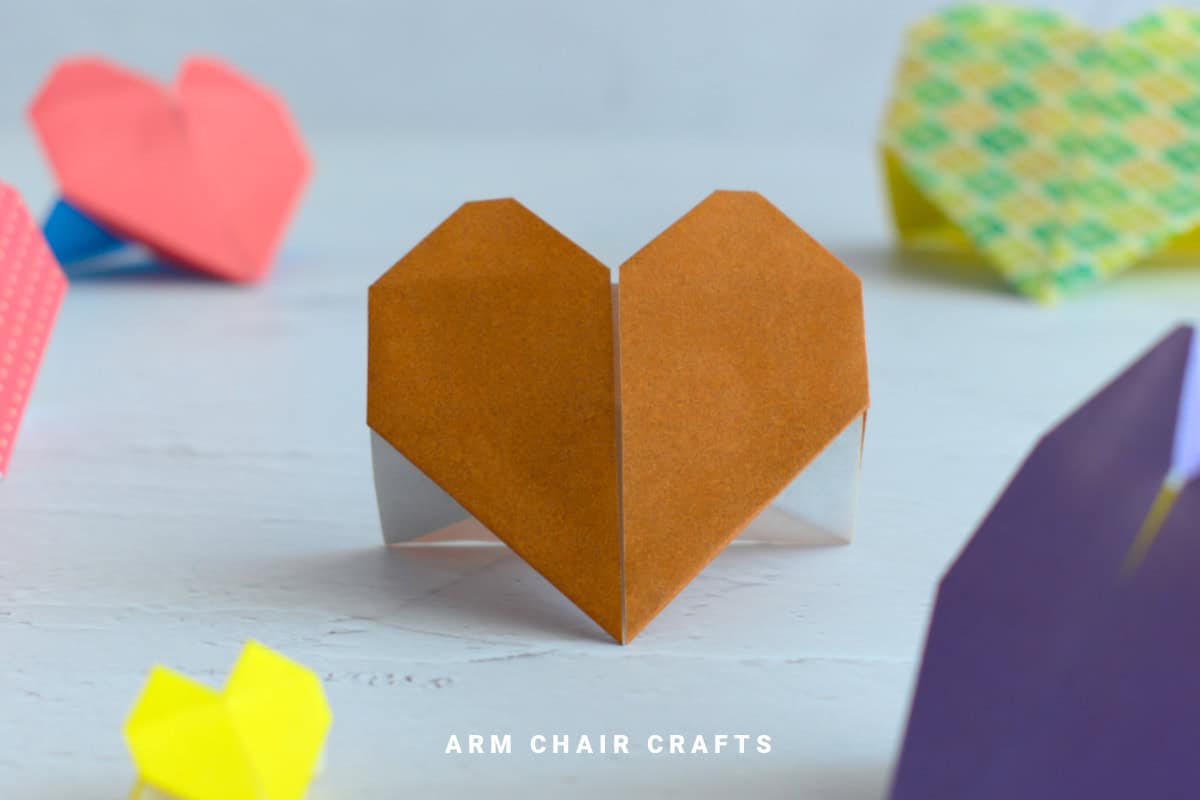
This standing origami heart is a simple, elegant paper project that folds into a heart that actually stands on its own.
With no glue or scissors needed, it's perfect for small displays, table décor, or as a gift topper.
Jump to:
The standing origami heart is ideal if you want something that looks impressive but is surprisingly easy to make.
Unlike flat hearts, this design stands upright, so it's perfect for decorating a desk, shelf, or table centerpiece.
You can use it for Valentine's Day, weddings, anniversaries, or just to add a little handmade touch to your space.
Folding it doesn't require glue or scissors - just a single sheet of paper and your patience.
This project is approachable for beginners, but even experienced folders enjoy the balance and structure of the finished heart.
Watching a flat square transform into a three-dimensional piece that holds itself up is unexpectedly satisfying.
Once you know how to fold it, you can make several in different sizes and colors, creating a coordinated display or a set of small, heartfelt gifts.
This standing origami heart is versatile, too.
You can use it as a gift accent, a paper ornament, or even a little tabletop statement piece.
Choosing the right paper lets you match it to the occasion - soft pastels for gentle décor, bright reds for a bold Valentine's Day accent, or patterned sheets for playful displays.
Why You'll Love This Pattern
- It creates a 3D heart that stands on its own - instant impact with minimal effort.
- Only one sheet of paper is needed - no glue or scissors required.
- Perfect for displays, gifts, or little handmade touches around your home.
- Folding it is calming and satisfying, making it a mini creative escape.
- Once you know how to fold it, you'll want to make several to play with sizes and colors.
Skill Level
★☆☆☆☆ - Beginner
Materials Needed
- 1 x sheet of square origami paper or lightweight card stock
6 inch x 6 inch (15 cm x 15 cm) square paper is ideal to start with.
Instructions
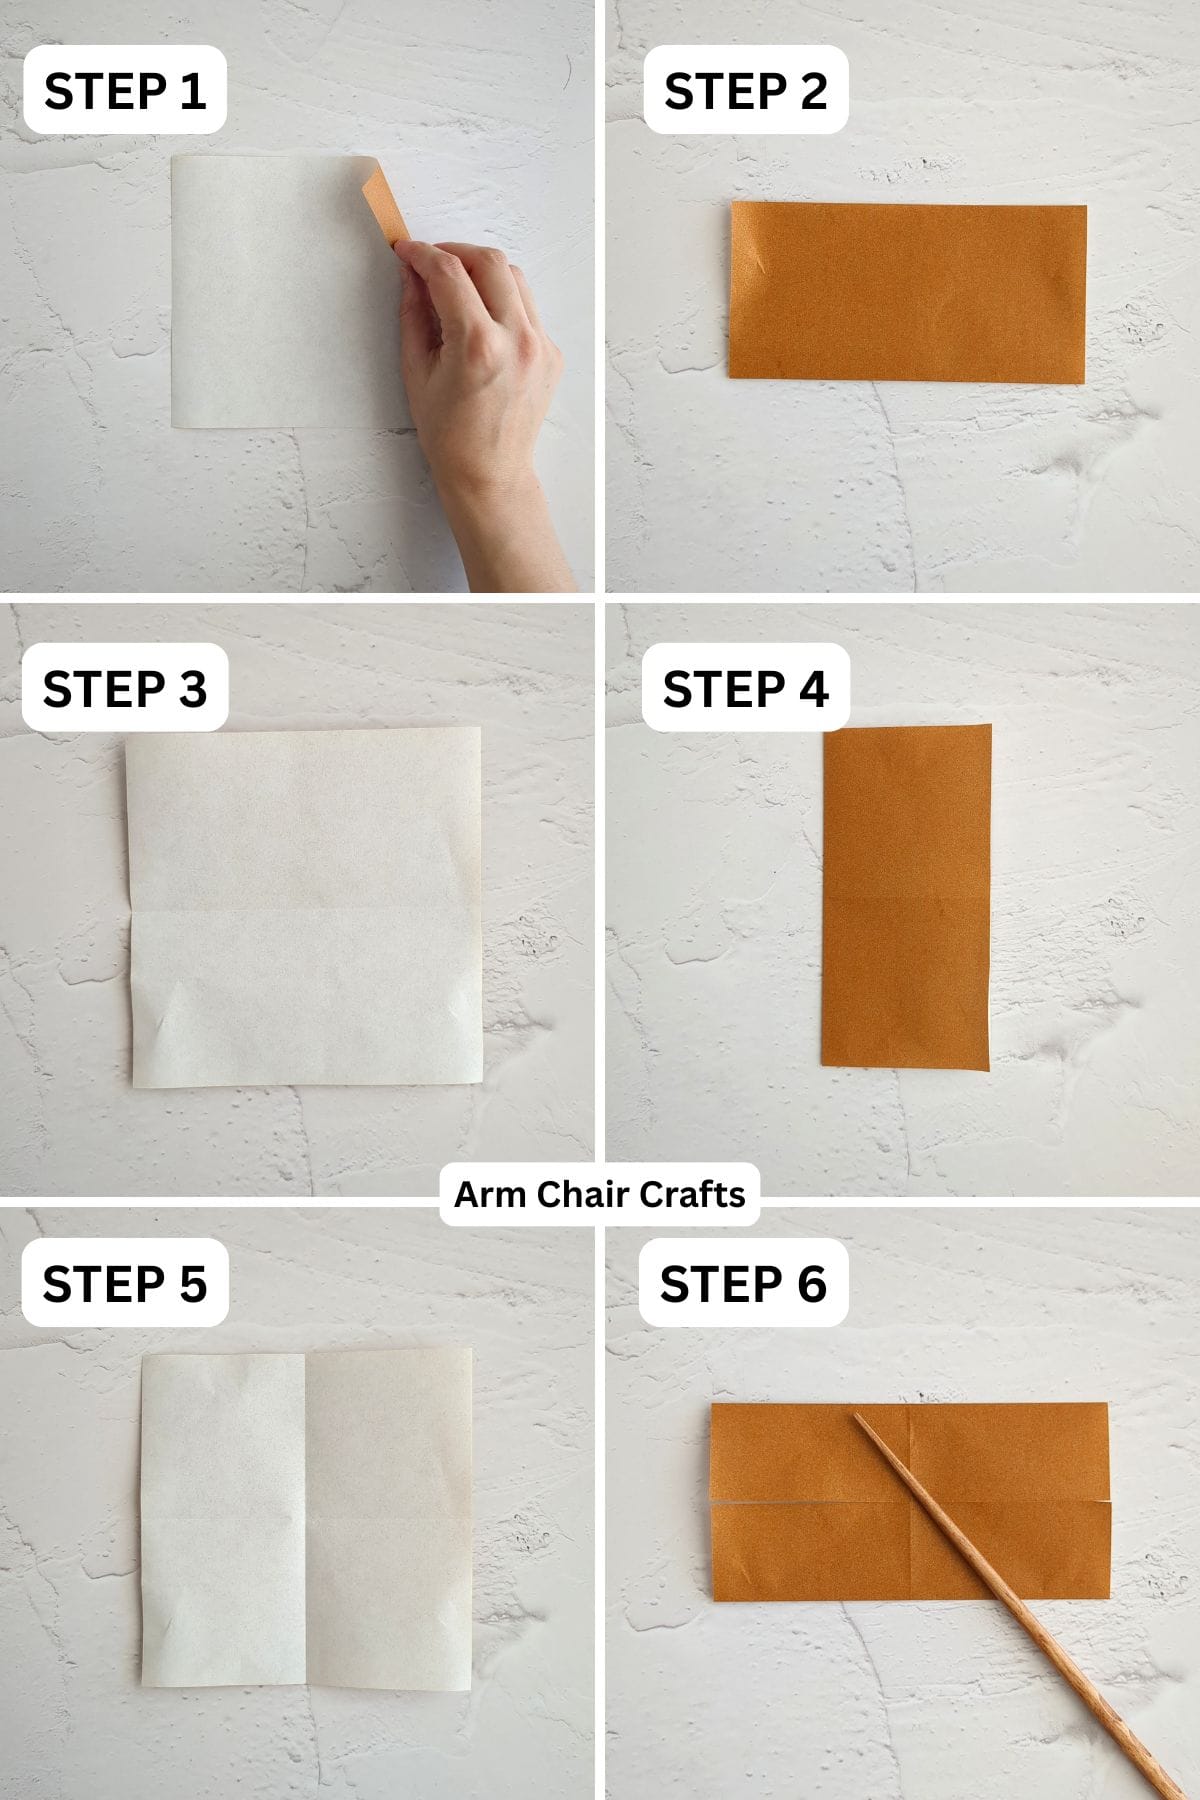
Step 1: Start with the color you want your heart to be facing down.
Step 2: Fold the bottom edge up to meet the top edge.
Step 3: Unfold previous step.
Step 4: Fold the left edge up to meet the right edge.
Step 5: Unfold previous step.
Step 6: Fold both the bottom edge and top edge in to meet the middle crease.
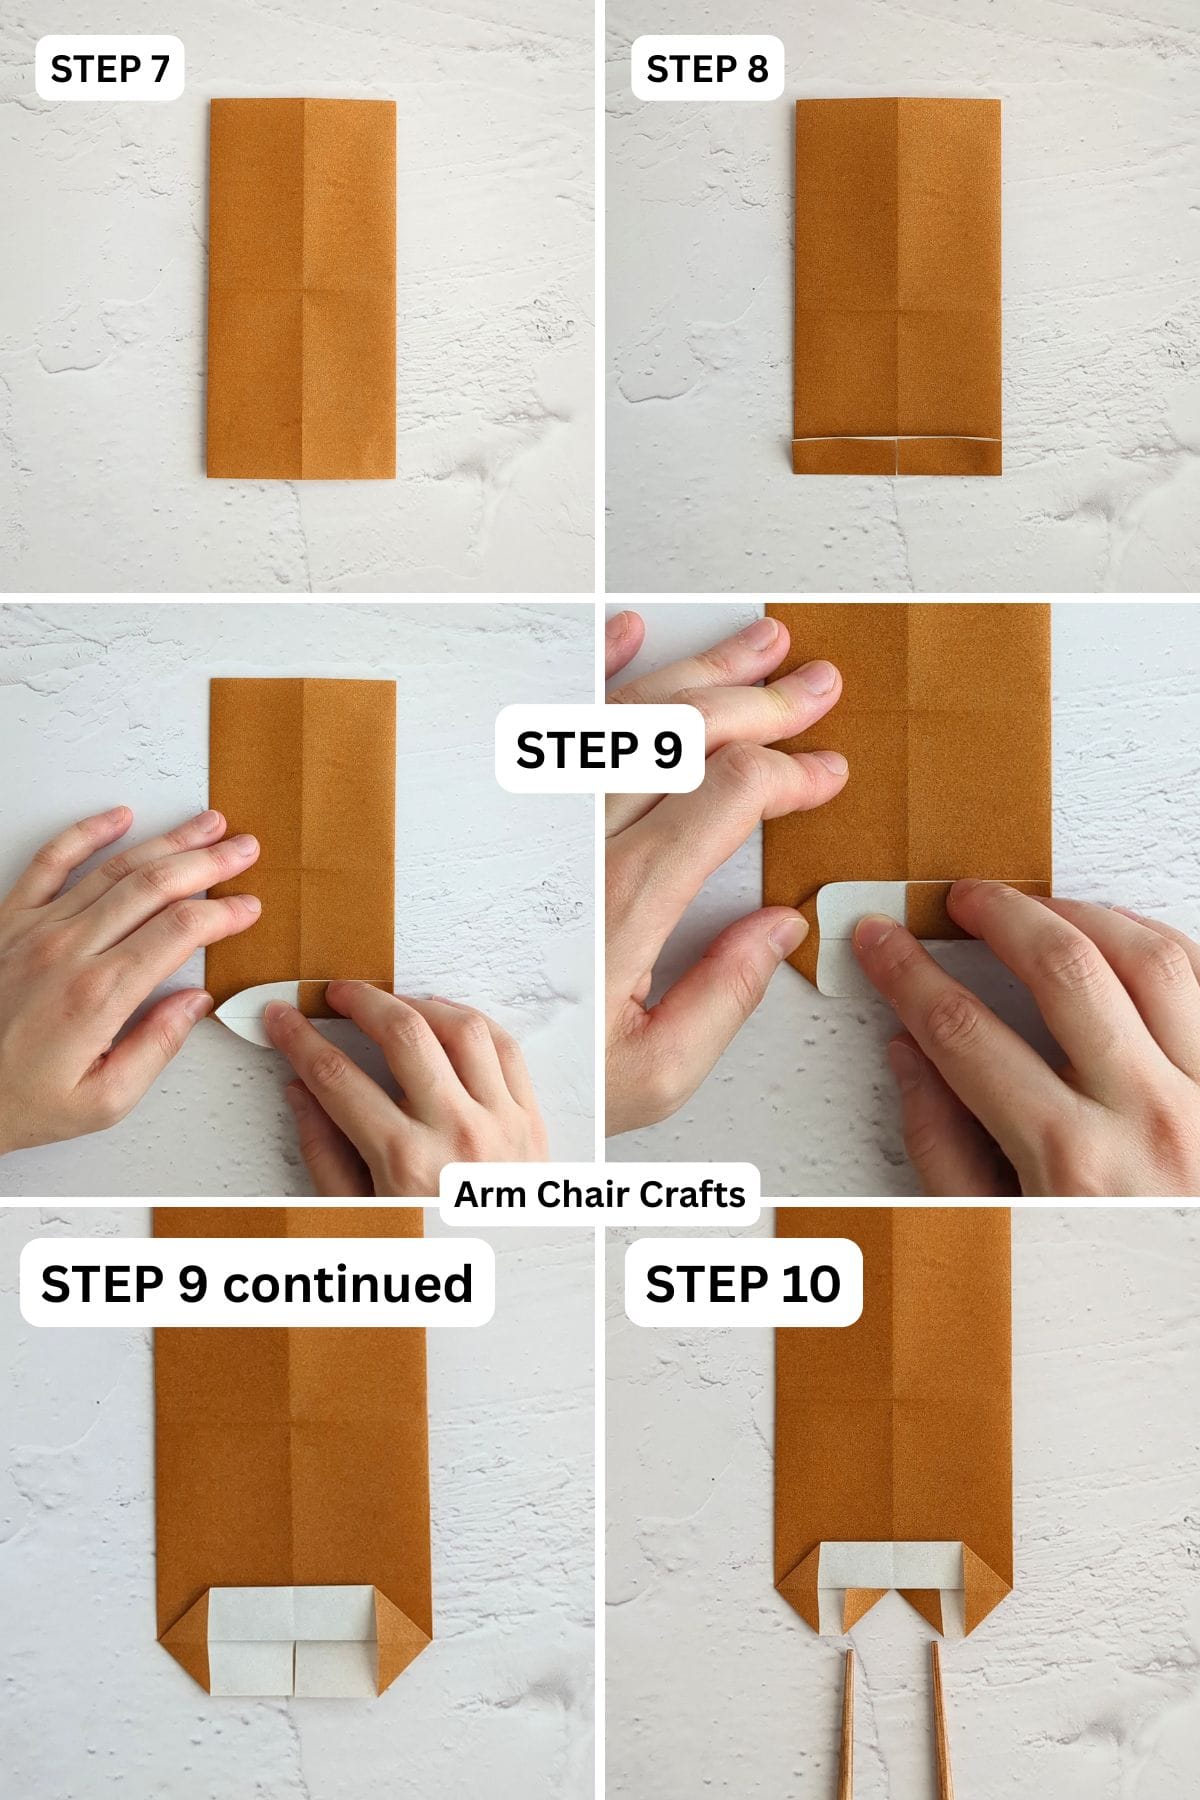
Step 7: Flip your paper over and arrange it to sit vertically as shown.
Step 8: Fold the bottom edge up slightly. The width of this fold will determine how pointy your heart's top is. For a pointier top, fold it wider. (e.g. 0.40 inches / 1 cm wide).
Step 9: Open out the bottom edge as shown, flattening it to form 2 triangles on either side.
Step 10: Fold the inner corners on the bottom edge out slightly on a diagonal as shown.
You're almost there!
To unlock the final steps and complete your pattern, create a free account with Grow.me. below.
Make sure you tick the box to subscribe to our newsletter and stay up to date with the latest patterns, tips, and more!
Once you're signed up, you'll get instant access to finish your project and enjoy exclusive content in the future.
Already signed up? Hit the button below and select 'Switch to Log In' to pick up where you left off and finish your project!
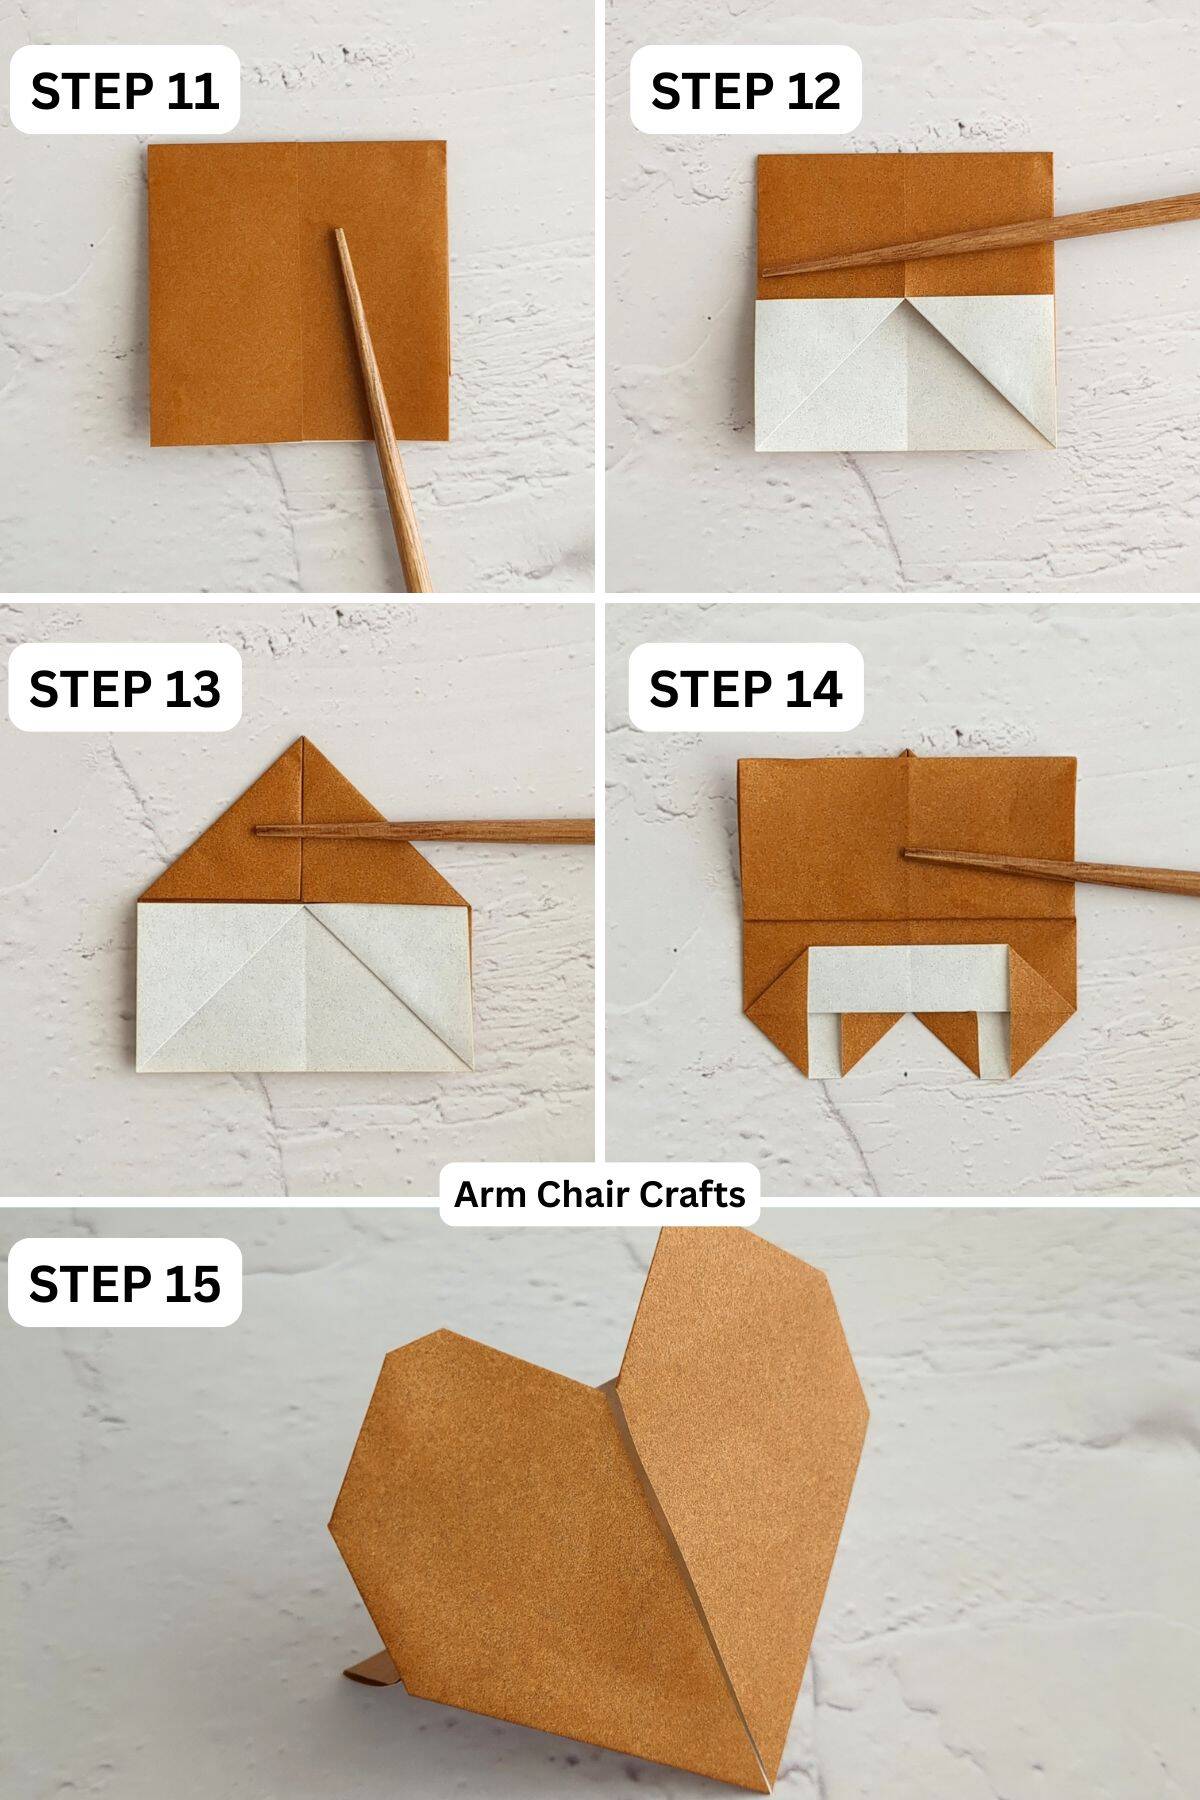
Step 11: Fold the top edge down to meet the bottom edge.
Step 12: Fold both the inner bottom corners out on a diagonal to meet the outside left and right edges, respectively, as shown.
Step 13: Fold both the top left and top right corners down on a diagonal to meet the middle.
Step 14: Fold the bottom edge (top layer only) up to meet the top point.
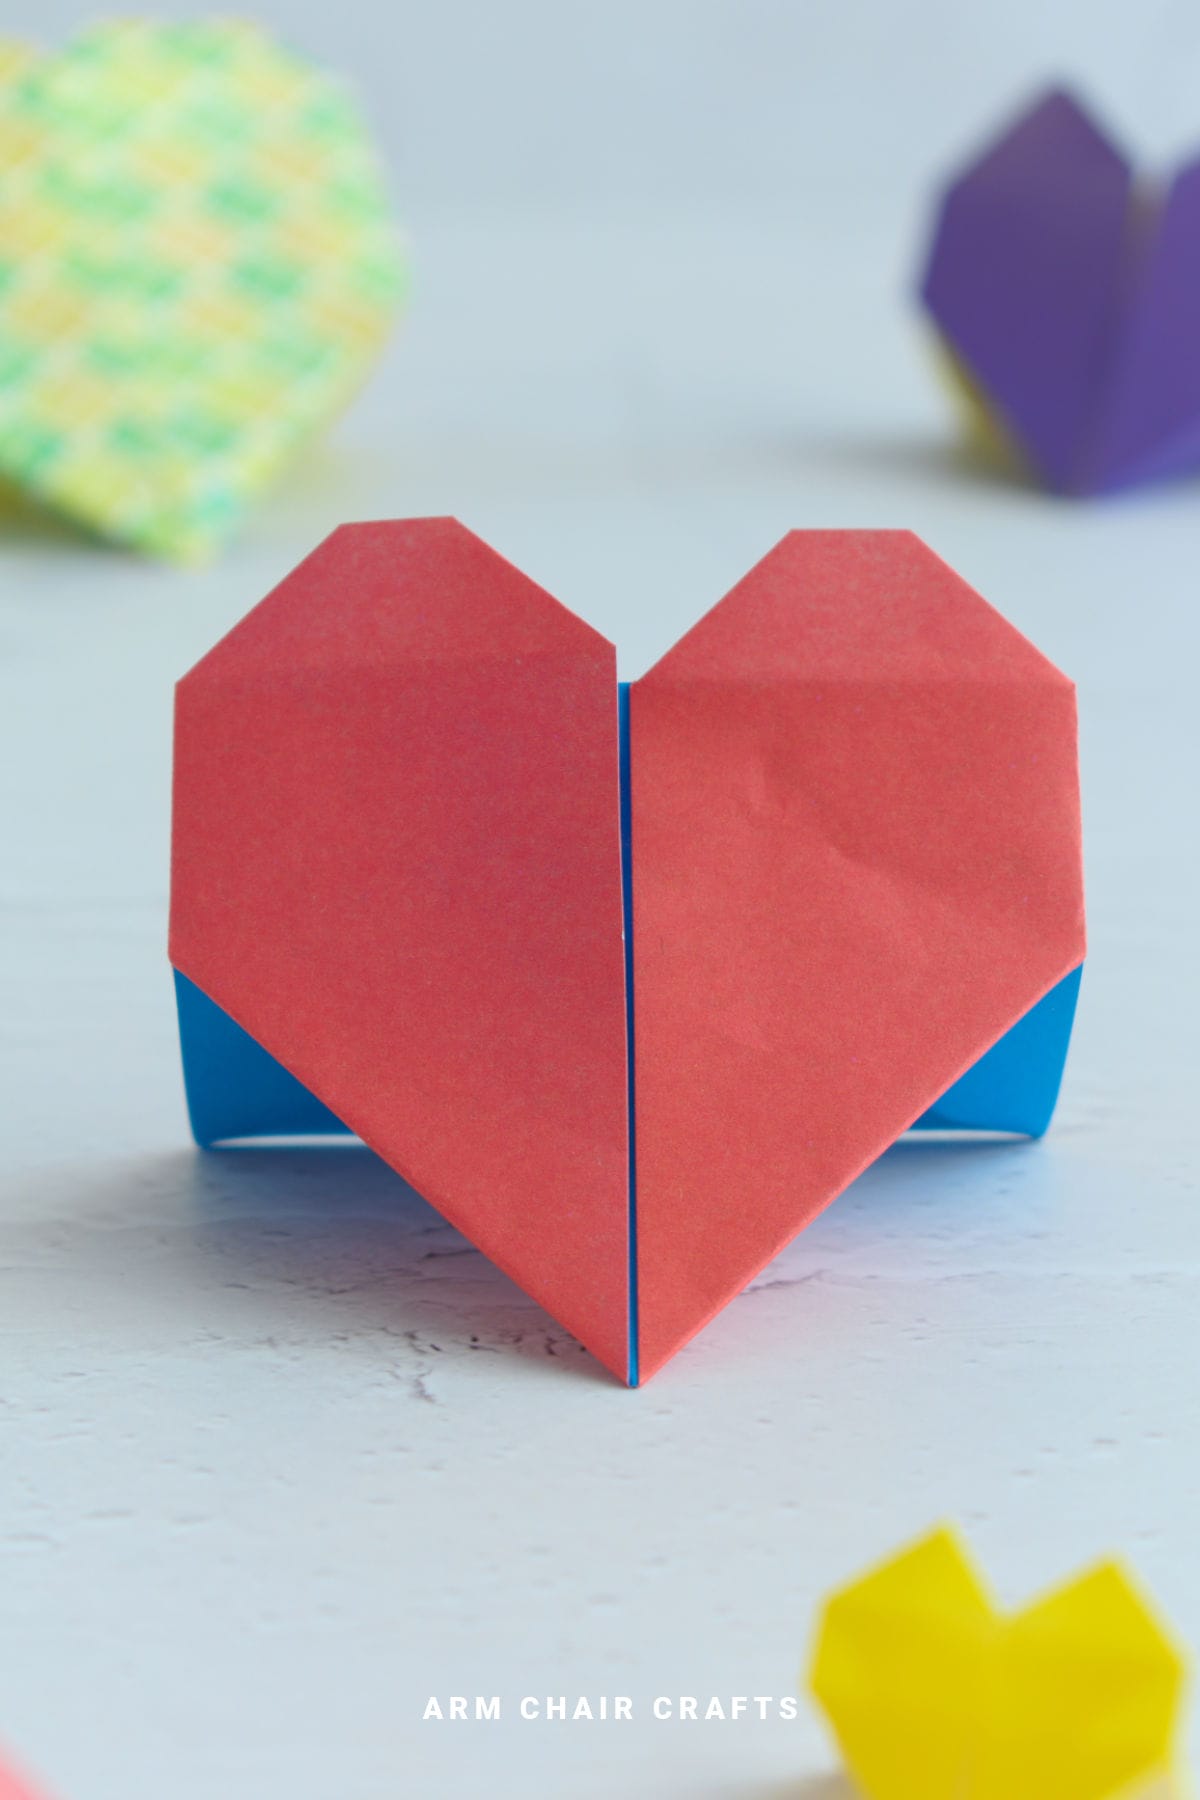
Step 15: Flip your paper over from top to bottom. Completed standing heart.
Tips For Success
- Crisp folds help the heart stand firmly - press creases well.
- If the heart leans, adjust the base folds slightly to balance it.
- Lightweight paper is easier to fold, but slightly thicker paper can make it sturdier.
Color, Paper Ideas, and Variations
- Classic red or pink for Valentine's Day or romantic occasions.
- Pastel shades for soft, understated décor.
- Patterned paper to add personality and whimsy
- Metallic or pearlescent paper for a polished, decorative finish.
- Make multiple hearts in different sizes for a layered display.
- Create a pair of hearts as a gift or table centerpiece.
Perfect Occasions to Use This Craft
- Valentine's Day decorations or gifts.
- Wedding décor or anniversary accents.
- Table or shelf displays for birthdays or special events.
- Everyday handmade décor that adds a personal touch.
FAQ
Yes - carefully folded, the base is stable and balances without glue or support.
No, this project is entirely fold-based.
Absolutely - it's approachable, forgiving, and satisfying to complete.
Any square sheet works; larger sheets make bigger display pieces, smaller sheets are perfect for desks or gifts.
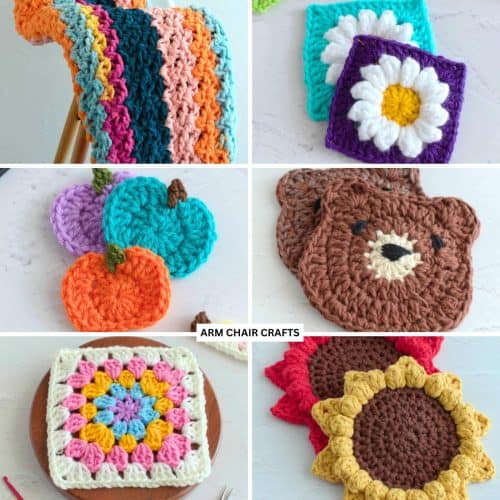
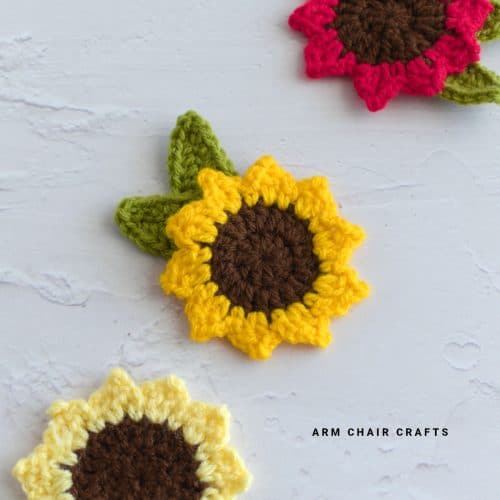
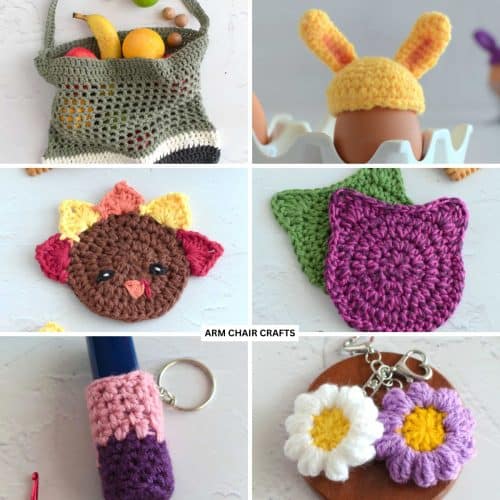
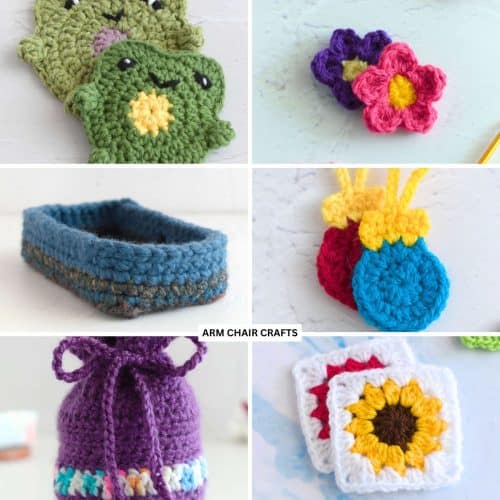
Other Easy Crafts You Might Like To Try:
Stay Connected
Made this pattern? Let us know how it went in the comments below!
Pin this post - Pin now to take your paper crafting skills to the next level.
Share on Instagram or Facebook - Capture the beauty of your finished project and share it on Instagram or Facebook! Tag us @armchaircrafts so we can see your work!