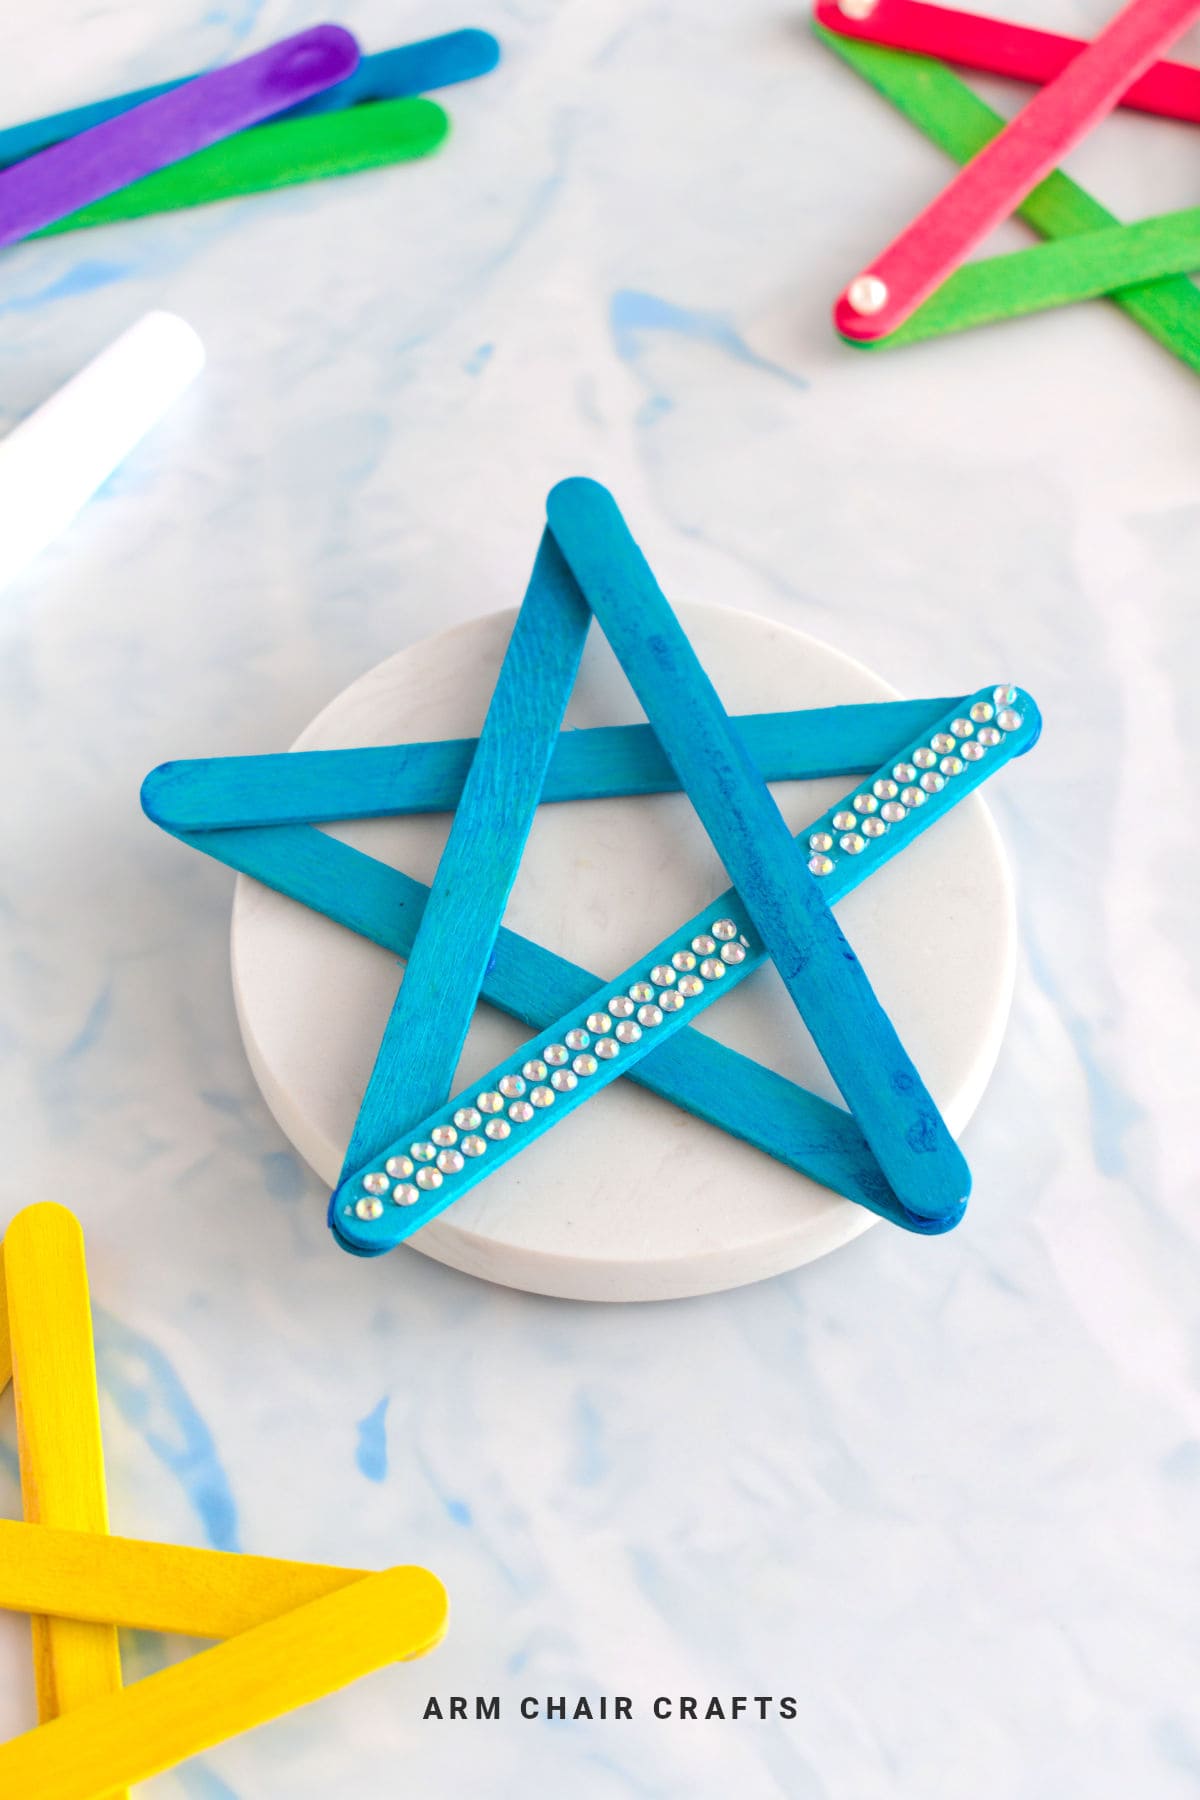
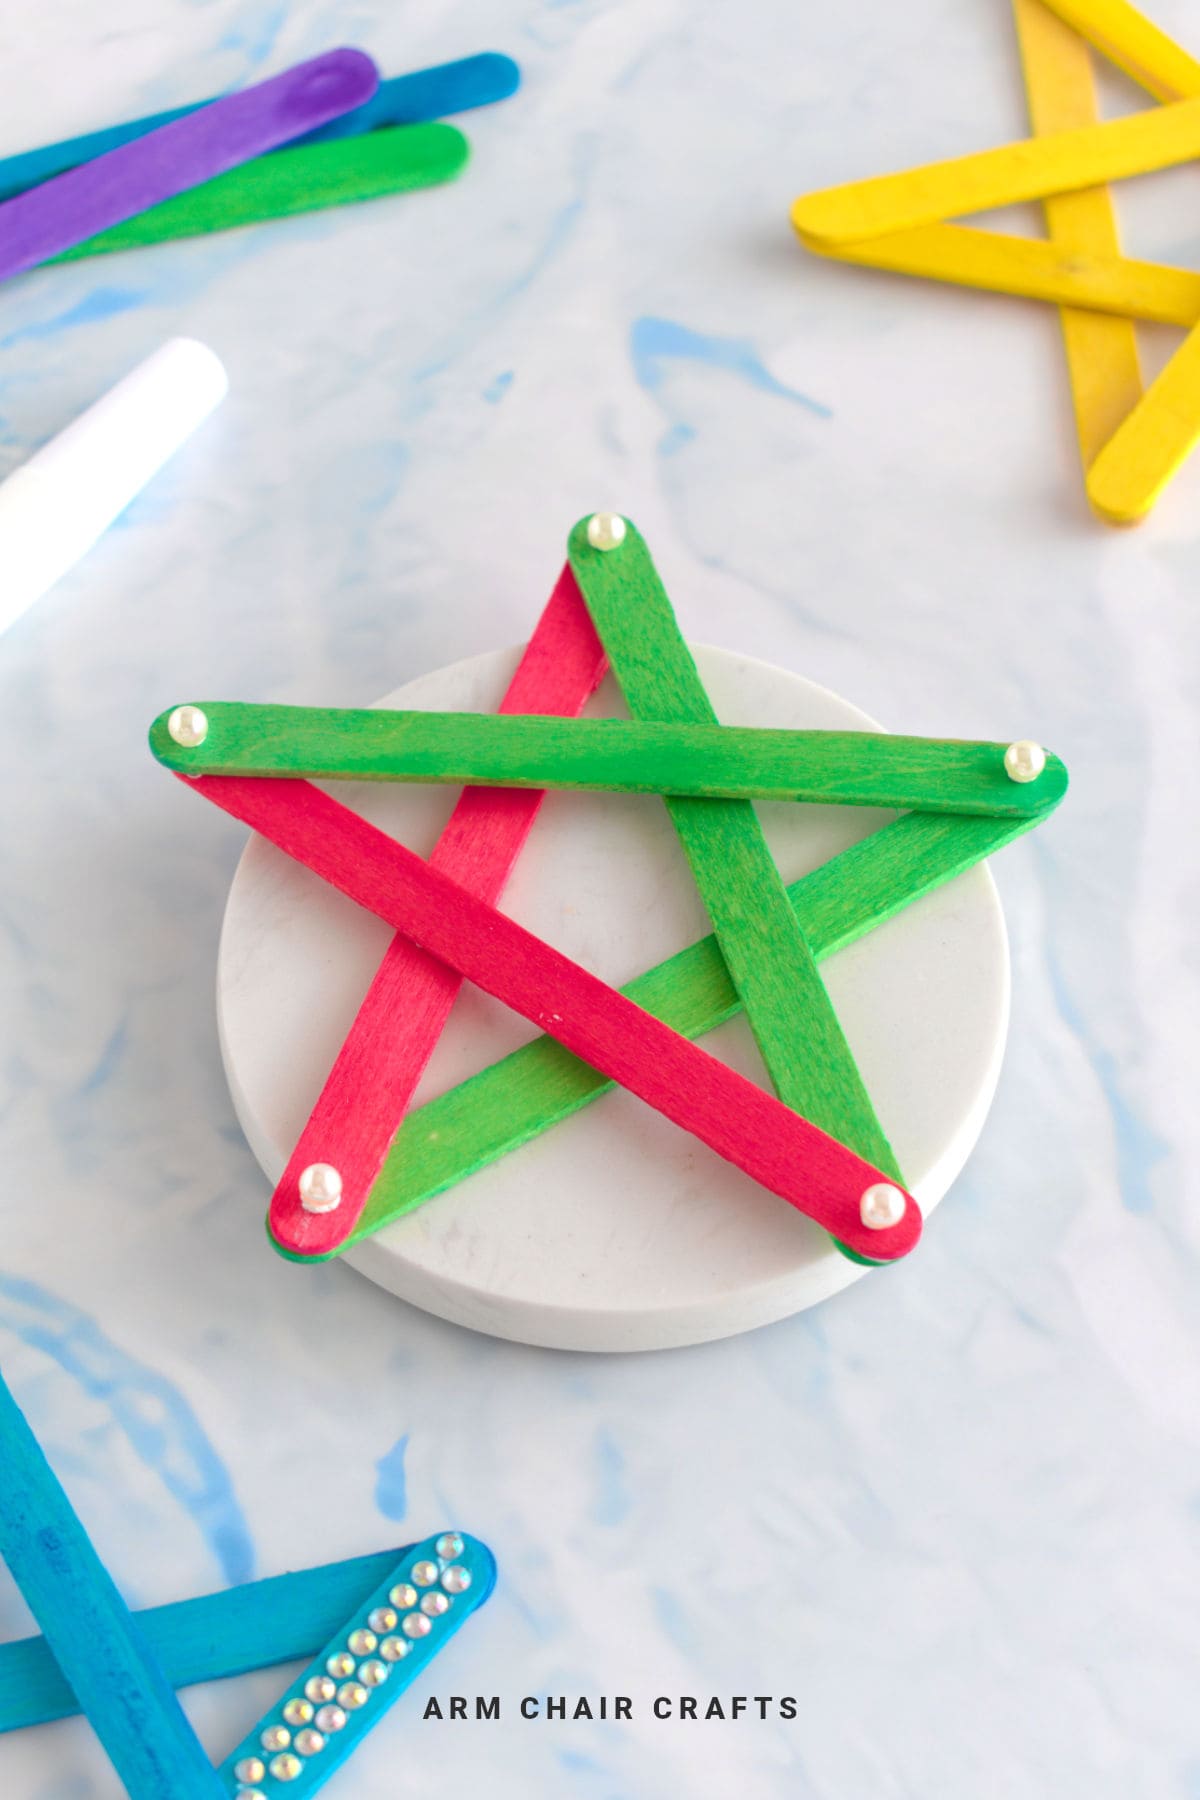
Make your holidays extra special with this DIY wooden star ornament, a fun and easy craft that adds handmade charm to your Christmas tree, garlands, wreaths, and table décor.
Using simple popsicle sticks, glue, and a few decorations, you can create stars that are as versatile as they are festive - and with a little creativity, you can adapt them for Easter or New Year celebrations too.

Jump to:
Handmade ornaments bring a unique warmth to holiday decorations, and a DIY wooden star ornament is a classic project that's simple, fun, and incredibly versatile.
Using just popsicle sticks and glue, you can create stars that look polished enough for a Christmas tree, elegant as part of a garland, or charming when tucked into a wreath or displayed on a table.
This project is beginner-friendly, but the results are festive and professional-looking.
One of the best parts about this craft is how customizable it is.
If you don't have colored sticks, you can paint them with acrylic paint - just make sure they're fully dry before gluing.
Then, personalize your stars with beads, glitter, ribbon, twine, buttons, or even leave them plain for a rustic, minimalist look. You can wrap twine around the sticks, add metallic touches, or layer decorations to create dimension and sparkle.
This craft isn't limited to Christmas. With a few tweaks, these stars can be adapted for other holidays too.
Pastel paints and floral accents make them perfect for Easter décor, while metallic gold, silver, or white gives them a glamorous New Year's flair.
Whether you're creating a few stars as tree ornaments, a set for a garland, or a collection for a festive table display, this DIY wooden star ornament is a versatile, hands-on craft that adds charm and personality to your seasonal decorations.
Why You'll Love This Pattern
- Only simple materials are needed: popsicle sticks and glue
- Can be painted, decorated with beads, glitter, ribbon, or left plain for rustic charm
- Perfect for Christmas tree ornaments, garlands, table décor, or wreath accents
- Beginner-friendly but produces polished, festive results
- Great to use as a stocking filler for Christmas or even as a swing tag for gifts!
- Can be adapted for Easter or New Year decorations with color and embellishment changes
- Makes a thoughtful, handmade gift for friends, family, or classmates
Materials Needed
- Popsicle sticks (you will need 5)
- Glue (craft glue or hot glue)
- Acrylic paint (optional, if sticks are plain)
- Beads, glitter, ribbon, twine, or buttons for decorating
- Scissors
- Optional: thread or ribbon for hanging
Instructions
You will need 5 popsicles of the same size for this project.
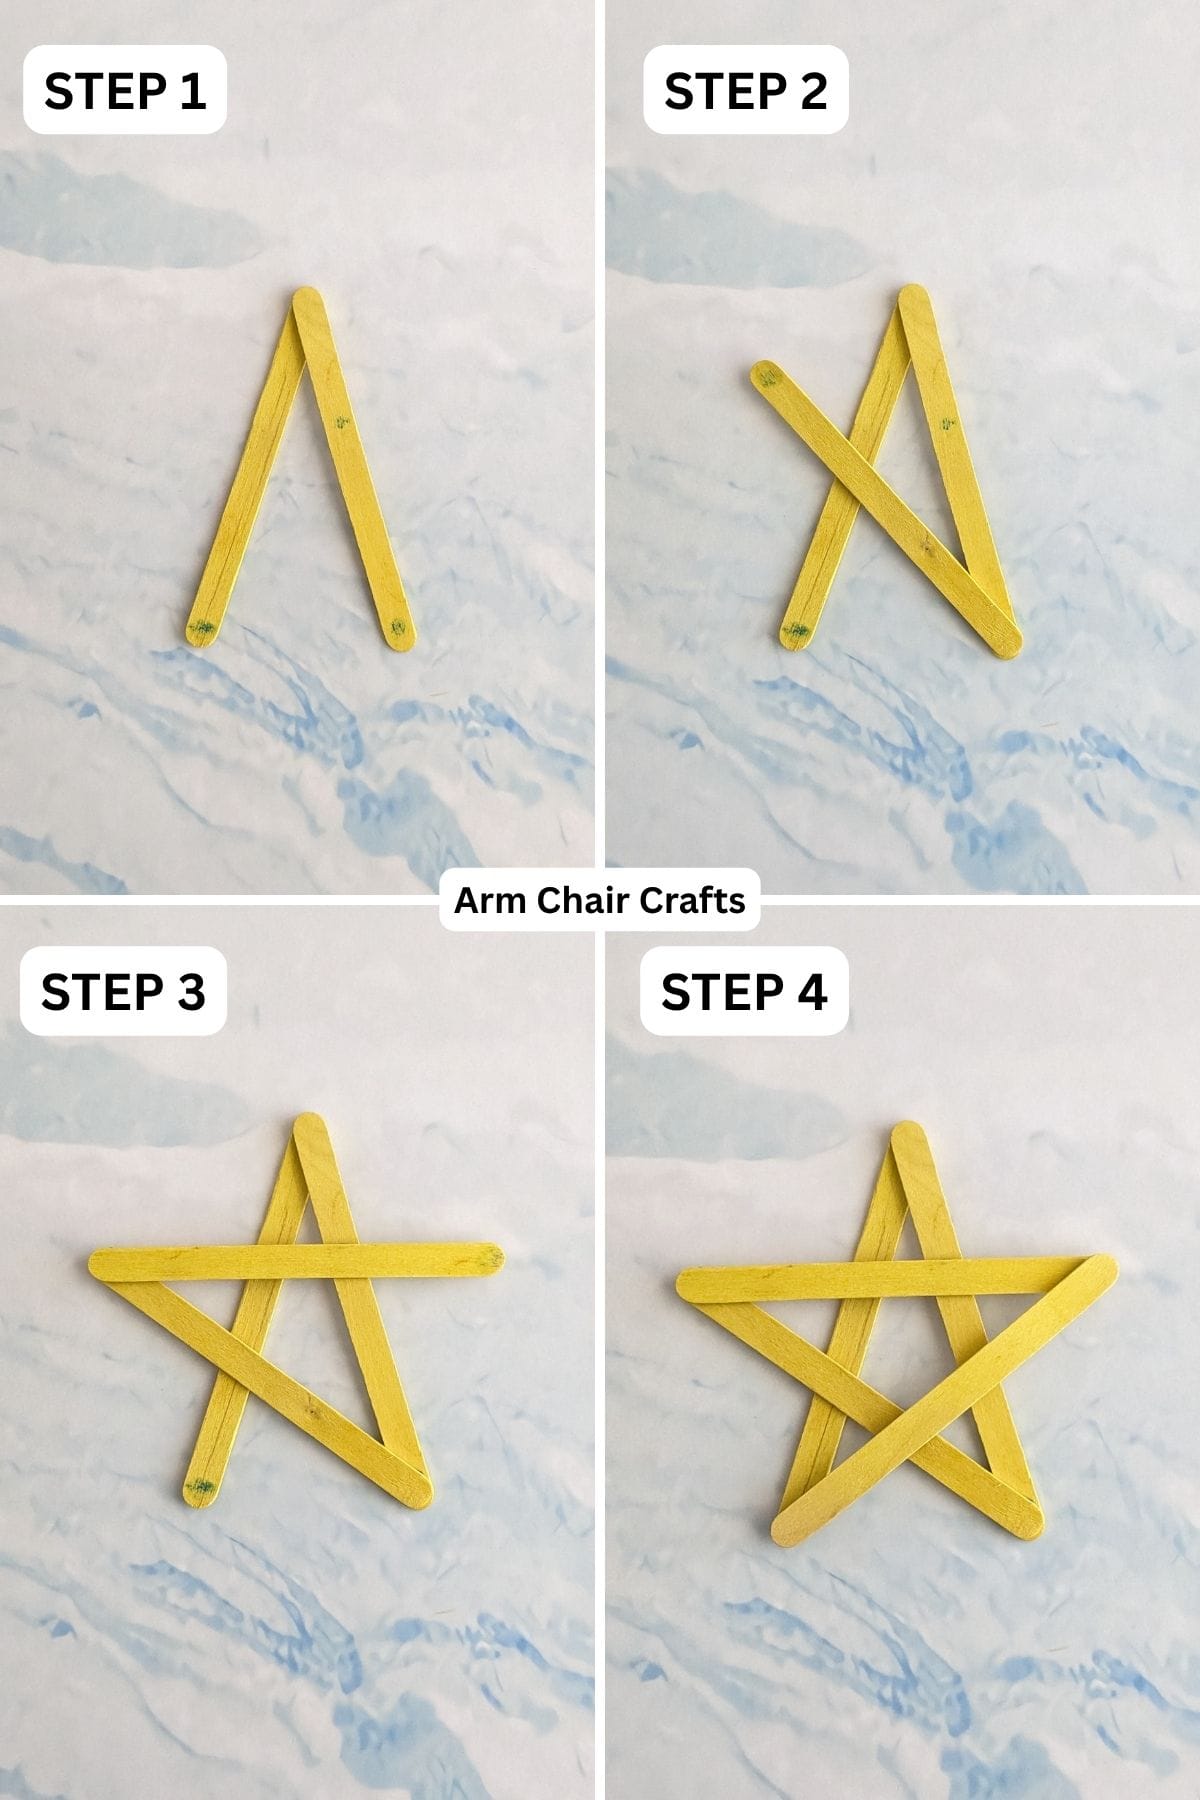
Step 1: Take two of your popsicles and place some glue onto the tip of one of them. Then, place the other on top of the glue at an angle to form a narrow mountain shape like shown.
Step 2: Place some glue to the bottom edge of the popsicle on top, then place another popsicle on top of the glue and arrange it to sit as shown.
Step 3: Next, place some glue onto the top edge of the popsicle you placed down in the previous step. Then, take another popsicle and place it on top as shown.
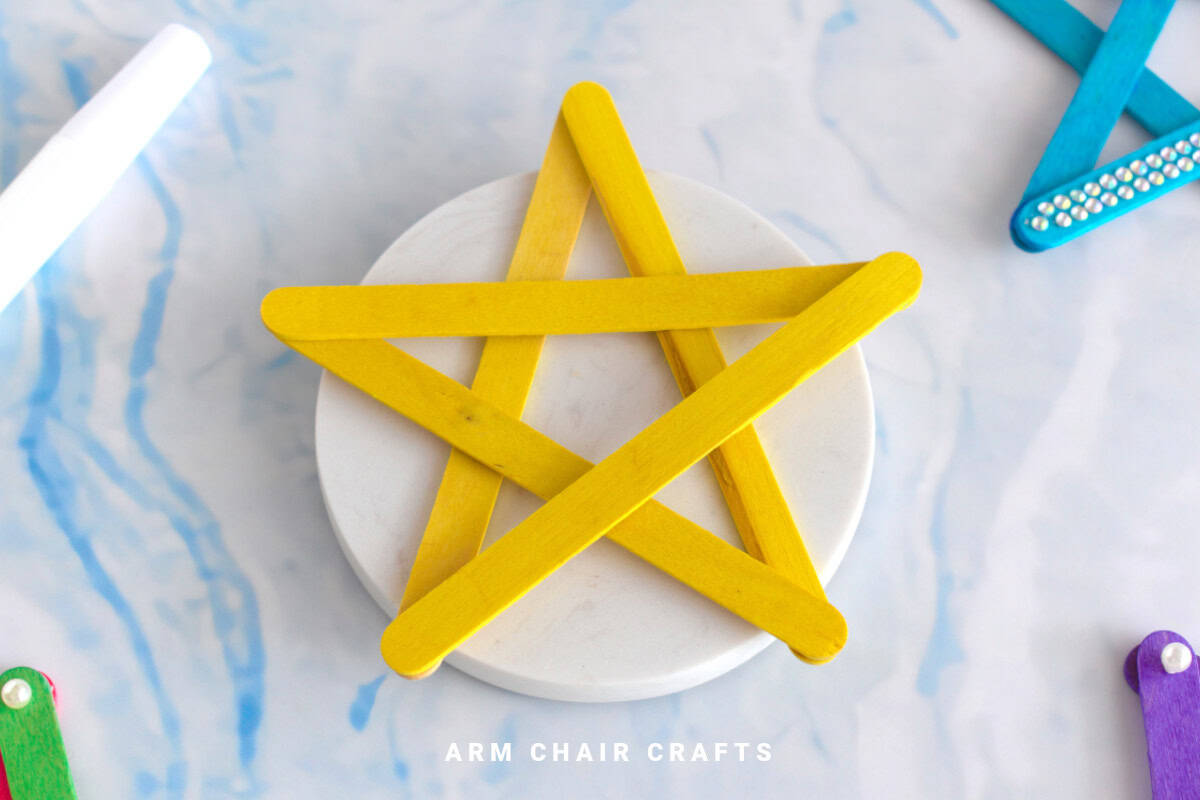
Step 4: Place some glue on both the top and bottom edge of your final popsicle. Then, place it on top of your other popsicles as shown. Completed star.
Tips For Success
- Paint your sticks before assembly if you want bright, metallic, or pastel stars; allow them to dry fully before gluing.
- Mix decorations like beads, buttons, or glitter for texture and sparkle.
- Wrap twine around sticks for a rustic, natural look.
- Create different sizes: smaller stars for garlands or larger stars for tree ornaments.
- Adapt for other holidays: pastel colors and floral accents for Easter, metallic gold/silver for New Year's décor.
Color, Paper Ideas, and Variations
- Classic Christmas: Red and green sticks with gold beads or glitter accents.
- Winter wonderland: White or silver sticks with silver sequins or snowflake embellishments.
- Rustic charm: Natural wood sticks with twine or jute wrapping and minimal decorations.
- Kid-friendly: Bright, multi-colored sticks with playful beads or buttons.
- Easter variation: Pastel sticks decorated with small flowers or stickers.
- New Year celebration: Metallic gold, silver, or white sticks with glitter and ribbon for elegant décor.
- Garlands & wreaths: Make multiple stars of varying sizes and string them together for a garland, or attach to a wreath for a layered effect.
FAQ
Yes - you can leave them natural for a rustic look or paint them with acrylic paint to match your theme.
Absolutely! String multiple stars for a garland or attach them to wreaths for festive accents.
Stay Connected
Made this pattern? Let us know how it went in the comments below!
Pin this post - Pin now to take your paper crafting skills to the next level.
Share on Instagram or Facebook - Capture the beauty of your finished paper craft project and share it on Instagram or Facebook! Tag us @armchaircrafts so we can see your work!