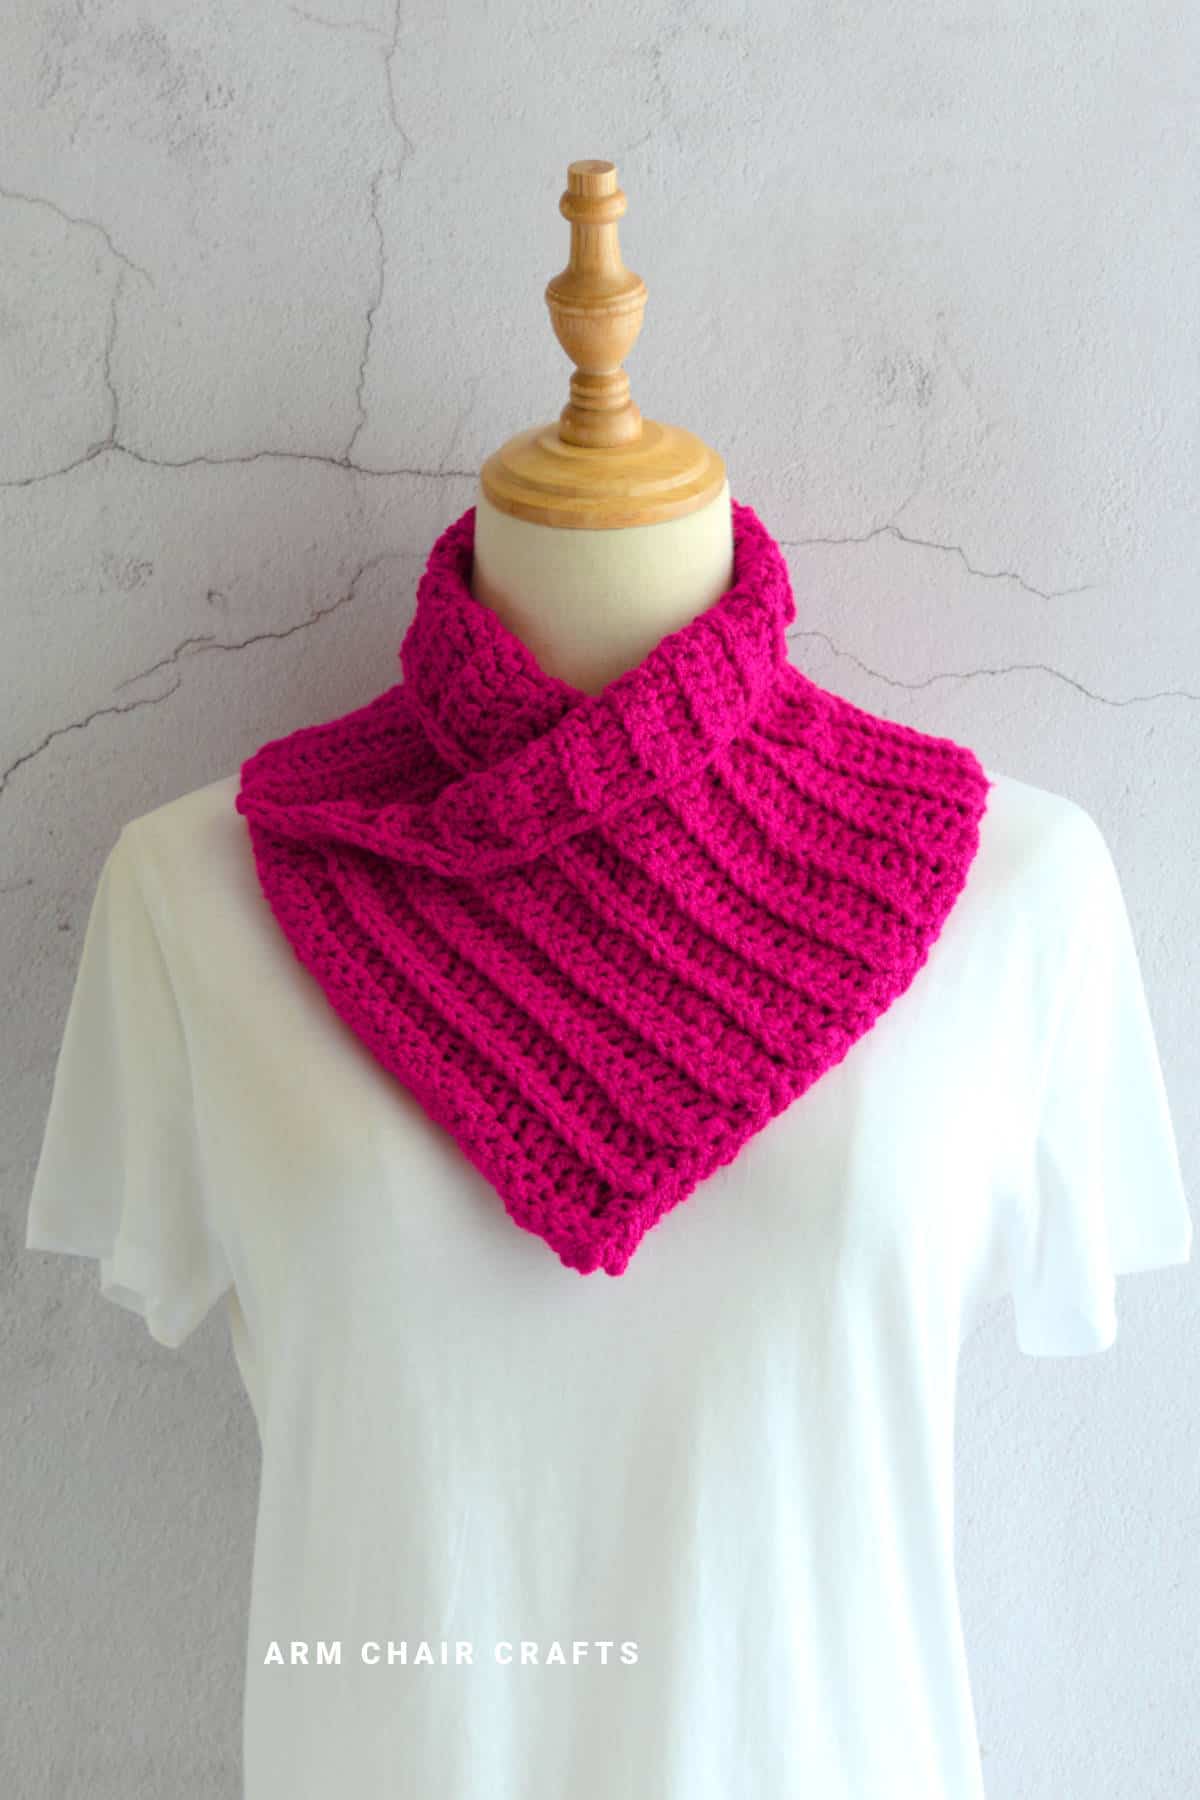
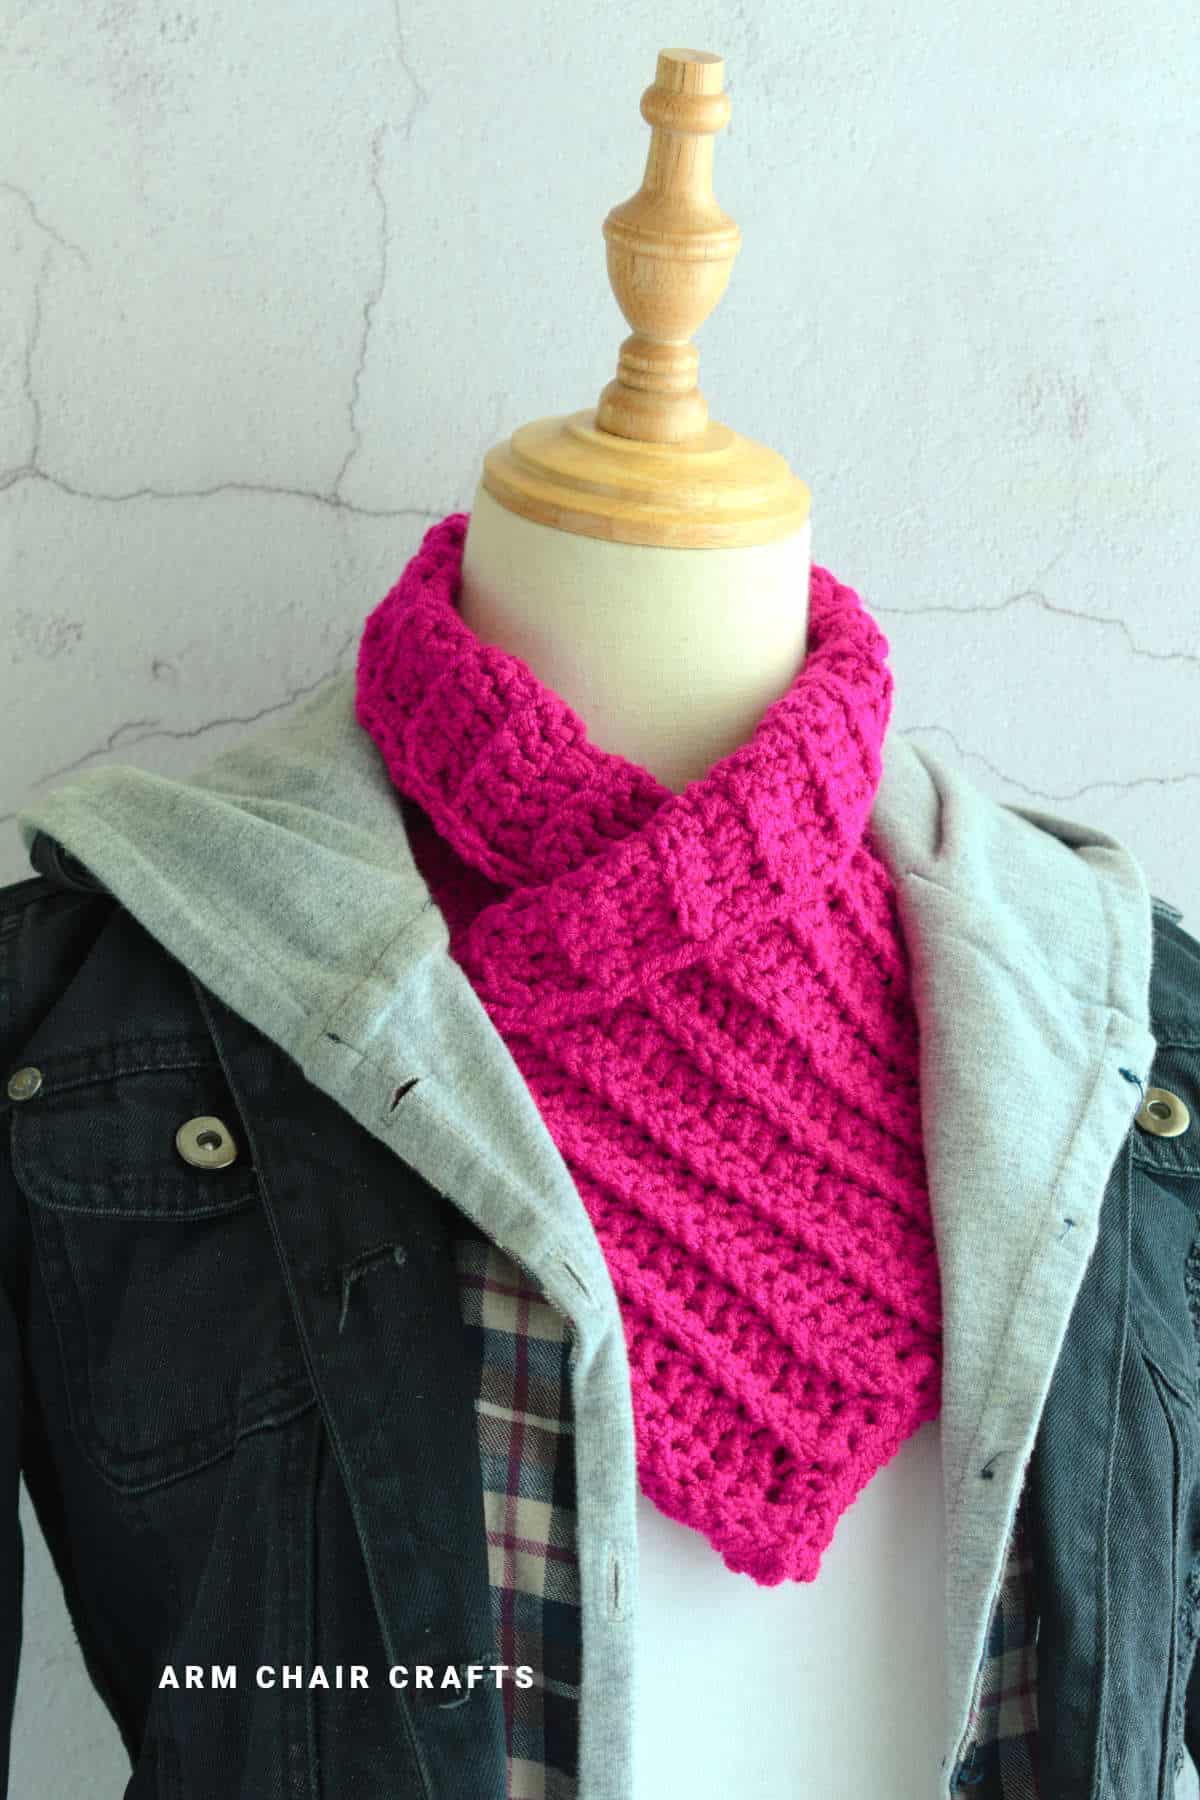
Meet Margo, our cozy textured back loop crochet cowl made with slightly stretchy yarn for a flattering, comfortable fit.
The combination of half double and double crochet stitches worked in the back loop creates a lovely textured fabric that drapes beautifully.
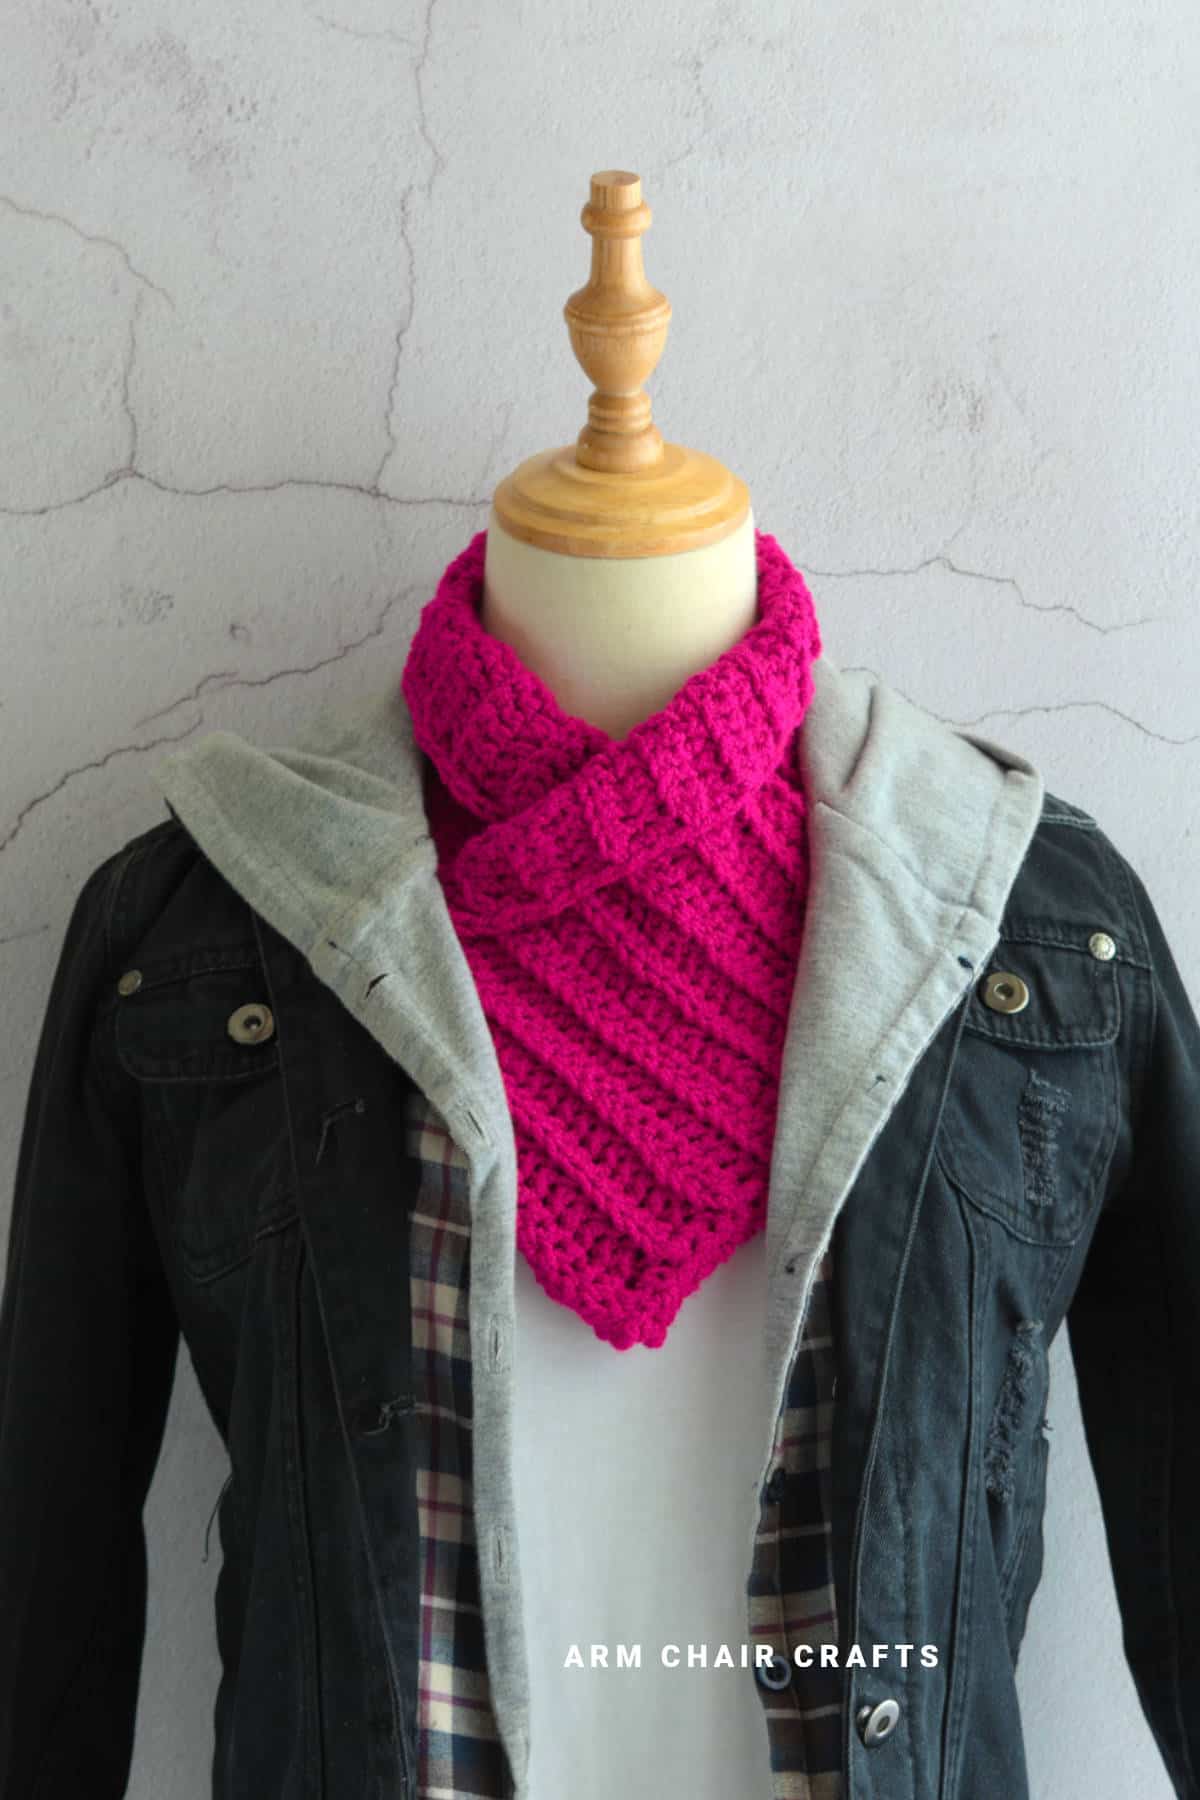
Quick to make and perfect for layering, this cowl is ideal for chilly mornings or as a stylish handmade gift.
Beginners and seasoned crocheters alike will enjoy seeing this textured back loop crochet cowl take shape.
Jump to:
There's something irresistible about a crochet accessory that combines texture, stretch, and style - and the Margo textured back loop crochet cowl delivers on all three.
Worked in a slightly stretchy yarn, this cowl hugs the neck gently without feeling tight, making it perfect for everyday wear, layering over jackets, or keeping cozy on crisp days.
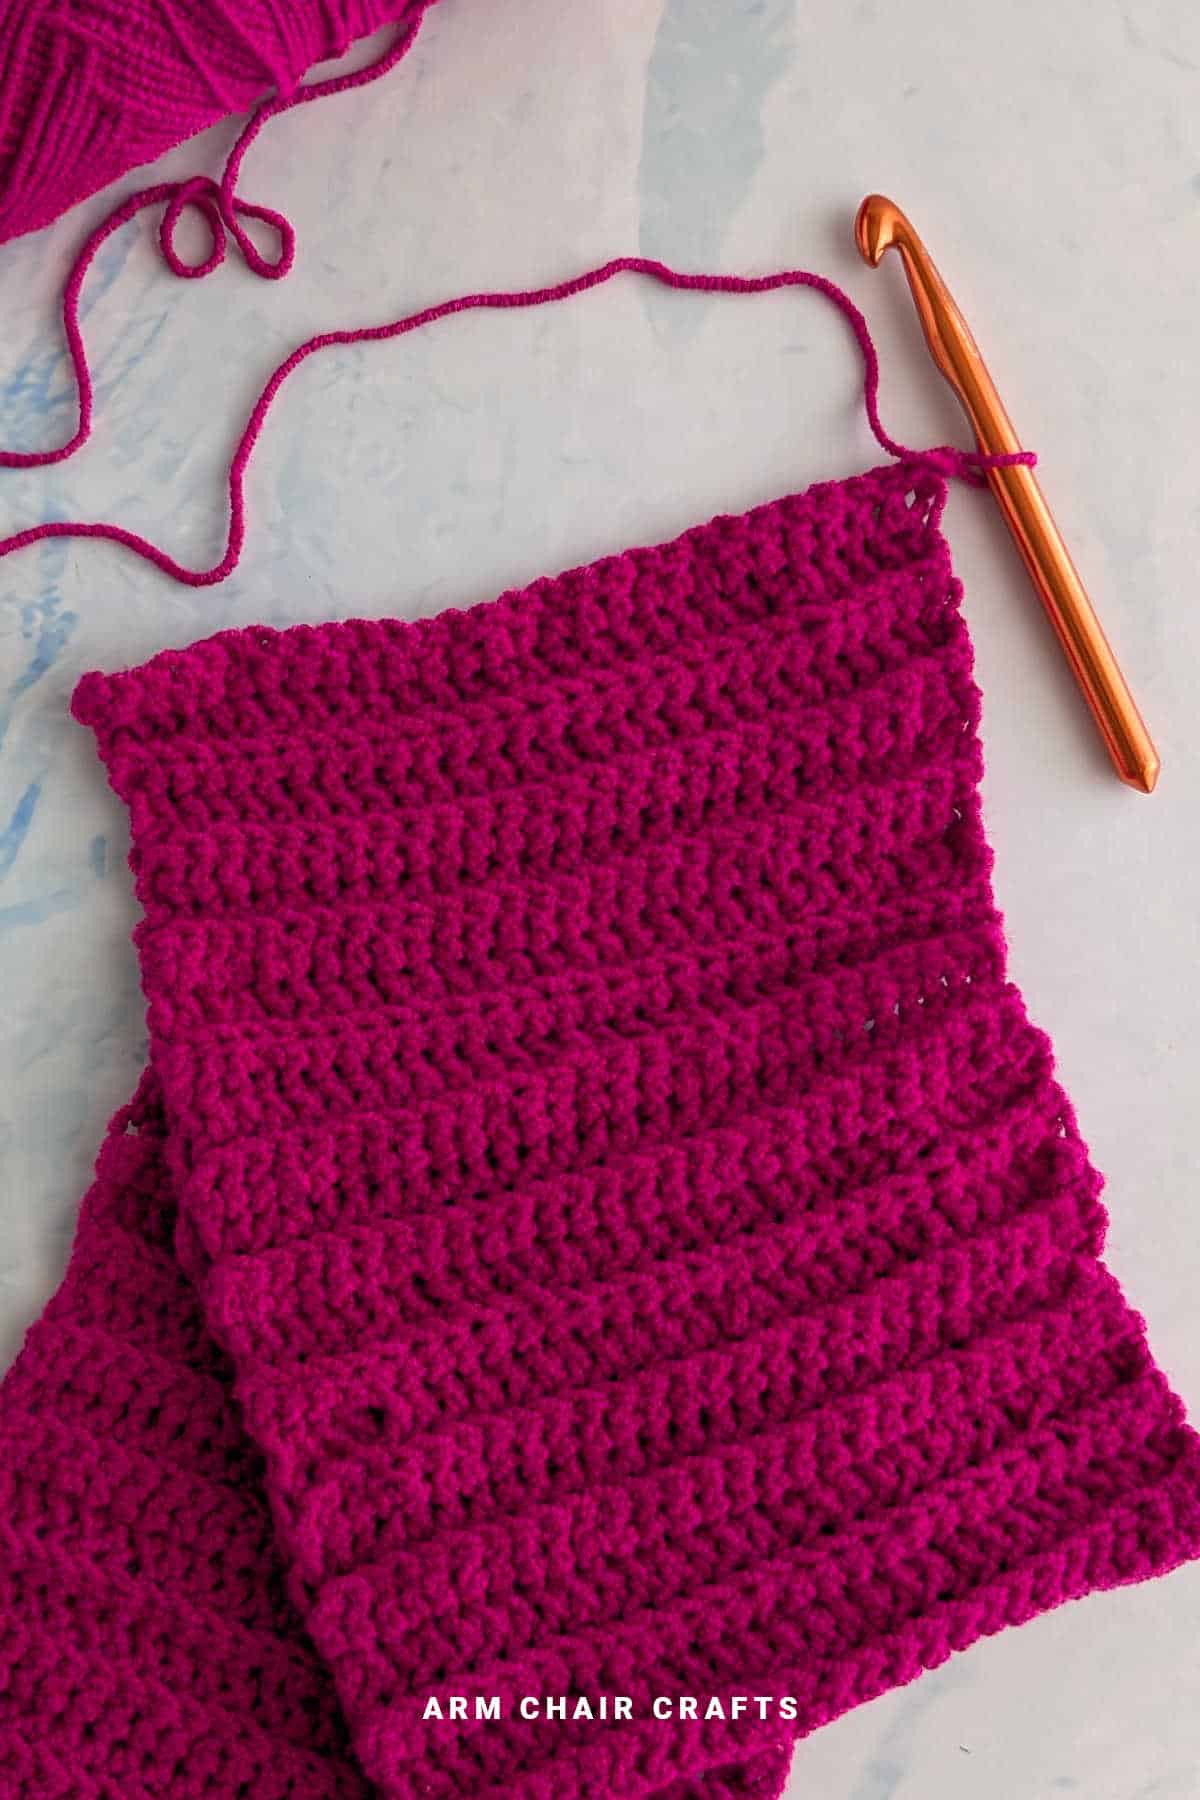
The cowl uses a mix of half double and double crochet stitches, all worked in the back loop.
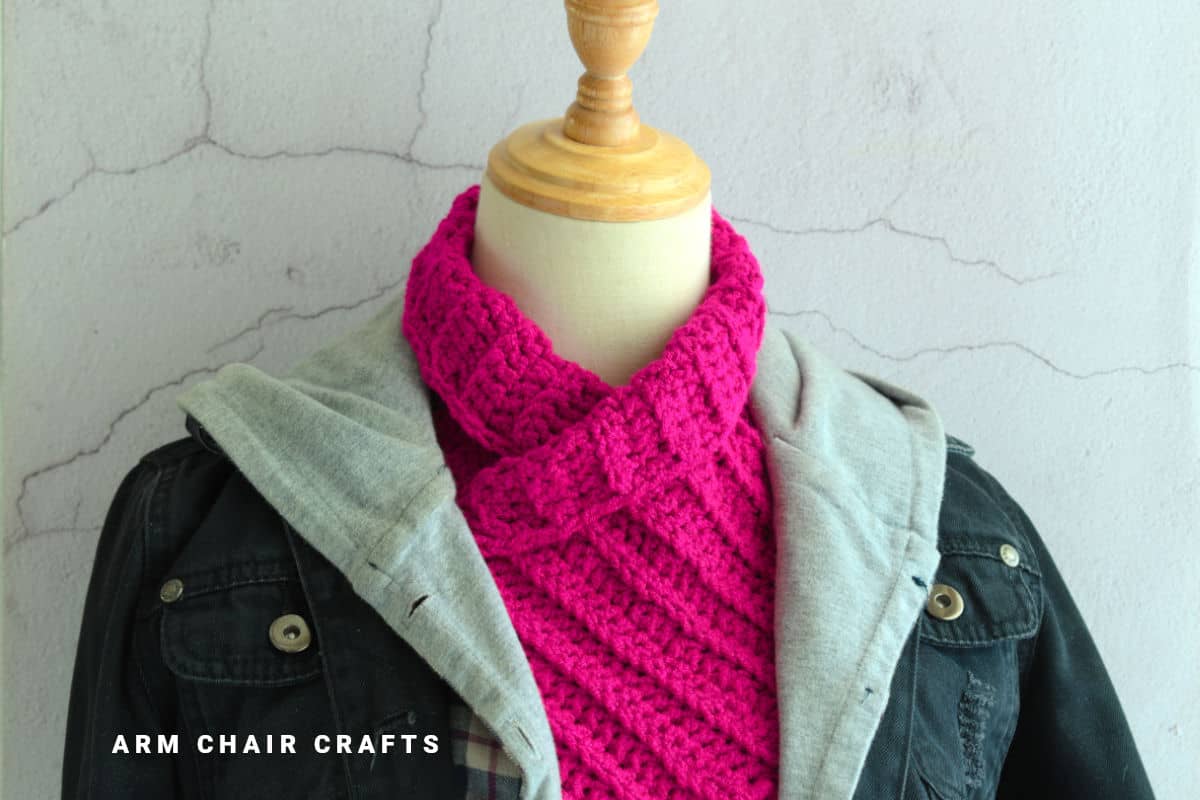
This technique creates a beautiful ribbed texture with subtle depth and movement, giving the cowl a modern, polished look.
Even though it uses two stitches, the repeating pattern is simple and relaxing, making it accessible for beginners while still appealing to experienced crocheters looking for a quick, satisfying project.
Margo is also highly customizable. You can choose soft, neutral yarns for a versatile wardrobe staple or vibrant, bold colors for a statement accessory.
The slightly stretchy yarn ensures a flattering drape, while the back loop texture adds interest without complicated stitch work.
By the time you finish, you'll have a stylish, cozy cowl that's both functional and chic - perfect for gifting or keeping for yourself.
Why You'll Love This Pattern
- Cozy, stretchy fit thanks to slightly elastic yarn
- Beautiful texture from alternating half double and double crochet stitches
- Back loop technique creates a flattering ribbed drape
- Quick to make with a simple repeating stitch pattern
- Beginner-friendly but satisfying for advanced crocheters
- Customizable in color and length to suit your style
Materials Needed
Yarn
Bulky, chunky weight (#5 worsted weight) acrylic with about 9 Wraps Per Inch (WPI)*
You will need about 10 ounces (300 grams) of yarn and 215 yards (200 metres).
Hook
- 10 mm (N/15) hook
Other
- Scissors
- Yarn needle
- Stitch marker (optional)
*Wraps per inch (WPI) - this is a measure of yarn thickness. To measure WPI, count how many times the yarn wraps around a ruler in one inch. There are more wraps for thinner yarn and fewer wraps for thicker yarn.
Yarn and Hook Information
The yarn we used for this crochet cowl is acrylic. It has a slight stretch to the yarn.
This crochet cowl can also be made with non-stretchy acrylic yarn of the same weight.
Stitches and Abbreviations - US Terms
- Ch - Chain
- Dc - Double Crochet
- Blo - Back of loop
- Sc - Single Crochet
- FO - Fasten Off
- [ ] - At the end of each row refers to the stitch count for that row.
Gauge
4 inches X 4 inches (10 cm x 10cm) = 8 rows and 14 stitches
Finished Size
The finished crochet cowl is about 14 inches x 11.5 inches (35 cm x 30 cm).
You can adjust the finished size of the cowl by adding or subtracting the amount of rows and starting chain.
Copyright Notice
This pattern and its contents are protected by copyright law. It may not be copied, altered, redistributed, resold, translated, or used to produce photo or video tutorials in any format, either in whole or in part.
You are permitted to sell finished items made using this pattern. However, the written pattern itself may not be sold, shared, or distributed in any form. When marketing or displaying your finished items, please photograph your own work and refrain from using any of my original images.
Sharing Guidelines For Roundups - Bloggers you are welcome to include this pattern in roundup posts, as long as you use one photo and link directly (with a do follow link) back to the original post. For full details, please refer to my Terms of Use page.
Instructions
Foundation: Ch 30
Row 1: Dc into 3rd st from hook and in each stitch across the row. Turn. Ch2 [28 sts].
Row 2: dc blo into 1st st from hook and in each st across the row, turn, ch2. [28 sts].
Row 3: HDC blo into 1st st from hook and in each st across the row, turn, ch2. [28 sts].
Row 4 - 56: Repeat rows 1, 2, and 3 in order, ending on a row 2, or until you reached your desired length. We made ours to about 27 inches (70 cm) long.
Edging: Do not turn, SC in ea st down along the long edge. FO, Repeat for other long edge. FO. Weave in any ends.
You're almost there!
To unlock the final steps and complete your pattern, create a free account with Grow.me. below.
Make sure you tick the box to subscribe to our newsletter and stay up to date with the latest patterns, tips, and more!
Once you're signed up, you'll get instant access to finish your project and enjoy exclusive content in the future.
Already signed up? Hit the button below and select 'Switch to Log In' to pick up where you left off and finish your project!
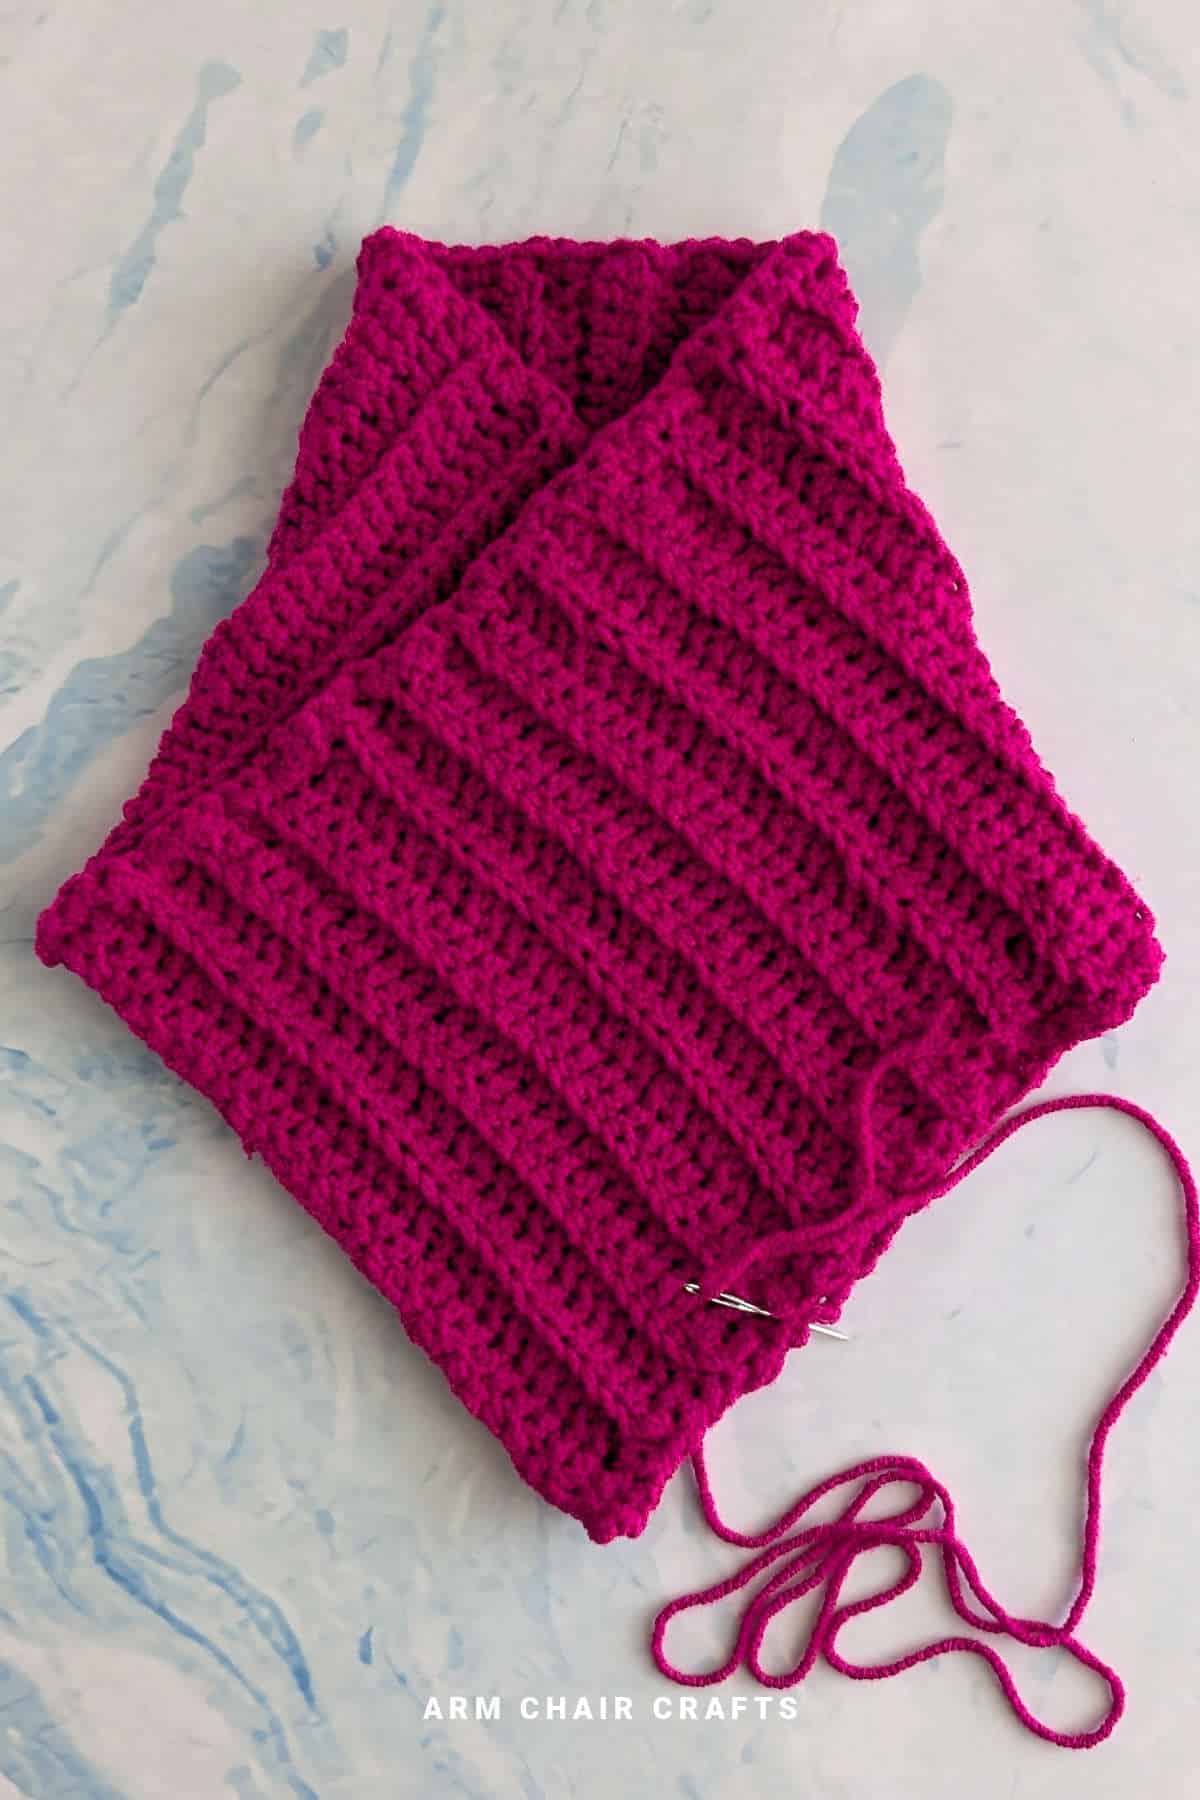
Joining the cowl
Arrange the cowl to sit folded as shown, matching the edges and having the right side facing out.
Using a darning needle, stitch the cowl together on both the bottom left and bottom right edges. FO. Completed cowl.
Crochet Tips, Yarn Choices, and Color Inspiration
- Slightly stretchy yarn gives Margo a comfortable, forgiving fit; blends with acrylic, cotton, or wool are all great options.
- Soft neutrals or pastels create a versatile accessory, while jewel tones make a bold statement.
- Adjust hook size for a snugger or looser drape, depending on your preference.
- The ribbed back loop texture looks especially striking in solid or tonal yarns.
FAQ
Yes! Simply add more repeats for width or more rows for length until it reaches your desired size.
Blocking is optional, but it can help even out stitches and enhance the drape if you want.
Absolutely! Just check your gauge and adjust the hook size to maintain the desired fit.
Yes. The back loop half double and double crochet stitches are easy to learn, and the repeating pattern makes it simple to follow.
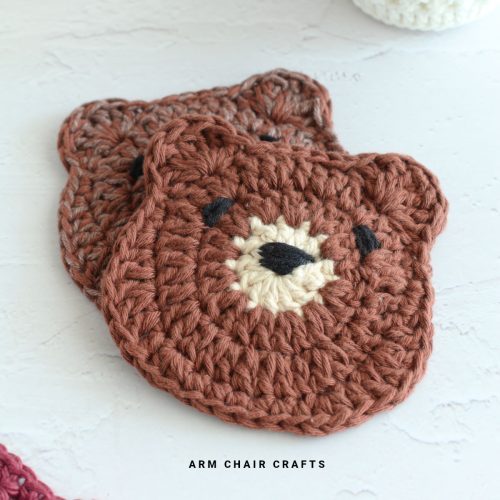
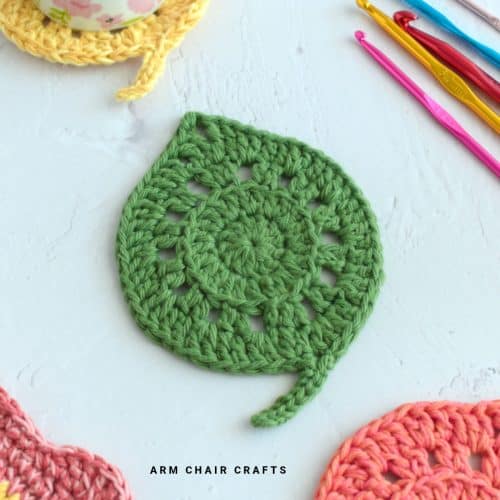
More Easy Patterns For You To Try
Looking for more patterns like this? Why not try one of these:


Stay Connected
Made this pattern? Let us know how it went in the comments below!
Pin this post - Pin now to take your paper crafting skills to the next level.
Share on Instagram or Facebook - Capture the beauty of your finished paper craft project and share it on Instagram or Facebook! Tag us @armchaircrafts so we can see your work!