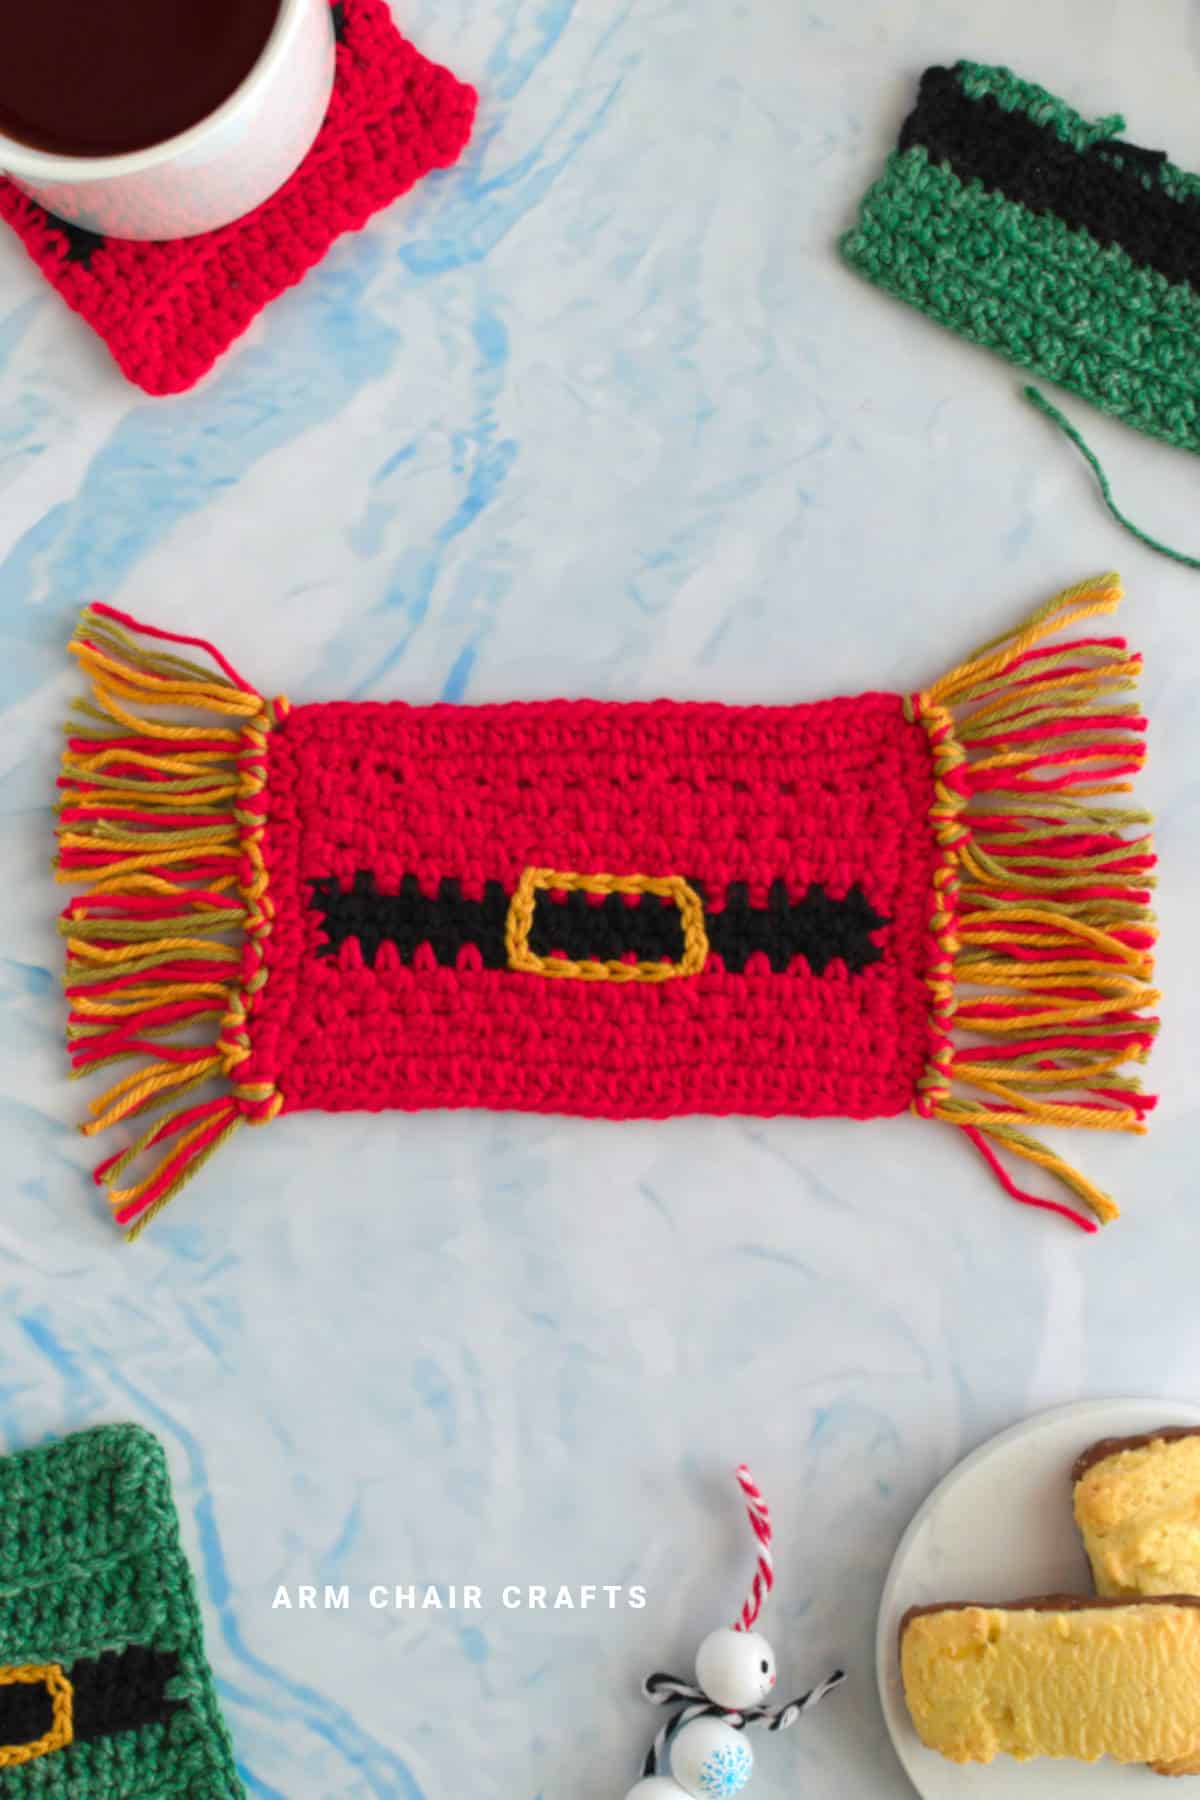
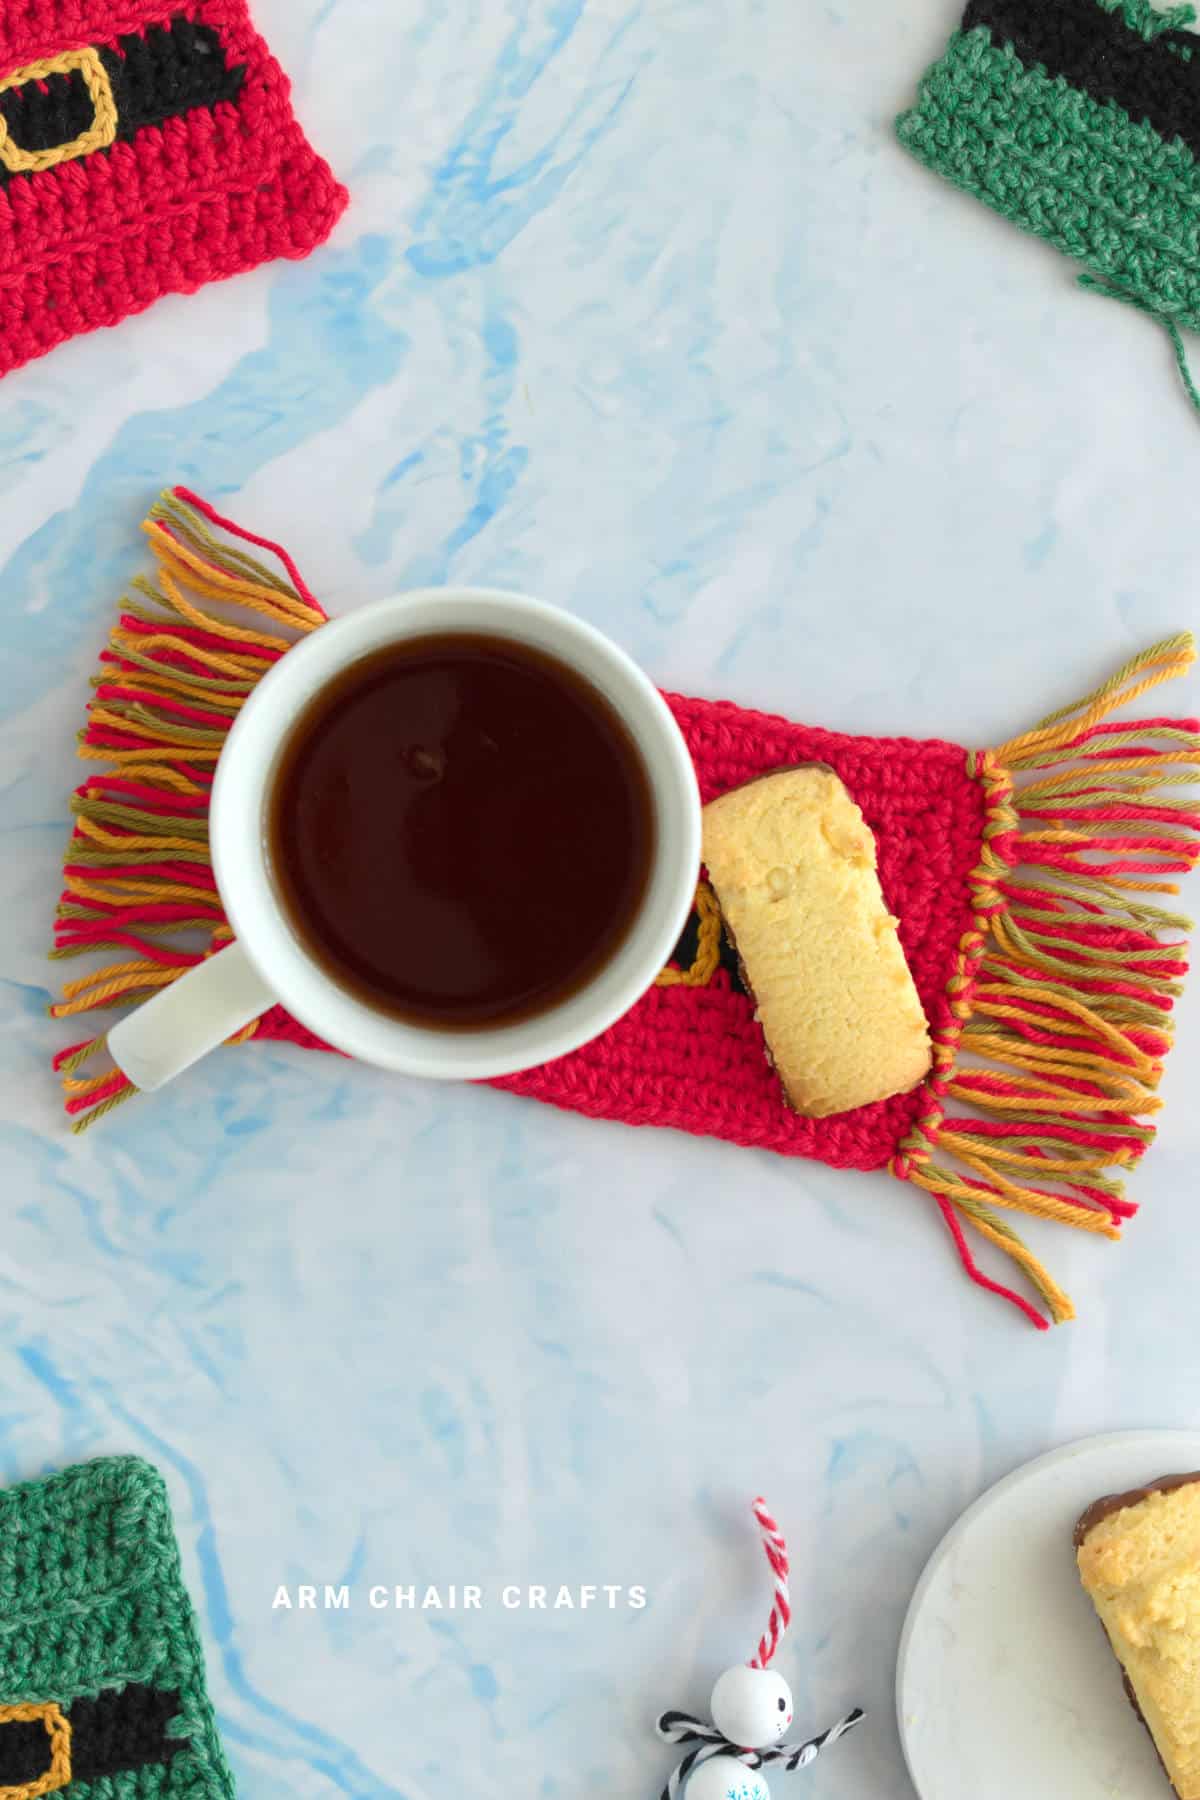
Bring holiday cheer to your coffee table with this crochet Santa mug rug!
Using soft cotton yarn, this beginner-friendly crochet pattern combines festive colors and a simple Santa-inspired design.
Perfect as a crochet gift idea or a fun crochet idea to add to your holiday décor, this mug rug is quick to make, charming, and functional.
Keep your mugs cozy and your surfaces protected while celebrating the season in handmade style.
Exclusive PDF Patterns in the Recline and Unwind Club
Access ad-free, downloadable PDFs, the exclusive Arm Chair Craft's shop, and our growing community by joining the Recline and Unwind Club!
Jump to:
- Why You'll Love This Pattern
- Project Snapshot
- Materials Needed
- Stitches and Abbreviations - US Terms
- Special Stitches
- Gauge
- Emily's Notes
- Finished Size
- ⭐ Want more crochet projects like this? ⭐
- Instructions
- Crochet Tips, Yarn Choices, and Color Inspiration
- When To Use A Crochet Santa Mug Rug
- FAQ
- More Crafts You Might Like To Try
- More Easy Patterns For You To Try
- Stay Connected
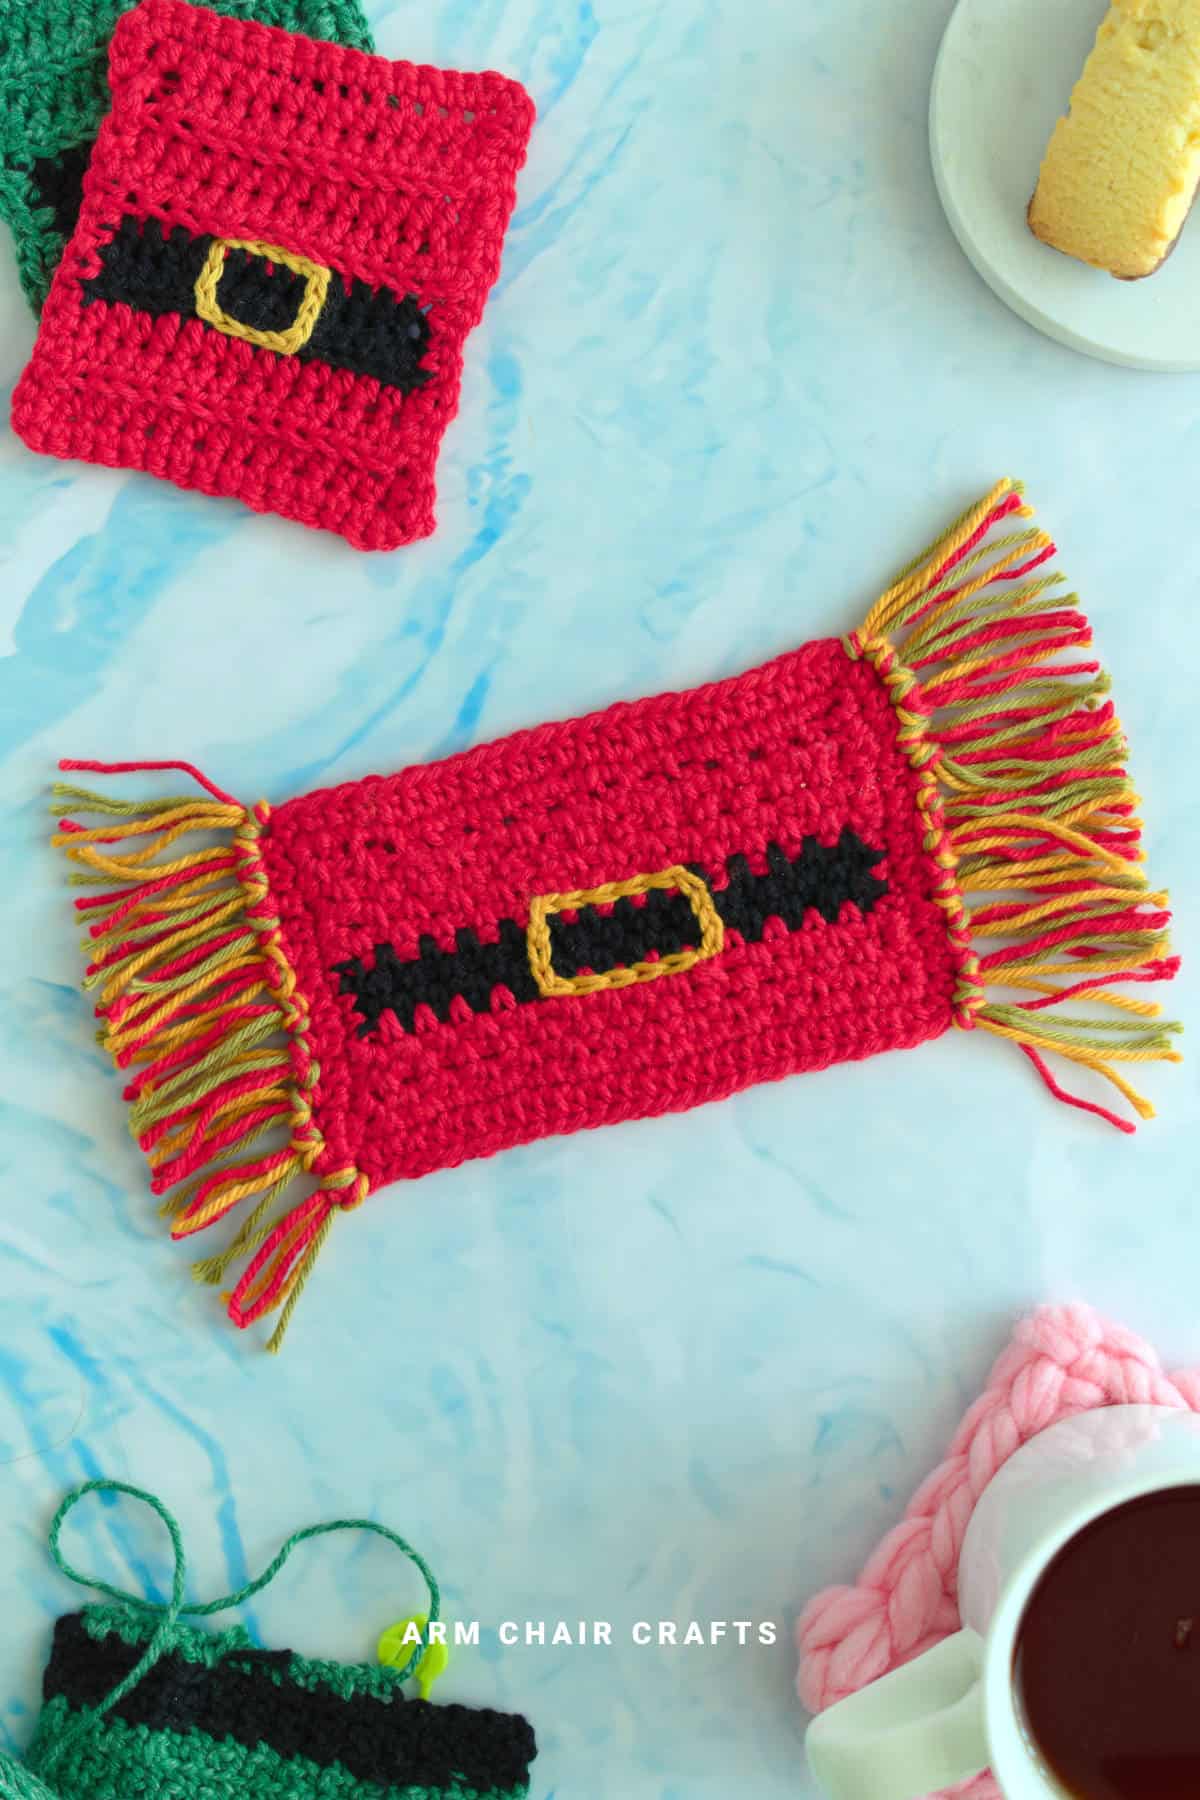
A crochet Santa mug rug is a small festive mat designed to sit under a mug while adding a decorative Christmas theme to your table or coffee setup.
It's worked in simple stitches with color changes and appliqué details to form a Santa-inspired design.
This type of project blends practicality with seasonal decor, making it popular for quick holiday makes and gift sets.
Small, festive, and beginner-friendly, it works up quickly and brings a pop of Christmas spirit to every cup of cocoa, coffee, or tea.
The design is simple yet eye-catching. The red section represents Santa's suit, the black stripe forms his belt, to mimic his outfit.
Even beginners can make this festive crochet idea, as it uses basic stitches with a few simple color changes!
These crochet santa mug rugs are also excellent crochet gift ideas.
Make a set of four or six, bundle them with a festive mug and some hot chocolate, and you've got a charming handmade present ready to delight friends, family, or coworkers.
Or, you might like to pair them with these crochet Santa coasters or Christmas tree crochet coasters for a more unique set.
Why You'll Love This Pattern
- Adds instant festive detail to everyday coffee moments
- Quick project that still feels thoughtful and decorative
- Great way to use scrap yarn in a creative way
- Easy to scale into matching sets for gifting
- Simple construction with high seasonal impact
Project Snapshot
Skill Level: Beginner
Time Needed: Perfect quick evening crochet project or relaxed festive make
Construction: Worked flat in rows
Best For: Holiday decor, gifting, seasonal table styling
Notes: Cotton yarn works best for absorbency and structure
Materials Needed
Yarn
#2 light (DK, light worsted, 8ply) 100% cotton or cotton blend yarn with about 15 wraps per inch (WPI)*
- You will need about 0.50 ounces (15 grams) of yarn.
- You will need 3 different colors (suit color, belt color, belt buckle color).
Hook
- 3.5 mm (E/4) hook
- 3 mm hook
Other
- Yarn needle for weaving ends
- Scissors
*Wraps per inch (WPI) - this is a measure of yarn thickness. To measure WPI, count how many times the yarn wraps around a ruler in one inch. There are more wraps for thinner yarn and fewer wraps for thicker yarn.
Stitches and Abbreviations - US Terms
- Ch/s - Chain/s
- St/s - Stitch/es
- Hk - Hook
- Col - Color
- Sc - Single Crochet
- Sk - Skip
- Ch1sp - Chain 1 Space
- Ch2sp - Chain 2 Space
- Hdc - Half Double Crochet
- Sl St - Slip Stitch
- Traverse Sl St - Traverse slip stitch (see special stitches below)
- [ ] at the end of each row indicates how many stitches are needed in that row.
Special Stitches
Traverse slip stitch
- Insert hook into stitch, yarn over (1 loop on hook).
- Insert hook into next stitch, pull up a loop and then pull that loop through the 1st loop already on your hook. Completed traverse slip stitch.
Gauge
Gauge is not too important for this crochet mug rug.
Emily's Notes
These are the kind of projects that feel fun the moment you lay them out on the table.
They don't take long, but they instantly make a space feel more "seasonal," especially if you make a few in a matching set.
Finished Size
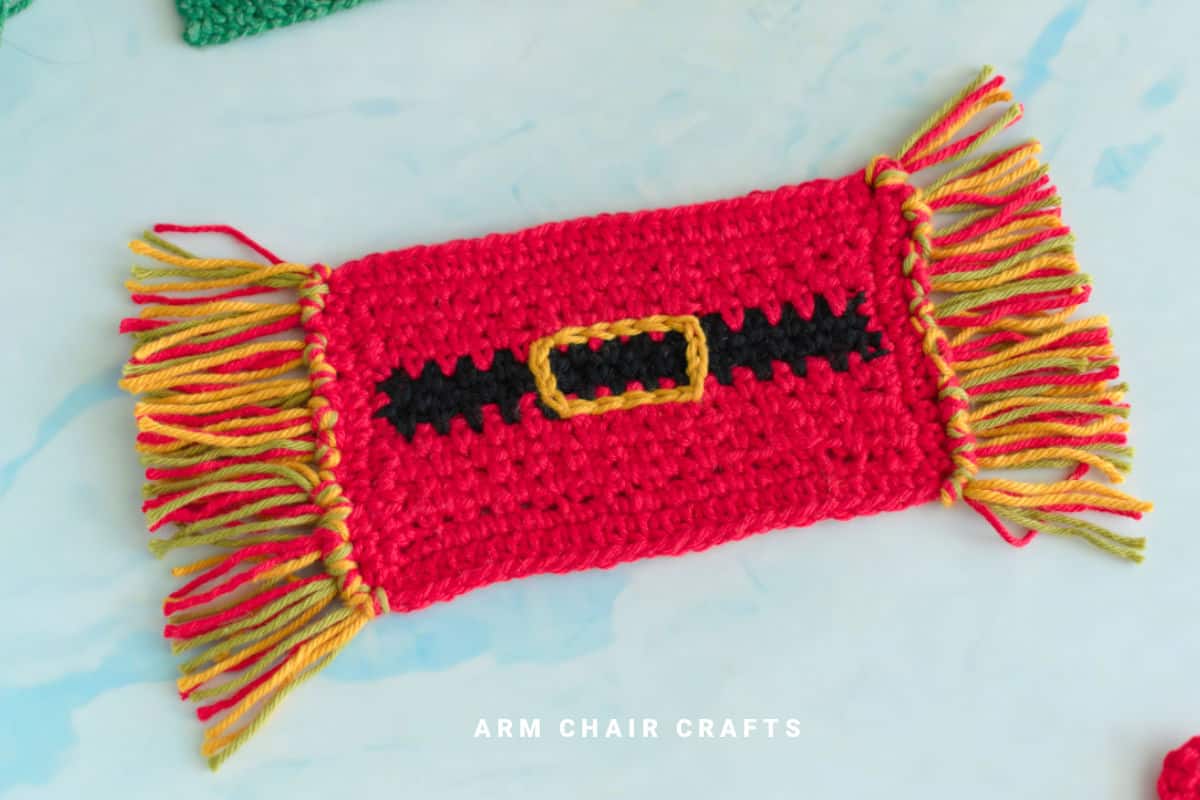
The finished size of this Christmas crochet mug rug is about 5 inches x 3 inches (12 cm x 7.5 cm) excluding the fringe.
⭐ Want more crochet projects like this? ⭐
Join the Recline and Unwind Club to access ad-free crochet patterns, helpful tips, and more - your next favorite project could be waiting there!
Copyright Notice
This pattern and its contents are protected by copyright law. It may not be copied, altered, redistributed, resold, translated, or used to produce photo or video tutorials in any format, either in whole or in part.
You are permitted to sell finished items made using this pattern. However, the written pattern itself may not be sold, shared, or distributed in any form. When marketing or displaying your finished items, please photograph your own work and refrain from using any of my original images.
Sharing Guidelines For Roundups - Bloggers you are welcome to include this pattern in roundup posts as a link, as long as you use one photo and link directly (with a do follow link) back to the original post. For full details, please refer to my Terms of Use page.
Instructions
- Col A - Suit Color, e.g. red or green
- Col B - Belt Color, e.g. black
- Col C - Buckle Color, e.g. yellow or gold
Foundation: 3.5mm hk, Col A, Ch 28.
Row 1: Working in the back bump of the chs, in 3rd ch from hook 1 sc. *Ch1, sk next ch, 1 sc in next ch*, repeat from * until you reach the end. Make sure your final st is a sc in the last ch. Turn. [14 sc, 1 ch2sp, 13 ch1sp]. Ch2sp is made by skipping the 1st 2 chs from your hk when you start.
Row 2: Ch2 (doesn't count as a st), in 1st ch1sp make 1 sc (new ch2sp formed), *ch1, 1 sc in next ch1sp,* rpt from * until you reach the last sp (ch2sp). Ch1, in the last sp (ch2sp) 1 sc. Turn. [14 sc, 1 ch2sp, 13 ch1sp].
Row 3 - 5: Repeat row 2.
You're almost there!
To unlock the final steps and complete your pattern, create a free account with Grow.me. below.
Make sure you tick the box to subscribe to our newsletter and stay up to date with the latest patterns, tips, and more!
Once you're signed up, you'll get instant access to finish your project and enjoy exclusive content in the future.
Already signed up? Hit the button below and select 'Switch to Log In' to pick up where you left off and finish your project!
Row 6: Join with Col B, Ch2 (doesn't count as a st), in 1st ch1sp make 1 sc (new ch2sp formed), *ch1, 1 sc in next ch1sp,* rpt from * until you reach the last sp (ch2sp). Ch1, in the last sp (ch2sp) 1 sc. Turn. [14 sc, 1 ch2sp, 13 ch1sp].
Row 7 - 8: Ch2 (doesn't count as a st), in 1st ch1sp make 1 sc (new ch2sp formed), *ch1, 1 sc in next ch1sp,* rpt from * until you reach the last sp (ch2sp). Ch1, in the last sp (ch2sp) 1 sc. Turn. [14 sc, 1 ch2sp, 13 ch1sp].
Row 9: Join with Col A, repeat row 2.
Row 10 -12: Repeat row 2. Turn. Don't fasten off. Your rectangle piece should be about 4.5 inches long and 2.5 inches (11 cm x 6 cm) wide.
Making the border
For the border, you will be working in rounds instead of rows.
Round 1: Ch1, make 1 sc in each st around, starting from the top right corner. In each corner make 3 sc. Sl st into top of 1st sc to join.
Round 2: Ch2, 1 hdc into each st around sl st intop to of 1st hdc to join. Fasten off and weave in any ends.
Adding the belt buckle
Using Col C and your 3mm hk:
With the right side facing up. Traverse sl st into top of row 8 into the 5th st (not counting the border), sl st across the 6th, 7th, 8th, 9th and 10th sts.
Turn your work anti clockwise and work 4 sl st down rows 8, 7, 6, and 5.
Again, turn your work anticlockwise and work 5 sl st parallel to the ones you made in the top of row 8.
Once more, turn your work anticlockwise once more and sl st up rows 5, 6, 7, and 8 and join with the first sl st.
Fasten off and weave in ends.
Adding the fringe
Step 1: Cut yarn strands that are at least double the desired length of your fringe. You will also need a little extra for trimming.
We cut out strands to about 5 inches (12 cm) long. For the fringe, you could use all the same color yarn strands or mix it up and use a variety of different yarn colors. Then, take 4 or 5 strands for each fringe and fold them in half.
Step 2: Insert your hook into the crochet mug rug's end space where you want the fringe to be. Then, place the folded yarn loops on to the hook.
Step 3: Pull the yarn strands and hook through the stitch, but don't pull the ends of the yarn strands through.
Then, wrap the ends of the yarn strands around the hook and pull them through the loop to create a knot. Gently tug of the strands to tighten the knot.
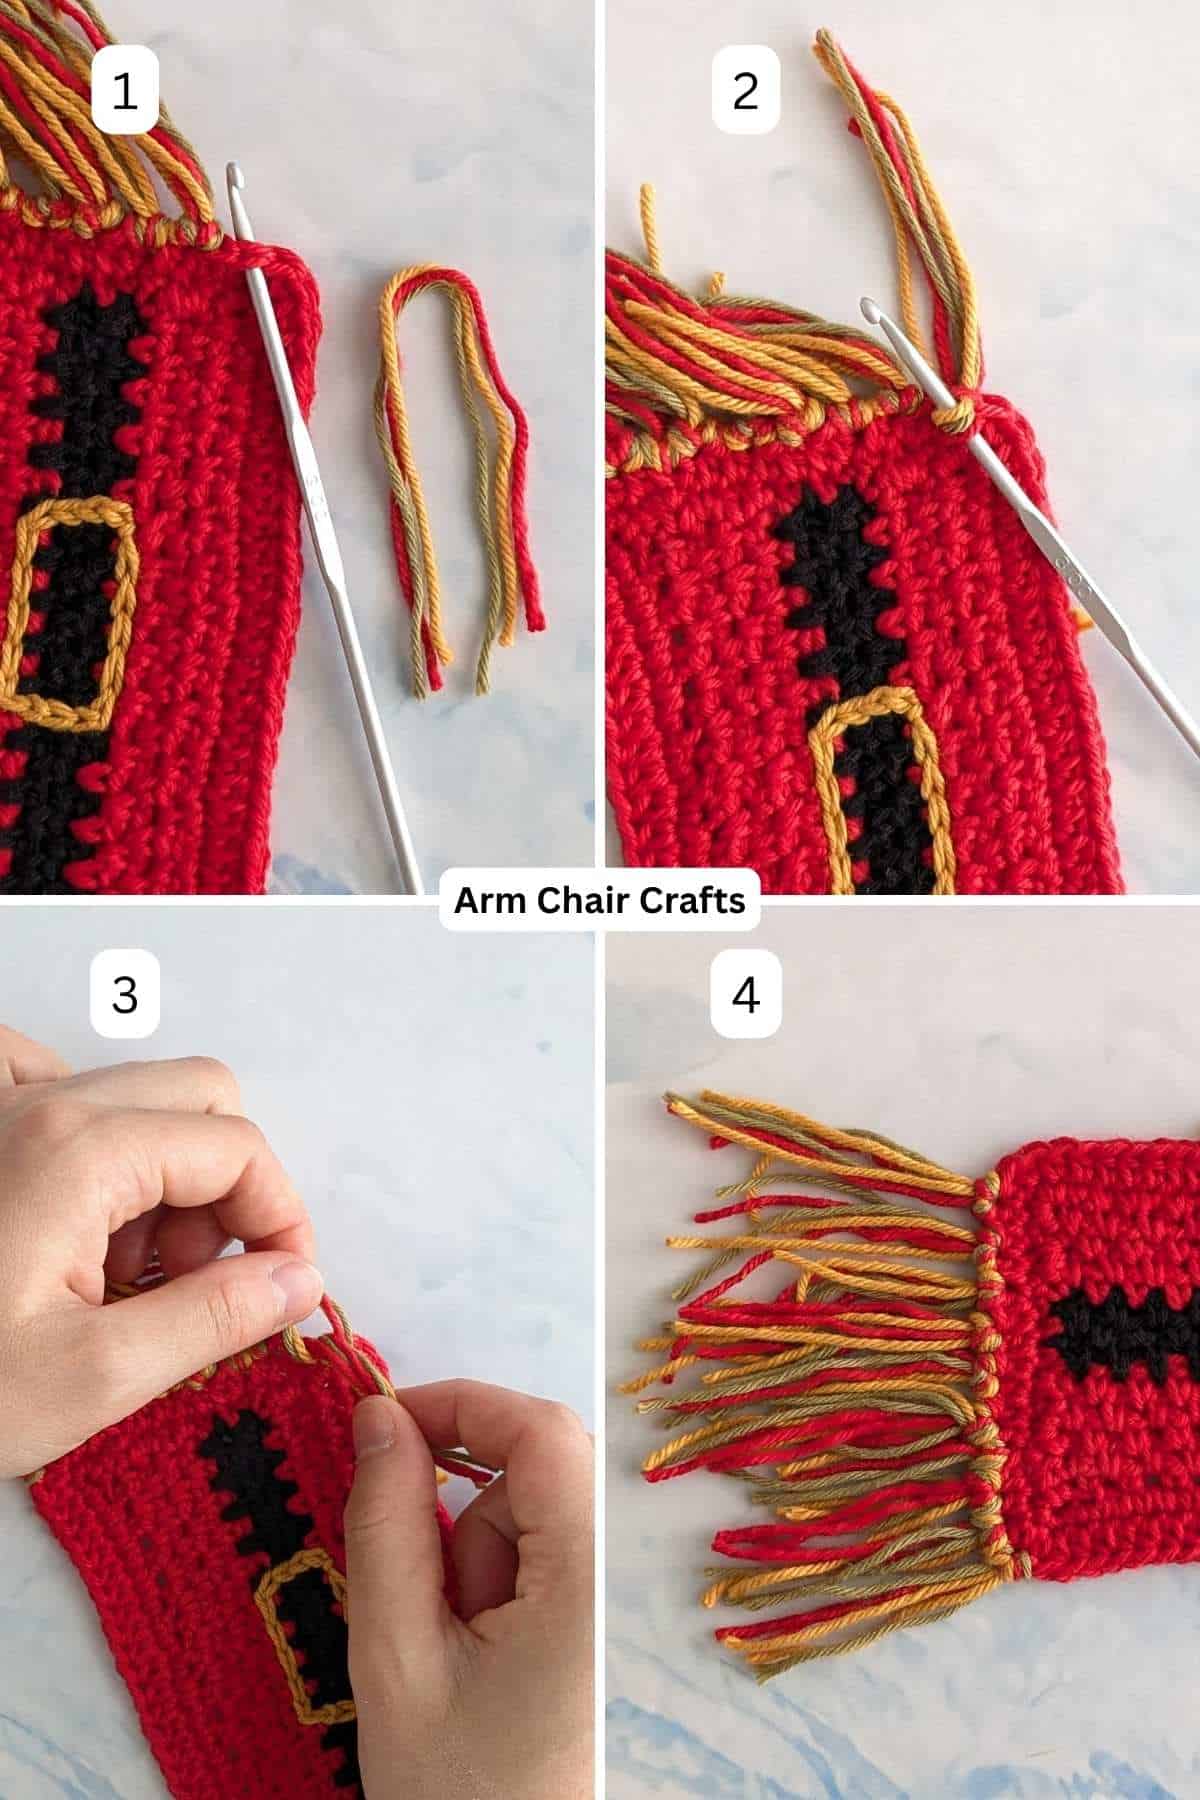
Step 4: Repeat previous steps with about 4-5 yarn strands per fringe. Make sure you space the fringe strands evenly.
Step 6: Once the strands are all attached, trim them to an even length.
Looking for your next crochet project?
Explore the Recline and Unwind Club for exclusive ad-free crochet patterns, tips, and shop.
Crochet Tips, Yarn Choices, and Color Inspiration
- Cotton yarn works best for coasters or mug rugs - it absorbs spills and is easy to wash
- Acrylic yarn gives soft, vibrant colors and durability
- Try embellishing with a small pom-pom or embroidered face for extra charm
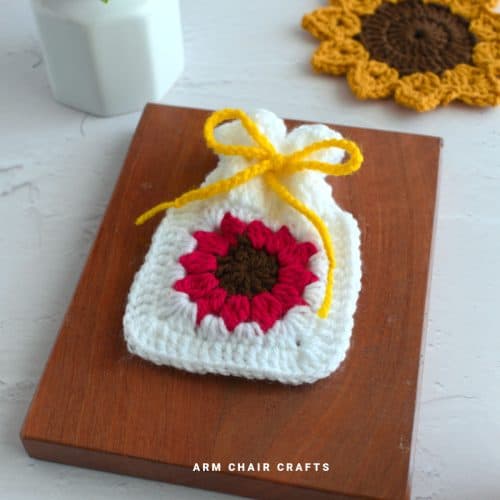
- Make a set with matching easy Santa crochet coasters for a festive table
- Perfect for gifting - pair with a holiday mug and cocoa mix
When To Use A Crochet Santa Mug Rug
- When you want quick Christmas decor without big projects
- When making handmade holiday gift sets
- When you're in the mood for something light and festive
- When adding seasonal touches to kitchen or coffee spaces
- When batch-making small items for gifting or markets
FAQ
Absolutely! It's made with basic stitches and simple color changes.
Yes! Add rows and stitches to fit larger mugs or travel cups.
Optional - blocking helps edges lie flat but isn't necessary.
Definitely. Multiple mug rugs make a lovely crochet gift idea or holiday table set.
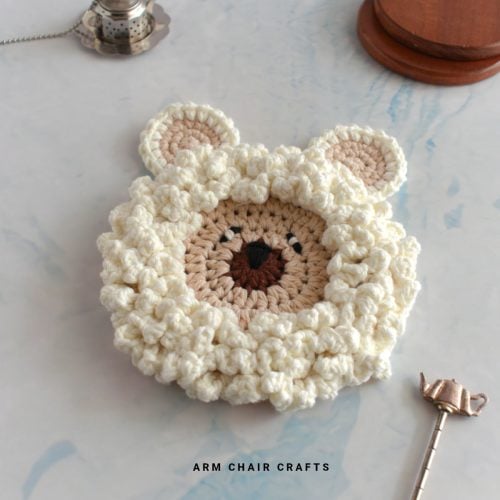
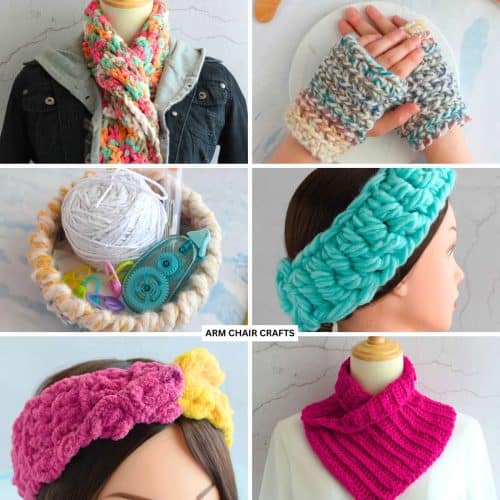
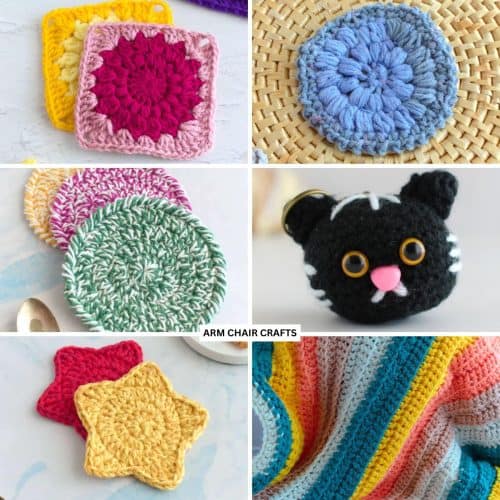
After some more easy crochet projects to pass the time?
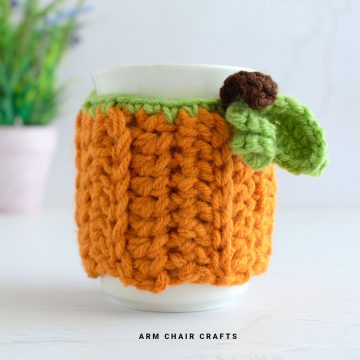
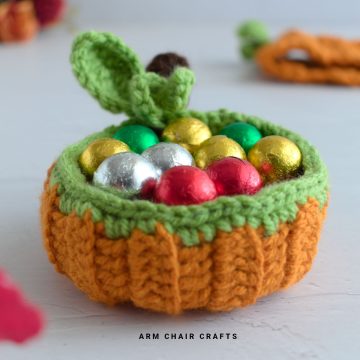
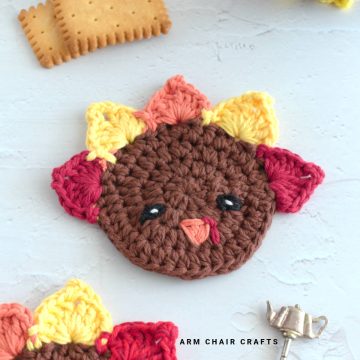
You just have to try these super cute crochet bunny ear egg toppers, crochet turkey, bunny crochet coasters, gummy bear crochet keychain, or crochet fingerless gloves.
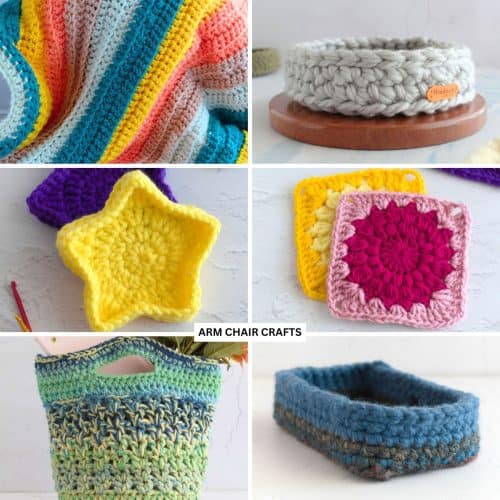
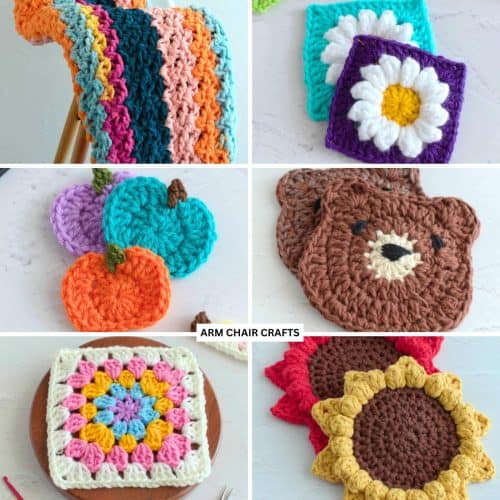
More Easy Patterns For You To Try
Looking for more patterns like this? Why not try one of these:


Stay Connected
Made this pattern? Let us know how it went in the comments below!
Pin this post - Pin now to take your paper crafting skills to the next level.
Share on Instagram or Facebook - Capture the beauty of your finished project and share it on Instagram or Facebook! Tag us @armchaircrafts so we can see your work!