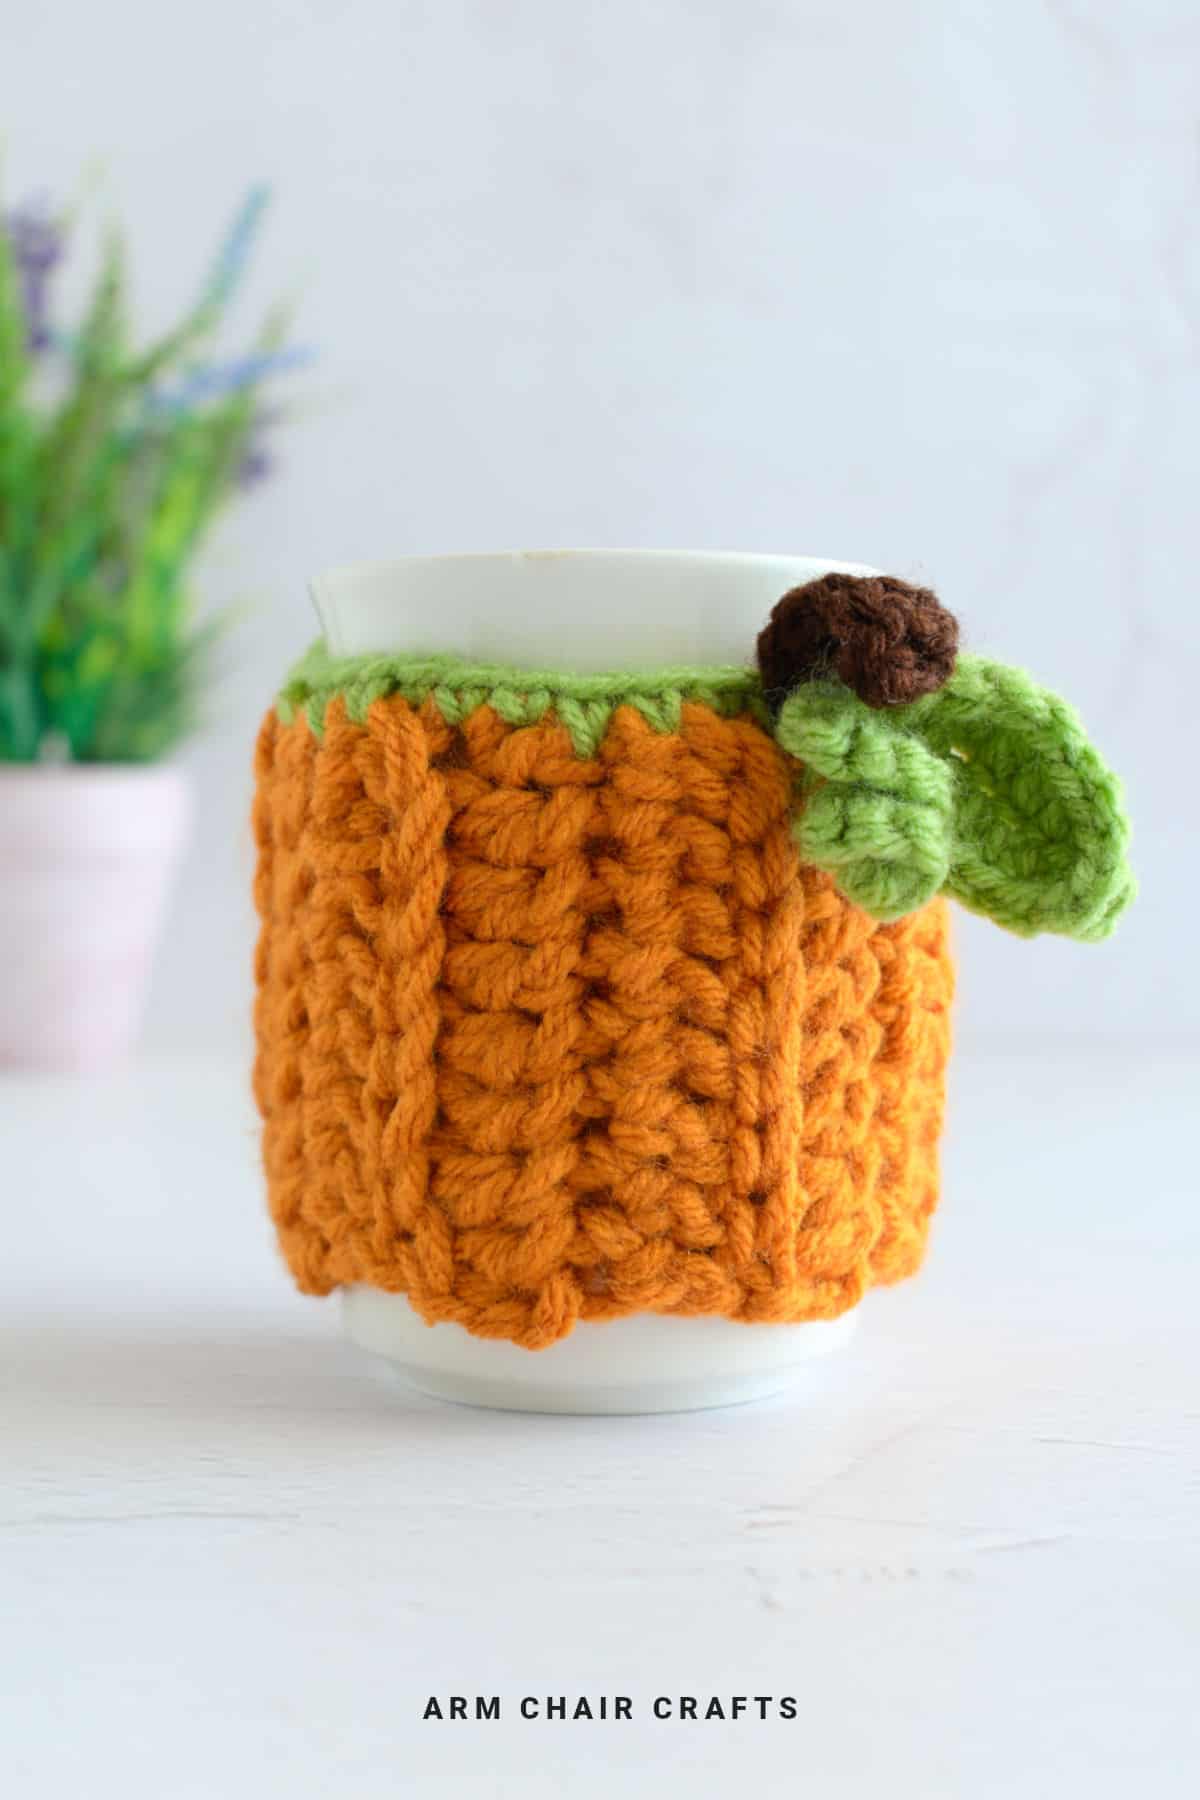
Your go-to fall make for cozy drinks.
This pumpkin crochet mug cozy is thick, quick to work up, and adds a warm seasonal feel to your daily coffee or tea.
Exclusive PDF Patterns in the Recline and Unwind Club
Access ad-free, downloadable PDFs, the exclusive Arm Chair Craft's shop, and our growing community by joining the Recline and Unwind Club!
Jump to:
- Why You'll Love This Pattern
- Project Snapshot
- Materials Needed
- Yarn and Hook Information
- Stitches and Abbreviations - US Terms
- Gauge
- Emily's Notes
- Finished Size
- ⭐ Want more crochet projects like this? ⭐
- Instructions
- Crochet Tips, Yarn Choices, and Color Inspiration
- Tips for the Best Fit
- How To Use This Craft
- FAQ
- More Crafts You Might Like To Try
- More Easy Patterns For You To Try
- Stay Connected
This pumpkin crochet mug cozy is a quick and beginner-friendly seasonal project designed to wrap around standard mugs for a cozy fall feel.
It shows you how to create a fitted crochet sleeve designed to wrap around a standard mug. It uses simple stitches and small-scale shaping, making it a quick make for autumn décor or handmade gifting.
This crochet mug cozy wraps your mug in a soft, slightly chunky layer that not only looks seasonal but also makes it more comfortable to hold.
Worked double stranded, this crochet pumpkin mug cozy has a thicker, cushioned feel that sets it apart from thinner designs.
It gives that slightly structured look while still being soft enough to stretch around your mug easily.
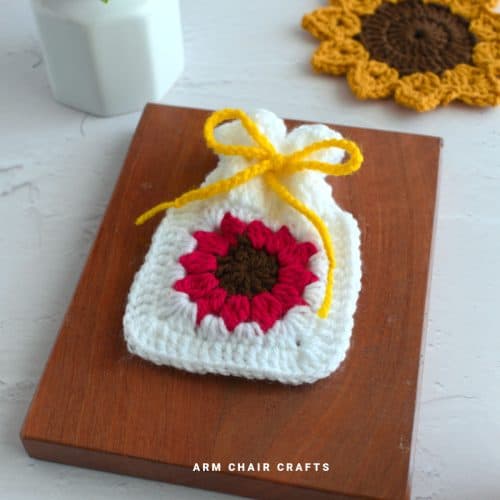
Paired with a mug, hot chocolate mix, or tea sachets, this crochet mug cozy pumpkin pattern becomes a ready-made gift that feels thoughtful without requiring much extra effort.

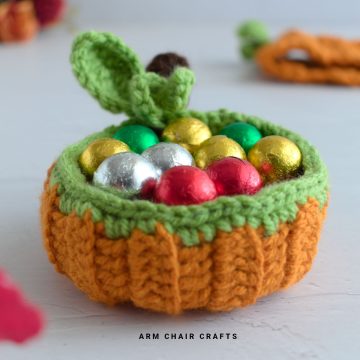
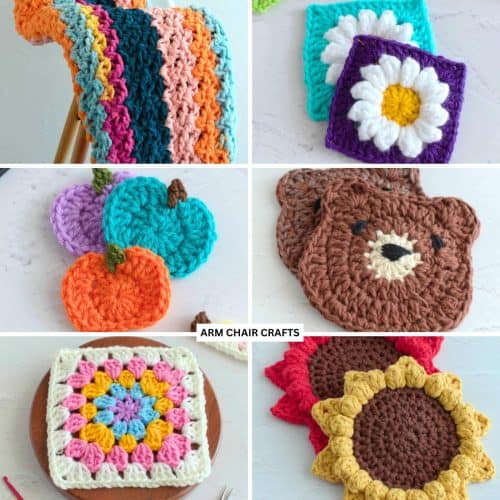
Other pumpkin themed crochet patterns you might like to make include these pumpkin crochet coasters, crochet pumpkin bowl, pumpkin granny square, or even this super cute pumpkin crochet motif.
Why You'll Love This Pattern
- A fast seasonal project that can be completed in a short session
- Perfect for using up scrap yarn and small leftover amounts
- Adds a cozy, handmade autumn touch to your everyday mug
- Great for practising tension and neat stitch work on small projects
- Easy to customize with pumpkins, textures, or color changes
- Makes a simple handmade gift or craft fair item
Project Snapshot
Best For: seasonal décor, gifting, scrap yarn projects
Skill Builder: shaping small items, tension control, basic stitch consistency
Pattern Outcome: fitted crochet mug sleeve with pumpkin-themed design
Project Type: quick make / seasonal accessory
Time Label: quick weekend project, it took me about 30 minutes to make.
Materials Needed
Yarn
- #4 medium acrylic yarn (also known as worsted, Afgan, Aran, or 10 ply) with 11 WPI*
- You will be working double stranded.
- You will need about:
- Col A: Pumpkin color, e.g. orange, about 0.74 ounces, 36 yards (21 grams, 33 meters).
- Col B: Leaf color, e.g. green, about 0.11 ounces, 5.4 yards (3 grams, 5 meters)
- Col C: Stem color, e.g. brown, about 0.07 ounces, 3.3 yards (2 grams, 3 meters)
Hook
- 8 mm (L) hook
- 4.5 mm (7) hook
Other
- Yarn needle
- Scissors
*Wraps per inch (WPI) - this is a measure of yarn thickness. To measure WPI, count how many times the yarn wraps around a ruler in one inch. There are more wraps for thinner yarn and fewer wraps for thicker yarn.
Yarn and Hook Information
You can use 100% cotton or acrylic for this crochet mug cozy. If you do use a different yarn type or size, remember to use an appropriate hook size.
Stitches and Abbreviations - US Terms
- Ch - Chain
- St/s - Stitch/es
- Col - Color
- Sl st - Slip Stitch
- Dc - Double Crochet
- Blo - Back Loop Only
- FO - Fasten Off
- Hdc - Half Double Crochet
- Sc - Single Crochet
- [ ] at the end of each row indicates how many stitches are needed in that row.
Gauge
4 inches x 4 inches (10 cm x 10 cm) = 6 rows x 11 dc
Emily's Notes
Mug cozies are one of those projects where fit really matters, so I always recommend checking your tension before committing to the full piece.
If it feels slightly loose, go down a hook size so the cozy hugs the mug properly instead of sliding around.
It's a small adjustment, but it makes a big difference in how polished the final piece looks.
Finished Size

This crochet mug cozy fits a standard mug and is about 8.5 inches (22 cm) long and 3 inches (7.5 cm) wide.
⭐ Want more crochet projects like this? ⭐
Join the Recline and Unwind Club to access ad-free crochet patterns, helpful tips, and more - your next favorite project could be waiting there!
Copyright Notice
This pattern and its contents are protected by copyright law. It may not be copied, altered, redistributed, resold, translated, or used to produce photo or video tutorials in any format, either in whole or in part.
You are permitted to sell finished items made using this pattern. However, the written pattern itself may not be sold, shared, or distributed in any form. When marketing or displaying your finished items, please photograph your own work and refrain from using any of my original images.
Sharing Guidelines For Roundups - Bloggers you are welcome to include this pattern in roundup posts as a link, as long as you use one photo and link directly (with a do follow link) back to the original post. For full details, please refer to my Terms of Use page.
Instructions
- Col A = Pumpkin color, e.g. orange
- Col B = Leaf color, e.g. green
- Col C = Stem color, e.g. brown
Notes: You will be working this pattern with double strand. The first stitch of each row is worked in the same stitch as the turning chain.
Foundation: Using your 8 mm (L) hook, col A, working double stranded, Ch16, sl st into 1st ch to form a ring.
Row 1: Ch1, sl st into first 8 ch in the back bump. Leave remaining 8 ch unworked. Turn. [8 sts]
Row 2: Ch2, 1 dc blo in each st across. Turn [8 sts],
Rows 3 - 12: Ch2, 1 dc blo in each st across. Turn. [8 sts in each row]. After row 12, your mug cozy should be about 8.5 inches (22 cm) in length. Check the length of your mug cozy against your mug. If you need to remove or add more rows, do it now. It should be a snug fit on your mug.
Next, Ch 8, join with a sl st to the 1st st of row 12.
You're almost there!
To unlock the final steps and complete your pattern, create a free account with Grow.me. below.
Make sure you tick the box to subscribe to our newsletter and stay up to date with the latest patterns, tips, and more!
Once you're signed up, you'll get instant access to finish your project and enjoy exclusive content in the future.
Already signed up? Hit the button below and select 'Switch to Log In' to pick up where you left off and finish your project!
Row 13: Working single stranded and using your 4.5 mm (7) hook, join Col B to the last st of row 12. Then, make 1 sc in each st across the long edge (working your way back along the length of the mug cozy). FO, weave in any ends.

Making the stem:
For the stem, you will be working single stranded, using your 4.5 mm (7) hook, col C, ch7, 1 dc in 2nd ch from hook and in each ch across. FO, leaving a long tail for sewing.
Making the leaf and tendril:
Col B, working single stranded, using your 4.5 mm (7) hook, ch9, 1 dc in 3rd ch from hook, 1 dc in each of the next 2 sts, 1 hdc in each of the next 2 sts, 1 sc in next st, 1 sl st in next st, turn your work so that you now work along the other side of the chain.
Sl st into next st, 1 sc in next st, 1 hdc in each of the next 2 sts, 1 dc in each of the next 3 sts, sl st into 1st dc to join. This is the finished leaf, but don't fasten off.
Now you will be making the tendril, ch 10, 2 sc in 2nd ch from hook, 2 sc in each ch across, sl st back into the leaf.
FO, leaving a long tail for sewing.

Finishing
Using the long tails for sewing, first sew the stem onto the top of the mug cozy in a spot that you like (I like to sew mine around the middle of the top edge) and then sew the leaf and tendril on top.

Looking for your next crochet project?
Explore the Recline and Unwind Club for exclusive ad-free crochet patterns, tips, and shop.
Crochet Tips, Yarn Choices, and Color Inspiration
- Test fit around your mug before finishing
- Classic pumpkin: bright orange with brown or green accents
- Muted fall tones: rust, burnt orange, mustard
- Neutral cosy: cream, beige, soft taupe
- Halloween style: orange with black details
- Soft aesthetic: peach, blush, warm ivory
- Marled look: mix two orange shades when working double stranded
Tips for the Best Fit
- Measure your mug before starting if possible
- Keep stitches slightly tight so the cozy stays snug
- Adjust height depending on handle placement
- Block lightly if edges curl
- Avoid overly bulky yarn for better grip
How To Use This Craft
- Everyday use with coffee, tea, or hot chocolate
- Fall kitchen or desk décor
- Add to seasonal gift sets with mugs or drink mixes
- Handmade gifts for friends, teachers, or coworkers
- The finished mug cozy can be used for market items for fall and holiday sales
FAQ
Yes, this pumpkin crochet mug cozy uses simple stitches and minimal sewing.
It adds thickness, warmth, and structure to the cozy.
You can adjust sizing slightly to fit different mug sizes. Just adjust the number of rows (more rows for a larger cozy and less rows for a smaller cozy).
Yes-this is a great small giftable crochet project, especially for fall.

More Easy Patterns For You To Try
Looking for more patterns like this? Why not try one of these:


Stay Connected
Made this pattern? Let us know how it went in the comments below!
Pin this post - Pin now to take your paper crafting skills to the next level.
Share on Instagram or Facebook - Capture the beauty of your finished project and share it on Instagram or Facebook! Tag us @armchaircrafts so we can see your work!